

Report #3 on their new Retro Renovation journey

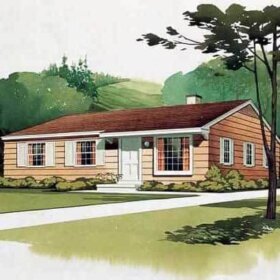
 While Pam and I were off enjoying ourselves at The Hukilau, Mike and Lindsey were up to their eyeballs in work, continuing the fast-paced the restoration of their Edward Durell Stone House of Good Taste. And, they experienced their first unexpected expense. In today’s installment — the third in the series — Mike and Lindsey share the tale. And, they ask for our ideas for a secondary flooring material to complement the original terrazzo floors in many other parts of this gorgeous 1964 house.
 Mike and Lindsey write:
Our heads have been spinning the last few weeks with all the progress on the house and craziness in our lives. Terrazzo floors are finished (note: Mike will be giving us the full run down about the floor refinishing process in the next House of Good Taste update) and have been covered for the rest of construction, the kitchen build out is just about finished, we are starting to pack up our current home, and move in is only five weeks away.
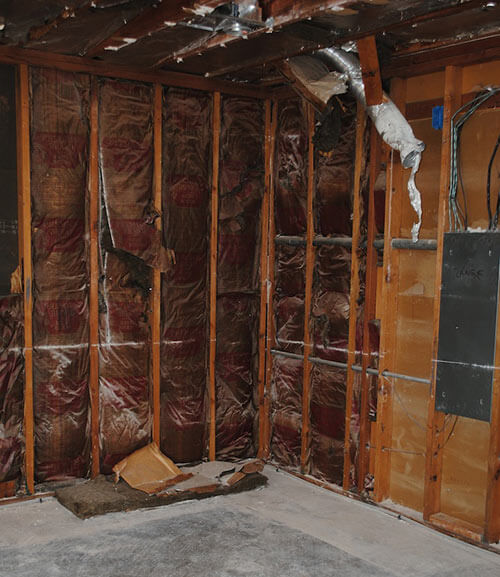
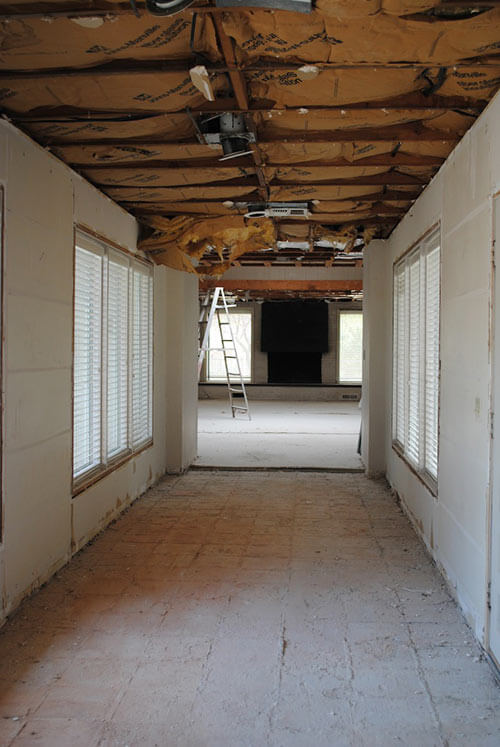
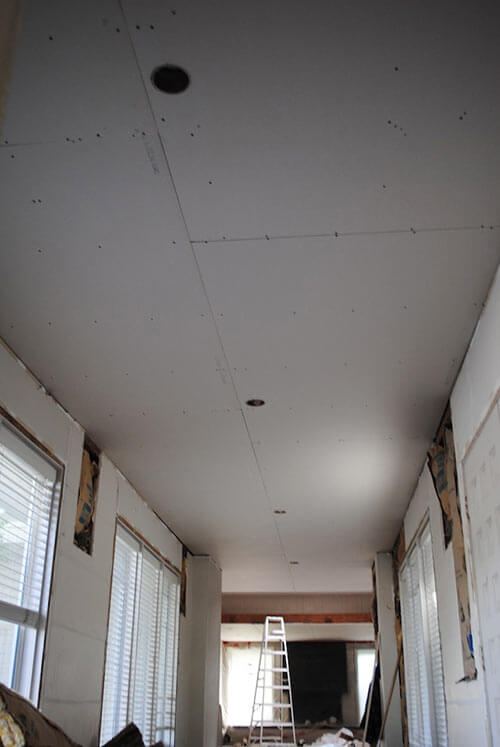
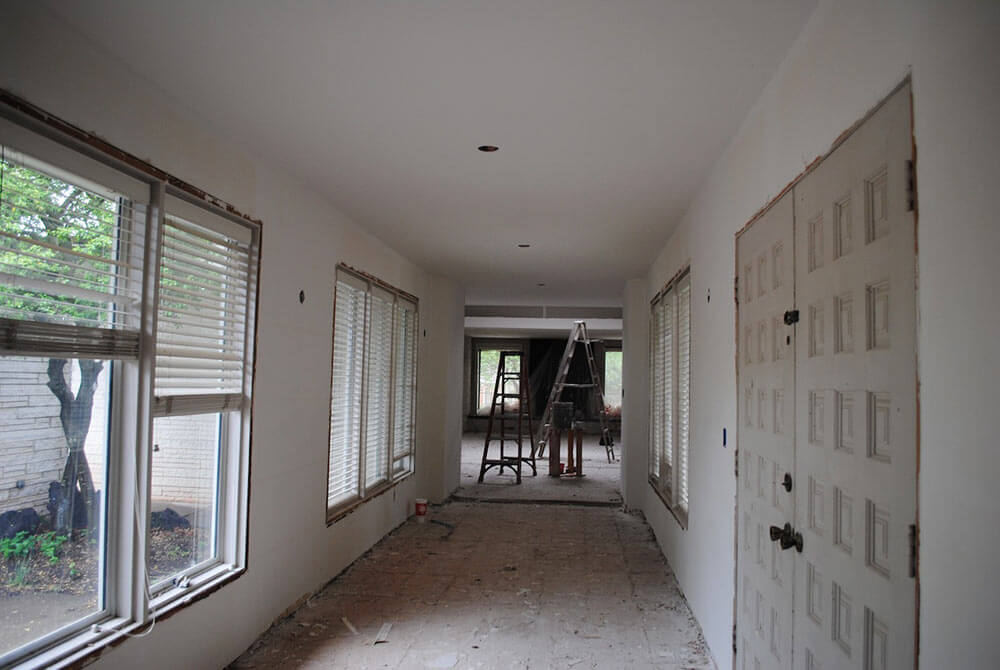
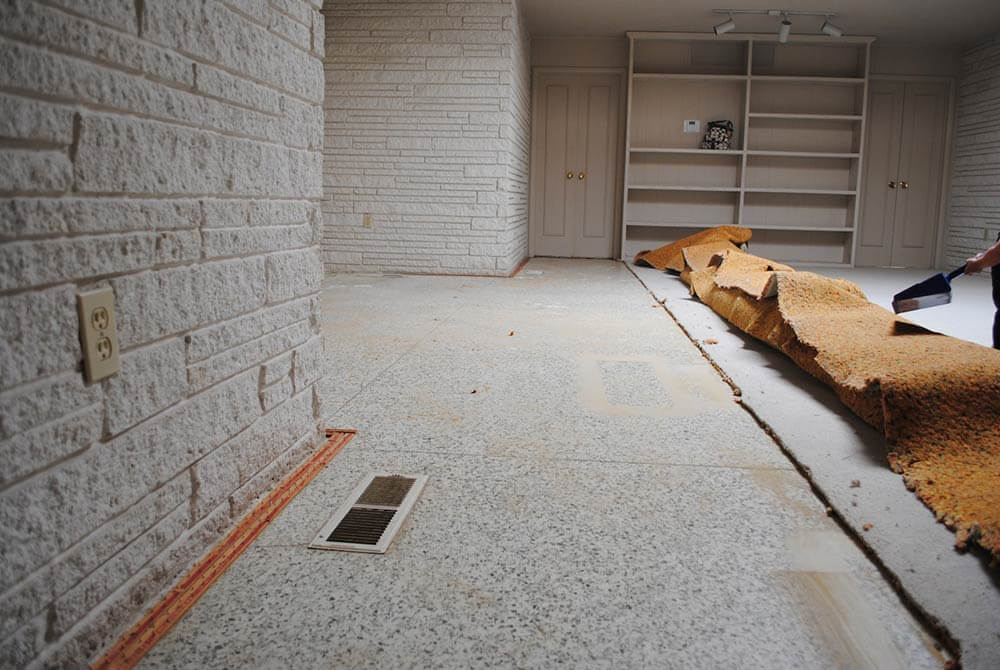
With the demo completed, our first task included electrical and wall/ceiling work. We placed the carpet back down over the terrazzo to protect it during what we knew would be messy stages of construction. We probably won’t see them again for a while :(. With our house in shambles, we have already looked at each other a few times and said, “what have we gotten ourselves into?” Truth be told, I think we both secretly love a little chaos in our lives.
This next phase has brought us both good and bad news. The good news is that our current home went under contract before it hit the market! Our realtor has some clients that he suspected might love our house and he was right, we got a full price offer and the best part is that they love our two vintage pink bathrooms. We’ll get to the bad news in a bit.
Electrical
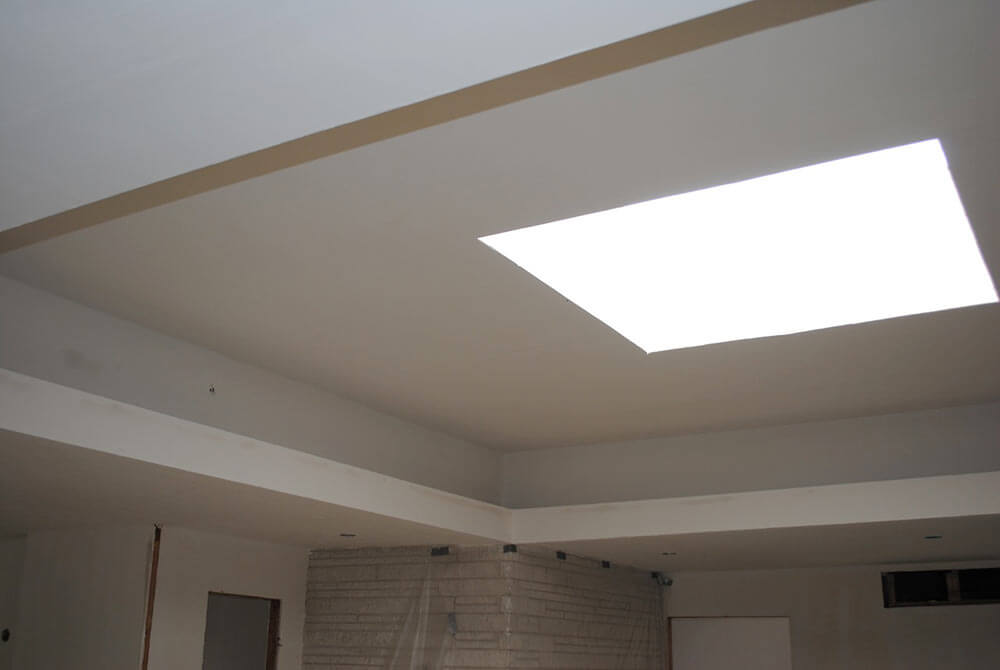
We initially though that the scope of electrical work would be fairly minor, but after being able to spend some time in the home we realized that the lighting situation was a bit of a mess and we had an opportunity to use the lighting to accent the special features of this home. This was our first taste of “might as well do it the way we want it and not regret it later” aka “we are going to blow our budget”. Because the house has a flat top roof, we really do need to do all electrical work now, as you can not just drop in new electrical in from the attic at a future date. Adding new electrical later would mean having opening up the walls and ceilings.
- Precautionary Pam reminds: Readers, the layers of our of old houses may contain vintage nastiness such as lead and asbestos; be sure to consult with your own properly licensed professionals to determine what you are working with so that you can make informed decisions. Please also know, I do not permit such advice to be doled out on the blog — again, get with your own pros regarding what is in your house.
- Editor’s note #2: “Unexpected costs” are to be expected, yup: See our story about readers’ 140 real life stories about surprise home repairs.
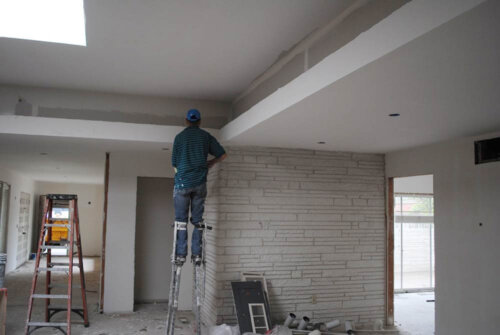
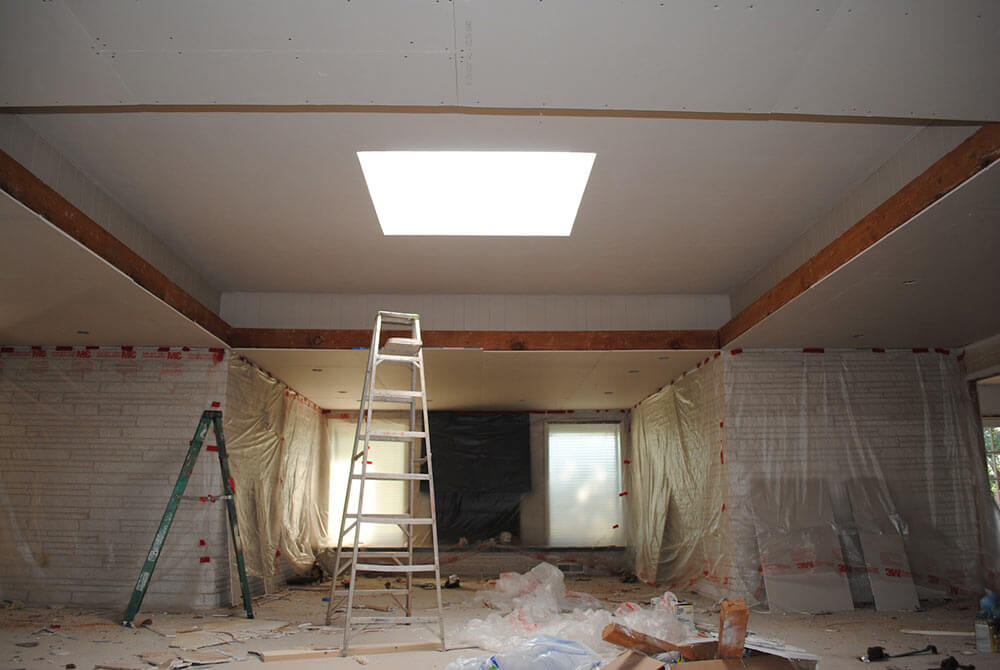
Floating out the walls and ceilings
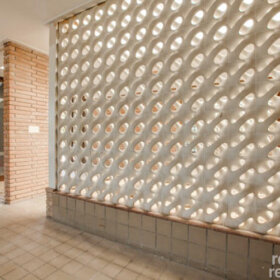
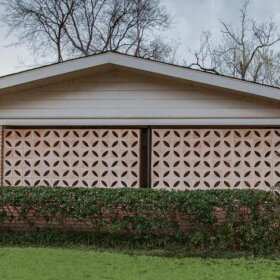
The house has a mixture of wall textures from room to room, and one of the things we personally don’t care for is heavy wall texture. We have seen a few homes with completely smooth walls and ceilings (not just drywall with no texture, but fully floated out), and we felt they would really look great in this space. We agreed that having flat walls would only enhance the texture provided by the stone walls. Floating walls is a labor intensive process that will require at least three coats and sanding between each coat. We are crossing our fingers that it turns out the way we imagine in our heads. One bright side, pulling down so much of the existing drywall for electrical, allows the floating process to go much faster with the new drywall. Those areas will not need the existing texture knocked down and should require less coats.
With the house tore up and feeling like it may never be put back together, we have attempted to distract ourselves with flooring decisions and researching companies who specialize in terrazzo restoration. The terrazzo covers the entire open living area but the rest of the floors are just bare slab. We thought the Retro Renovation community might have a few thoughts on what to do with the rest of the floors? We generally prefer only one or two flooring types in a home, so we are hoping to find one material that will work in the entire rest of the house rooms. We also do not want anything that will visually compete with the terrazzo. So what are your thoughts on a good secondary floor that might complement terrazzo?


N. Dorn says
Can anyone tell me how to remove paint from an inside Roman Brick floor to ceiling fireplace from the 50’s?
pam kueber says
Hi N., on issues like this it’s recommended you consult with pros. Be aware also of the potential for vintage hazards such as lead paint.
Mark says
Are the new cabinets frameless are face frame? I can’t quite tell from the photos. I’m getting ready to redo my kitchen and I thought frameless was the way to go but the cabinet company wants to apply a 10% upcharge vs face frame. Our 60s house currently has face frame cabinets.