


 In this sixth edition of the series, Mike and Lindsey have called on the help of their friends at L&D Construction — the same guys that custom built the midcentury modern master bathroom vanity in their first home — to help them gut remodel the kitchen, including making custom walnut kitchen cabinets. Drawing inspiration from fellow Retro Renovators and a photo of an original Edward Durell Stone House of Good Taste kitchen, Mike and Lindsey are well on their way to creating the midcentury modern kitchen of their dreams.
Mike writes:
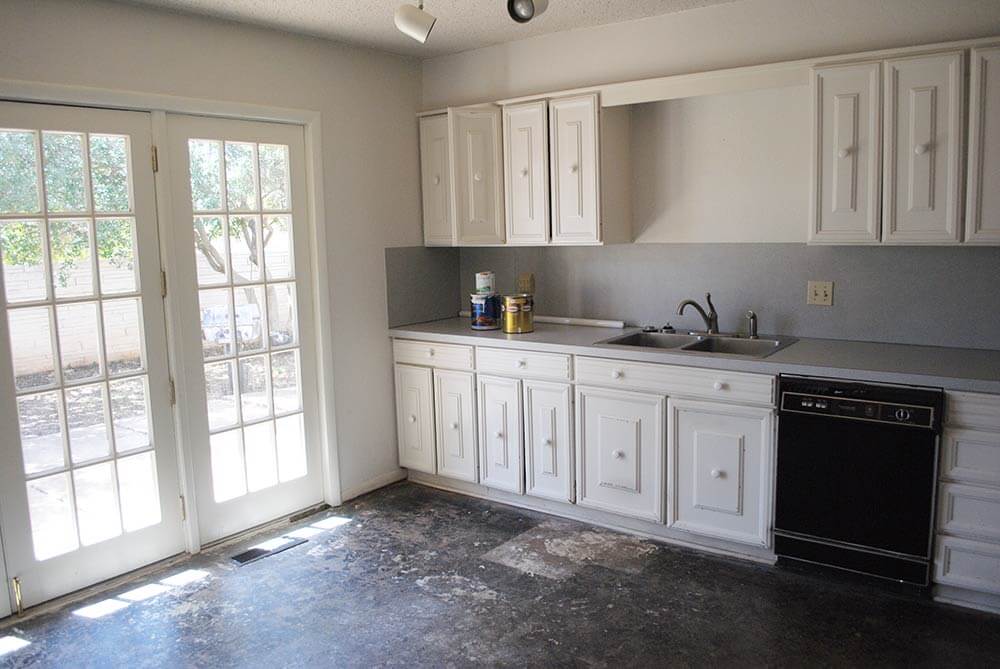
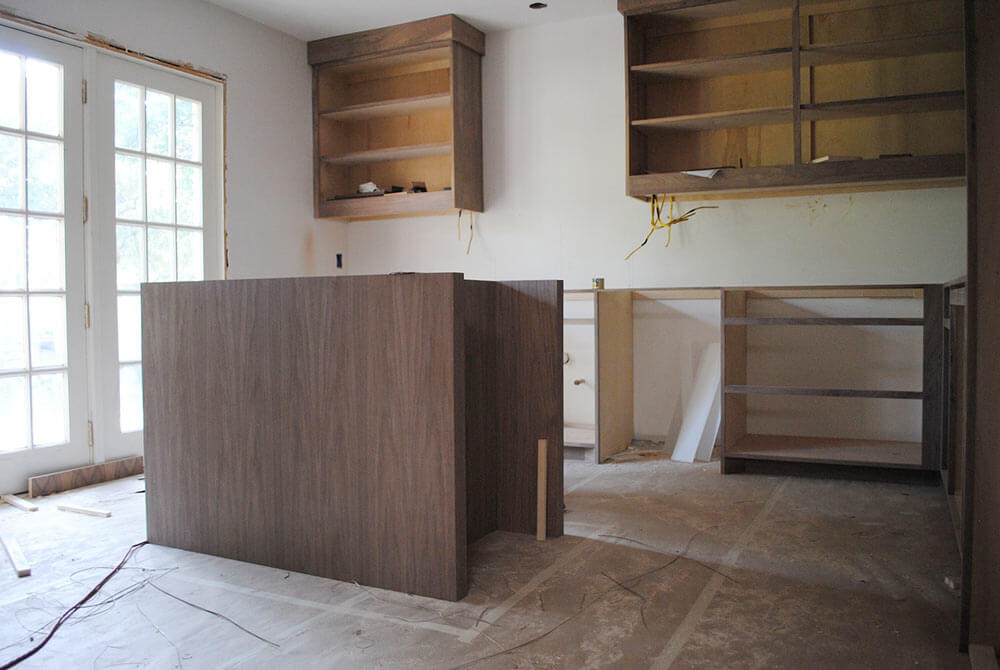
So here we are, roughly 2/3 of the way through renovations and although we have accomplished a ton so far, we are desperately ready to start seeing the kind of progress that makes it feel like a home. Our beautiful newly refinished floors are completely covered and we are ready to start the kitchen build out.
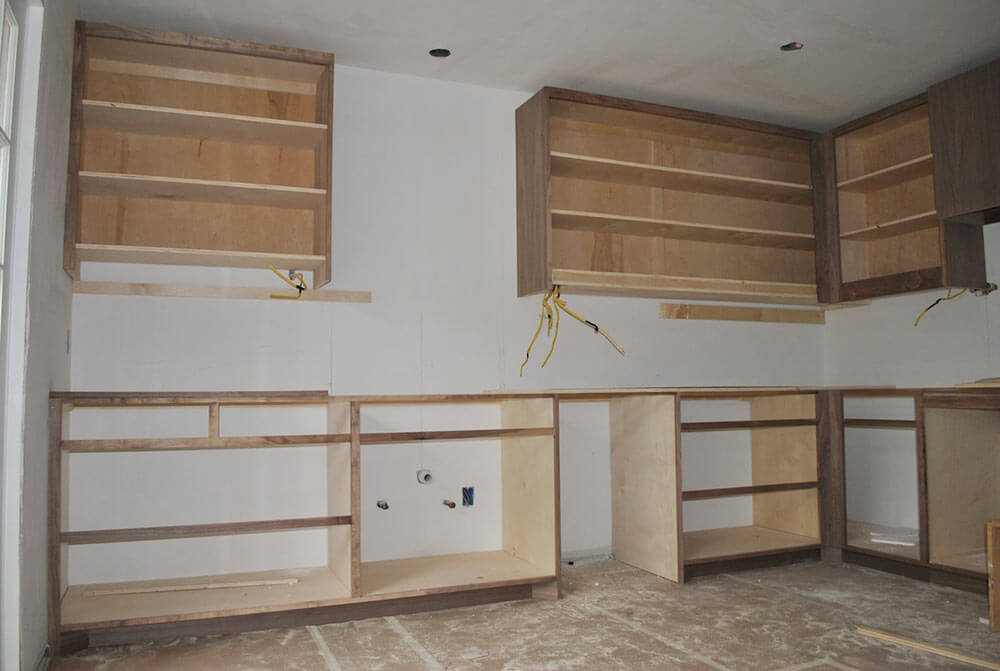
At this point we are bringing in the heavy hitters, our master carpenters from L&D construction, Joe and Kenny. We have worked with Joe and Kenny on several projects and wouldn’t trust anyone else with this job. Retro Renovation readers should be familiar with Joe’s handy work as he is the one who built the custom vanity for our pink master bath renovation.
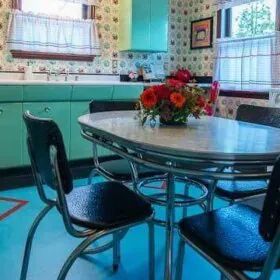
We have several inspirations that we are pulling together in order to achieve the specific look and feel we want in our new kitchen. One of our inspirations is actually from a Retro Renovation story that ran long before the House of Good Taste was even a twinkle in our eye, Rebecca and Keith’s Mad Men kitchen remodel. When we saw their amazing walnut cabinets we made a mental bookmark in the hopes that someday we could incorporate something similar in our own kitchen remodel. Our second source of inspiration comes from a photo of the original House of Good Taste kitchen that ran in the September 1964 issue of Better Homes and Gardens Magazine (which we were able to find our own original copy of).

Here (above) is sample board of the basic finishes we have selected.
- Full overlay slab walnut cabinets stained natural.
- Caesarstone quartz countertops in “Blizzard”
- Dal Tile 3×9 oval from the Natural Hues collection for the backsplash, to be laid in a stacked format. A far more budget friendly option than the similar style from Heath Ceramics we first came across

The walnut cabinets will be the star of the show in the kitchen. We feel that having them against a back drop of the polished concrete floors, white ceilings and walls, and white counter tops and backsplash, will make them a show stopper. But don’t worry, we will have some pops of color mixed in there with Lindsey’s Cathrineholm collection.
We are not making any radical changes to the layout of the modest sized 13×13 kitchen, but simply spacing things out a little bit to be more ergonomic and visually appealing.
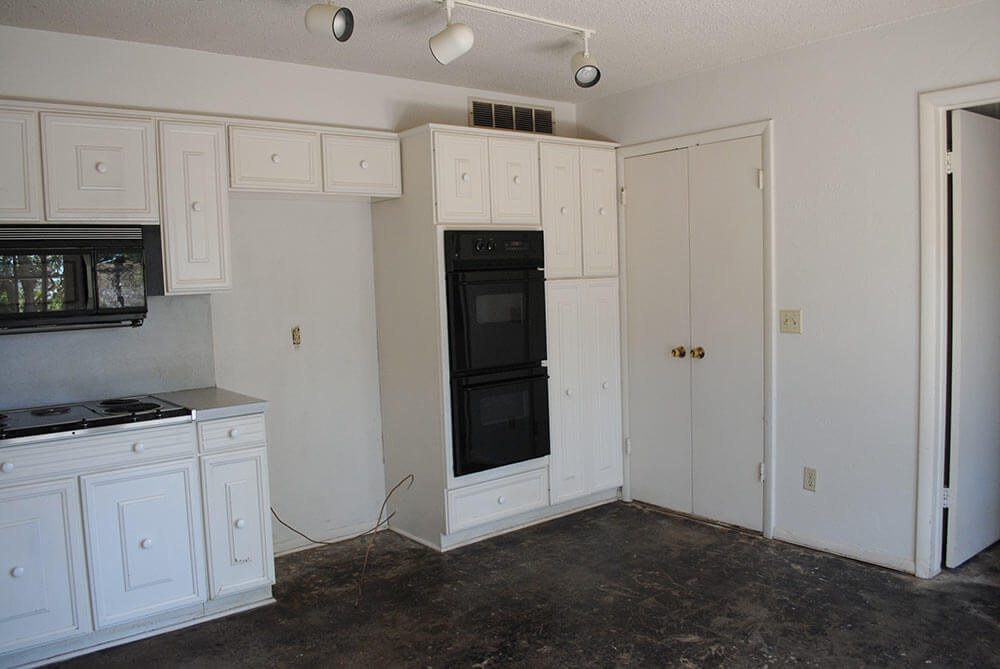
- The double wall ovens will be replaced by a single oven built into the lower cabinetry under a induction cook top. This will free up space for a larger pantry and fridge.
- The pantry will house the microwave to keep it out of sight, which goes along with our decision to not have any wall outlets cut into the backsplash, but instead the outlets are housed under the upper cabinets to keep a clean seamless look along the backsplash.
- We will not reinstall a door in the entryway to the kitchen. There was originally one there, but we feel not having one will make things feel more open and not be interfere with the pantry doors
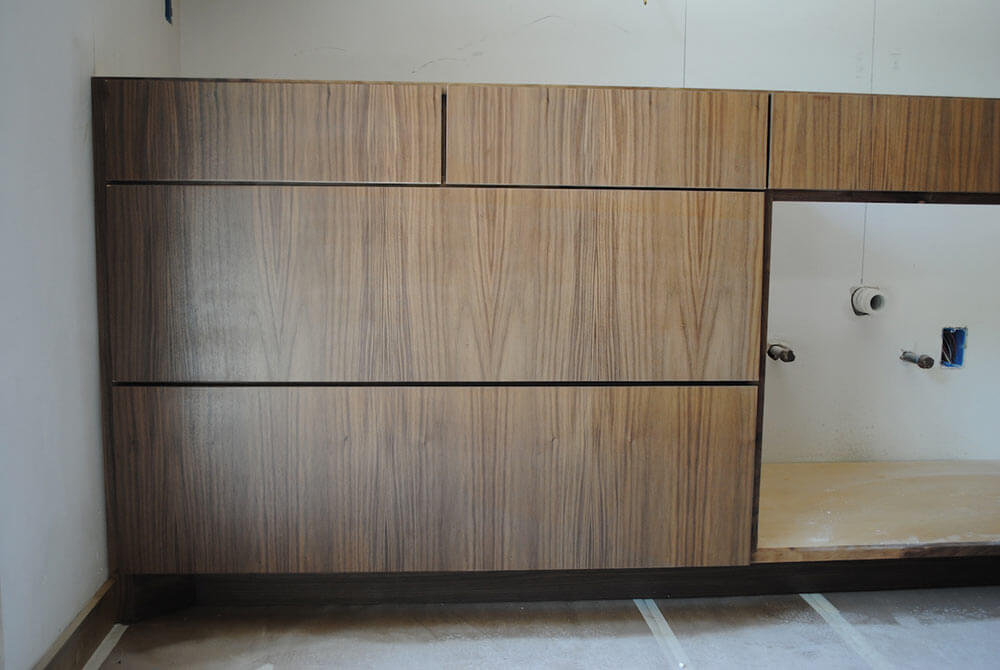
- Lower cabinets will mostly be large drawer units.

- A new 8′ long sliding glass door will replace the current french doors that we assume replaced the original sliding door long ago.
- A very strategically sized and placed island will serve as our kitchen table and seat 4 people on three sides comfortably. The fourth side (near the sink) will have pull out drawers for trash and recycling. Pulling off the island that could do all this as well as allow 40+ inches of walkway on all sides took a bit of configuring.
While the guys from L&D construction execute our kitchen plans we are busy working on some of details items:
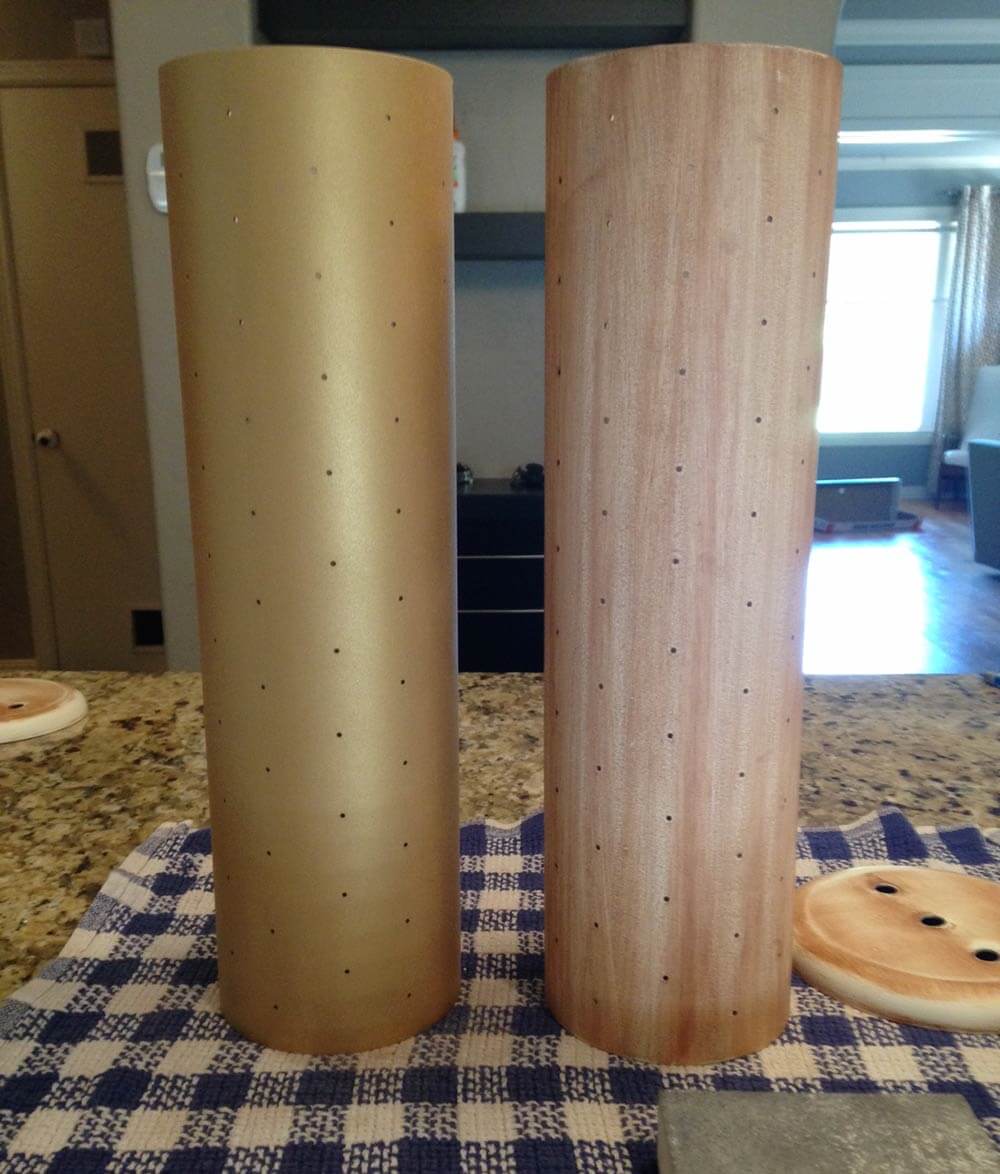
We scored 4 matching vintage perforated cylinder wall sconces by EJS, the company that is famous for their 1959 Stockholm series, which is now commonly reproduced. Sadly these were given a faux “wood grain” paint finish by their previous owner, but with a little bit of elbow grease and gold paint, they should be a stunning addition to the entryway hall.
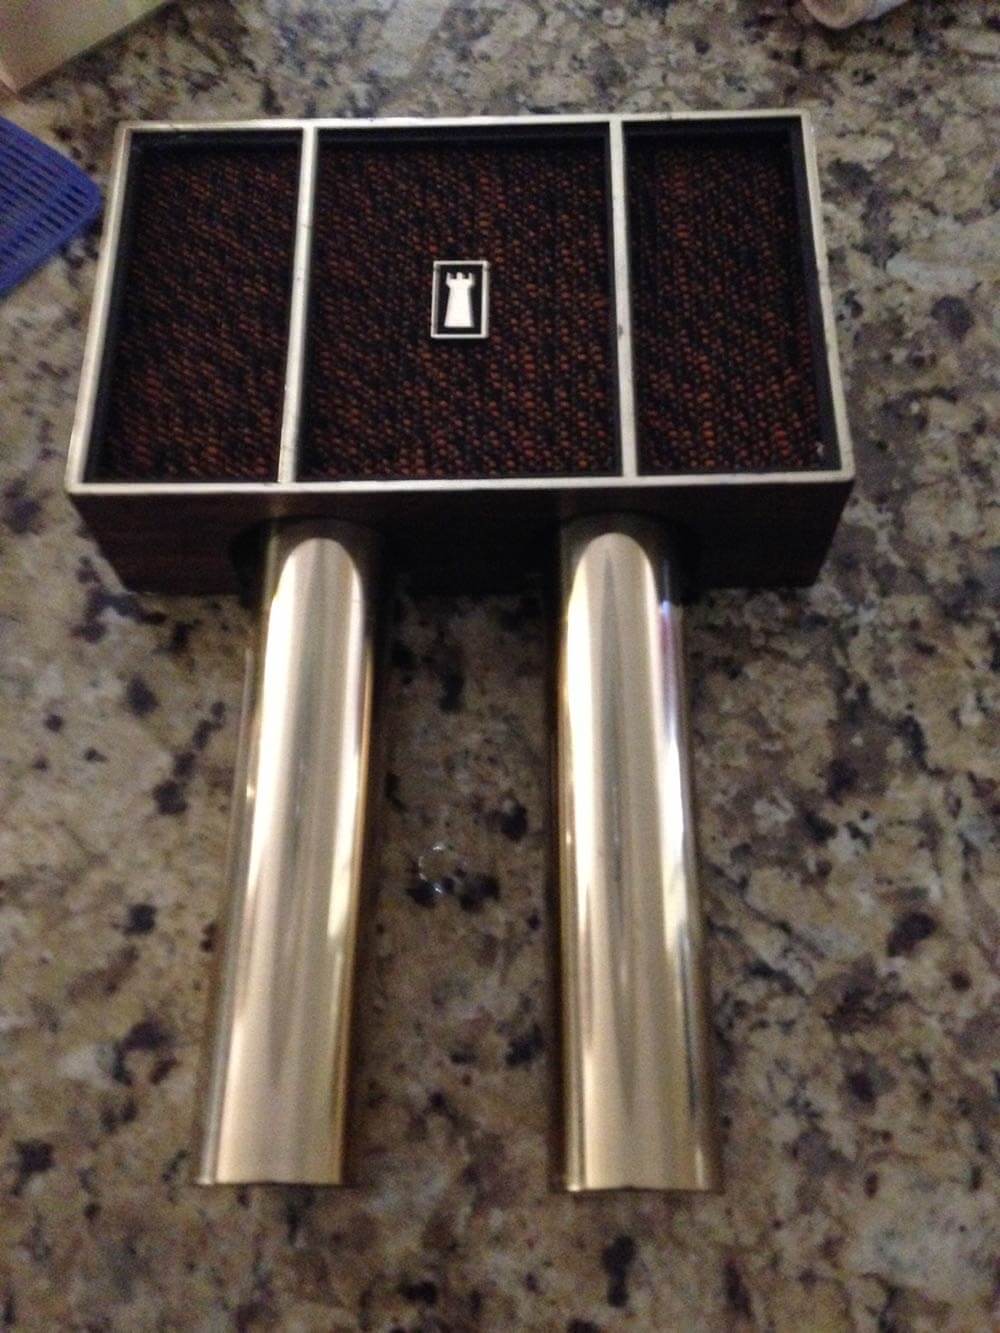
We were also inspired by a recent Retro Renovation post about doorbell chimes and decided to reach out to Robert at ElectraChime for more information. We were trilled to discover he also is a collector/seller of original vintage chimes and was able to sell us just the perfect chime. Unfortunately we could not fit a long tube chime, but went with the short tube type commonly referred to as a resonator. We got a Rittenhouse model 8271 in near perfect condition.

We have several other significant projects getting under way in the rest of the house, which should make our next installment the best yet!
Mike and Lindsey — so far your kitchen is looking great! Thank you so very much, Mile, for continuing to chronicle and share your Retro Renovation journey.
Readers, we know you want to see the finished rooms — sorry for tantalizing you! Mike & Lindsey tell us the renovation is in its last phase — the big reveal of all their finished spaces should be coming soon!


Mark says
Where are the photos of the finished project?
pam kueber says
The entire series is linked at the bottom of the story.
JoAnn Rowland says
Hi Mike and Lindsey,
Thanks for your update on your concrete flooring. I have some questions about your cabinet installation. I have found it will suit me best to have cabinets built in order to get the finished product I want. Were your cabinet boxes fabricated from plywood or composite material. Wondering if the doors and drawers are solid material with a laminated walnut veneer? Were the drawers and doors also fabricated by the cabinet maker? How did you find the cabinet maker that you used? I know I’m asking a lot of questions. I really appreciate your help.
Thanks!
JoAnn Rowland says
P.S. Your cabinets do appear to be built in place. I didn’t mention that above, and that actually should have been my first question!
Thanks again,
JoAnn
Shige says
Who makes those walnut cabinets?
joe9165 says
The island, despite the strategy involved in sizing and laying it out, is probably too big for the kitchen, or undersized for seating four people. You might want to reconsider size, placement and/or use before it becomes permanent, although by now it sounds like it’s too late.
The National Kitchen and Bath Association (NKBA) recommends a minimum of 42″ work aisles, and 48 between multiple workspaces like your cooktop and sink. Walkways, not work aisles, can be smaller. You may find the 40″ aisles to be a bit tight in actual use.
Knee space (counter overhang) for counter-height seating is 15″. I just went through this on my 1960-kitchen peninsula and 15″ is really a good minimum for knee room. Any less and you’re likely bumping knees unless you’re fairly short (<5'4"). You CAN, per Caesarstone and/or Silestone manufacturer recommendations, almost get that unsupported but counter installers won't go that far and most want corbels or legs.
Here's a good pdf on island design, cribbed mostly from NKBA: http://kitchenandbathcabinets.net/Dans%20Stuff/Island%20Planning%20Guide.pdf These are guidelines, not building codes,
With 1+2+1 seating on three sides, I'd say the countertop needs to be at least 3'x4' for elbow room or plate placement. Braces or corbels to support the overhanging counter will eat into the knee room under that countertop. You can eliminate the corbels by custom steel braces (minimum 3/8" thick, 18-24" apart to win back that knee room. You can make them yourself for less than $20 each.
Not to be a code-compliance nag, [edited by Pam — Peoples, get your own properly licensed professional to advise on such issues.]
An island in a retro kitchen is not a task for the faint of heart.
pam kueber says
Well.. they didn’t ask for advice, but I’ll leave this up because it seems to have good info. Thanks for sharing, Joe. READERS: Consult your own properly licensed professionals regarding your building code requirements.
Mike says
Thanks for your comments. You bring up many great points that people should consider
We are sticklers for details and indeed getting a island in the kitchen that felt 100% comfortable took a good amount of thought and planning.
For spacing around the island, we have the below
island to sink 44″
island to stove 44″
island to main walkway 50″
island to sliding door (least important) 41″
The final counter top size for the island ended up being 42″x54″ (3.5’x4.5′)… larger than your 3×4 recommendation four our 1+2+1 seating configuration
We ended up with 13″ of counter overhang for sitting area (knee space). perfectly comfortable with no knee banging but we did know that it would be a tad shorter than ideal. We did have to strategically choose stools with a shallow depth to work better though
For your question on the outlets, all the outlets are under cabinet at @ 18″ above counter top. We used a type of “power strip” method that is completely in code and I had never seen done before, we have a total of 20 outlets under the cabinets. All of our appliance fit just fine, including coffee maker, espresso maker, kitchen Aid mix, and huge vintage percolator for holiday parties.
[Discussion of code issue – deleted by Pam – peoples, get your own properly licensed professionals.]
Indeed fitting an island in our size kitchen was a task and could easily turn out bad if one just slapped it in there willy nilly. But we took a lot of effort to get it right. working with experienced kitchen contractors, a lot of graph paper, and creating cardboard mock ups of the island to move in space.
We have had a few get together with more than 10 people hanging out and sitting in the kitchen comfortably
-Mike
pam kueber says
PEOPLES: Re electric codes, consult with your own properly licensed professionals, please!
I am going to edit out the code discussions. GET YOUR OWN PROPERLY LICENSED PROFESSIONALS to advise you on these issues.
Mary Elizabeth says
Good idea, Pam. The [“c” word] requirements vary from community to community, and some have different rules for professionals and for do-it-yourselfers working on their own homes. So since the readers and commenters on this site all live in different states and communities, it is best we keep out of it. 🙂
pam kueber says
Agreed!