

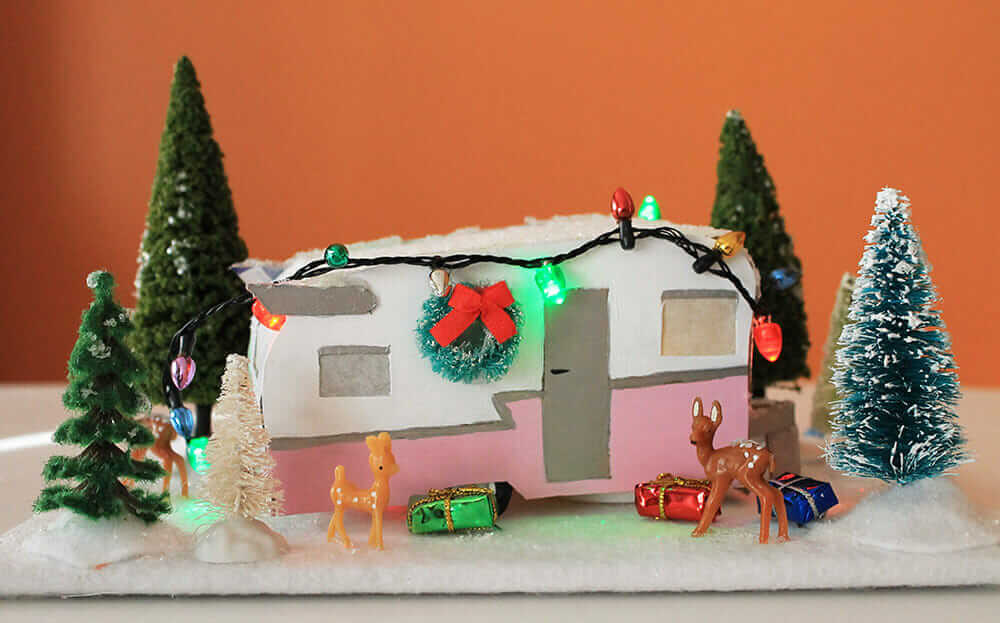
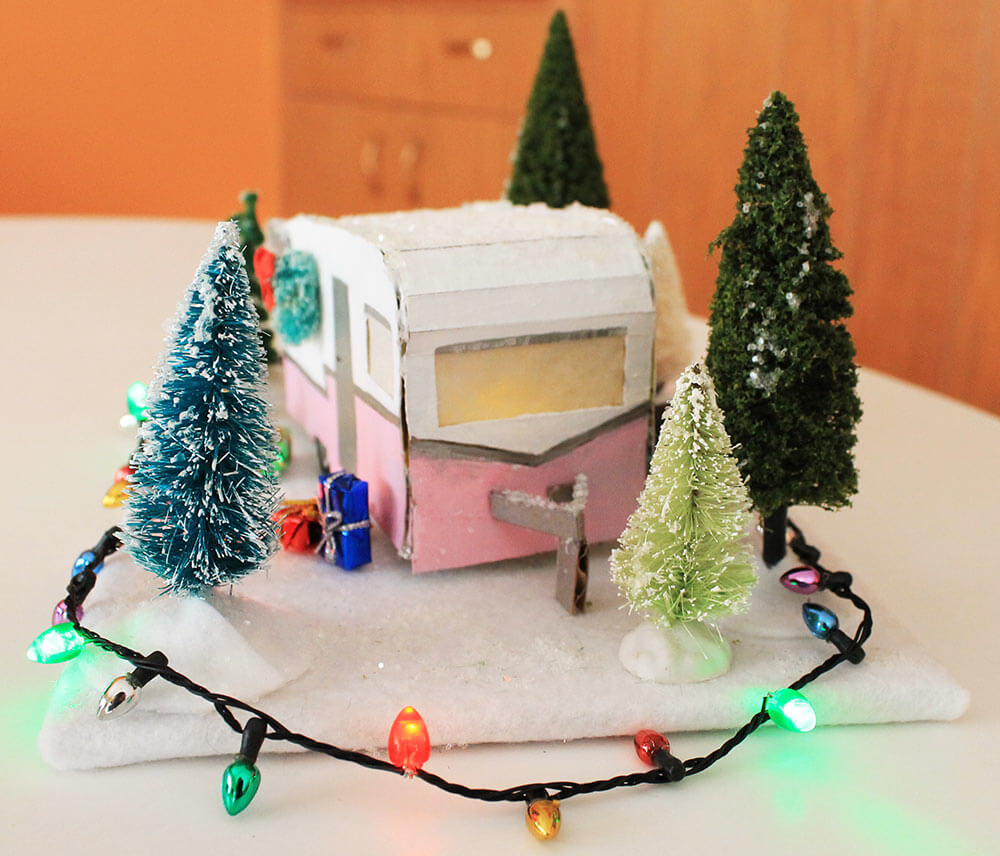
 For my final putz house design of 2015, Pam prodded me to create a mini vintage travel trailer inspired by the relaunch of the 1961 Shasta Airflyte trailer last September. Time to add some new elements to our growing Christmas Village subdivision!
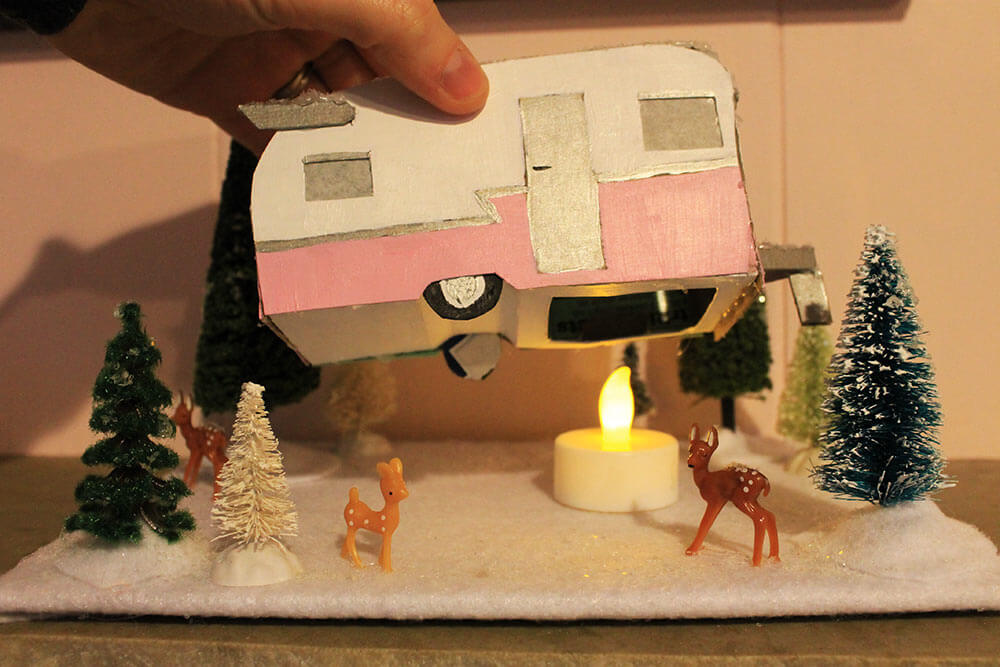 This little travel trailer has a secret underneath it — an opening for you to place over your flameless tea light.
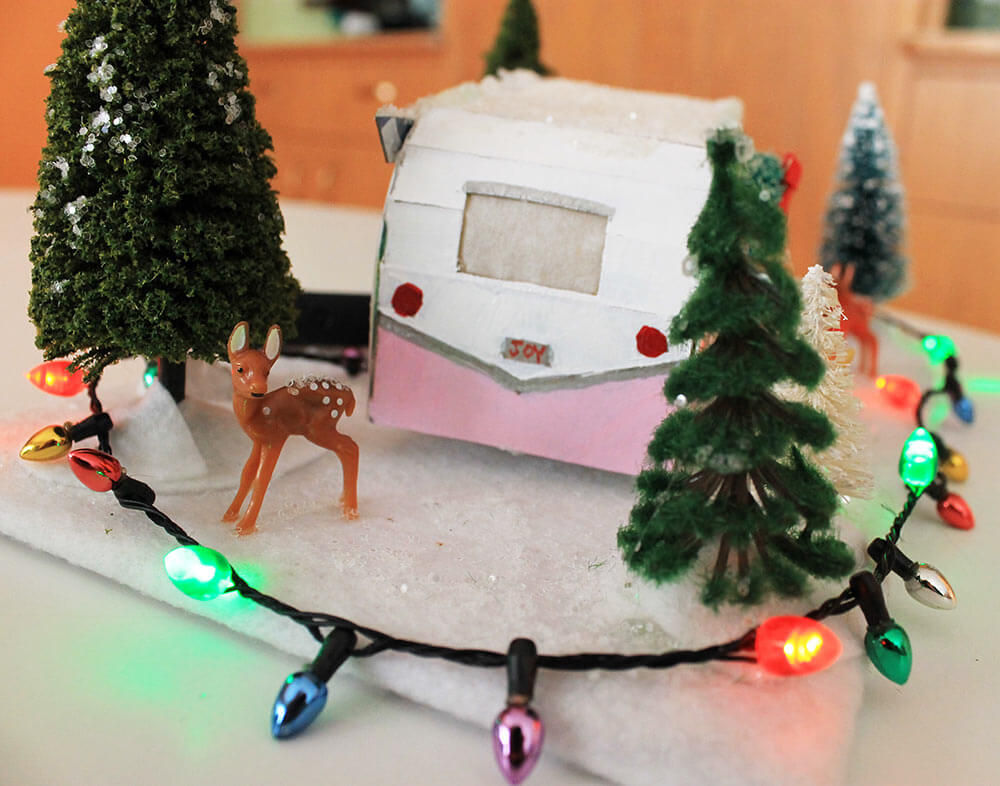
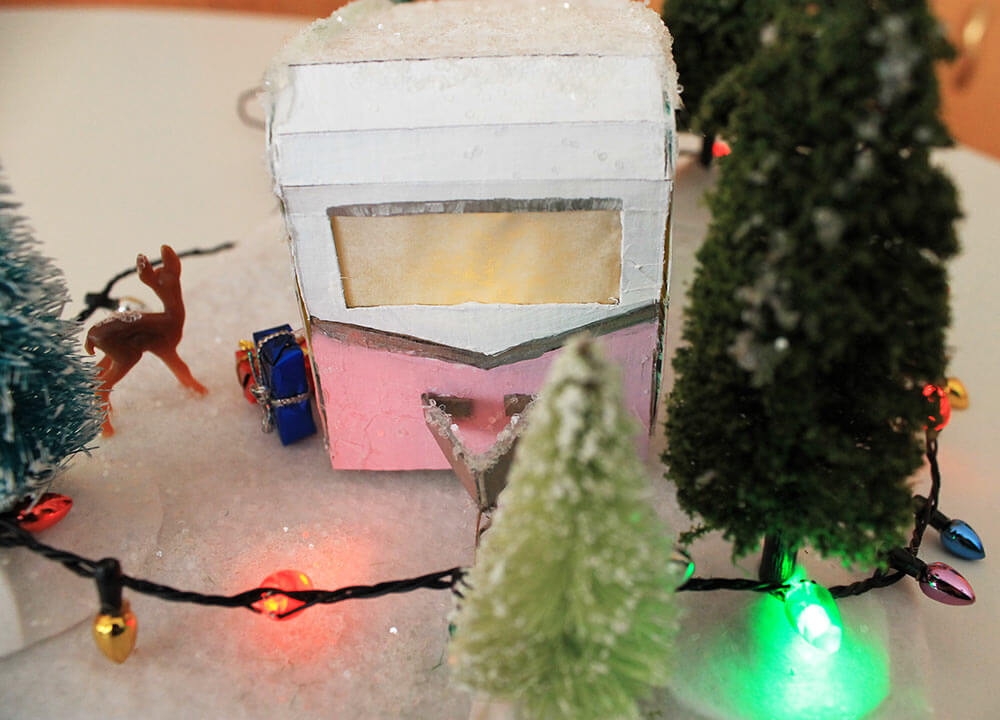
 Since the trailer is not anchored to the felt snow, I created a little forest scene, complete with several species of trees, and some miniature deer who are stopping by to investigate this visitor.
 Assembly tips for this design:
- Use lightweight cardboard (from cereal boxes or similar) or heavy weight card stock for this design. Skip the too thick cardboard boxes, which become too bulky to create the curve of the front, roof and back of the trailer.
- No metallic silver paint? Use aluminum foil to create the chrome.
- Once all pieces are cut out and painted, make sure to glue the wheels to each side before attaching the bottom of the trailer.
- I attached the sides to the bottom first, then started at the back of the trailer and attached it to both sides, working my way slowly to the front.
- Getting cardboard or card stock to curve in the right places can be tricky! Make sure to go slow — also, snow (glitter) can hide many sins. This is a difficult design to assemble folks! Pam says that for the curved top/front/back portion, she might try a coffee cup sleeve that is sort of pre-corrugated to curve easily.

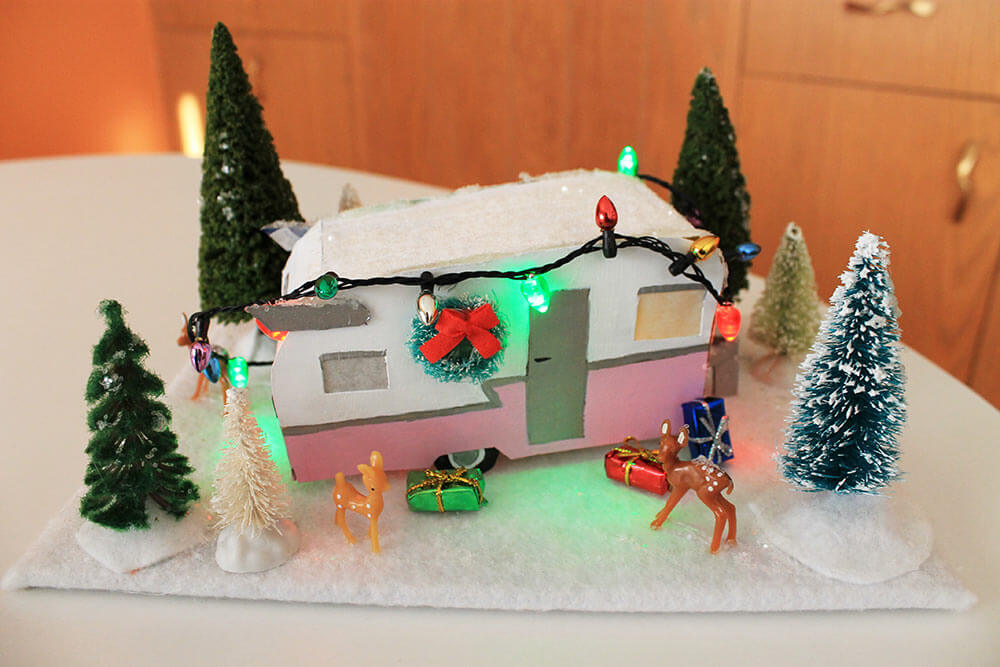
 After seeing my initial photos of the mini travel trailer putz, Pam said, “This needs a little something more!” and she searched out this flashing holiday lights necklace from Amazon that can be either draped over the top of the camper or arranged around the base. Once my necklace came in the mail, I could see that only one in three of the lights lights up, still, it’s a pretty addition.

 What do you think? Cuteness overload?
Get our free pattern:
- Click here to download Kate’s free Putz travel trailer pattern
- For basic instructions and a list of materials needed for this project, see my first mid century Putz house pattern.
Make more midcentury “Putz” style houses:
- See all the designs
- Want to know why these houses called “Putz”? Read our vintage Putz house history and online guide.


Wendellyn Plummer says
Auto body pinstriping tape may work also. Some even comes with sparkle. Just a suggestion. You can find this at Walmart, Hobby Lobby and most auto body shops will give you some.
Deb says
I used a silver metallic Sharpie for the silver trim. It worked really well.
pam kueber says
Great idea! Be sure to upload a photo to the uploader!
Deb says
Yes, I uploaded a photo of my turquoise Shasta and new hip roof ranch. I am having so much fun!
Grimm says
It is funny you did a retro camper this year! I started my putz planning back in November and found some paper model plans for some vintage style trailers at http://www.ourboler.com. I printed them out to scale with the houses I have built (from your templates). I am going to build a small trailer part scene next year with a few campers from the plans I printed.
Here is the link…
1974 Boler
http://www.ourboler.com/wp-content/uploads/2013/04/boler-trailer-paper-toy-template-shell-1024×786.jpg
Vintage Shasta
http://www.ourboler.com/wp-content/uploads/2013/04/paper-shasta-trailer-toy-template.jpg
BTW I also made a non-house for my putz village this year. It is retro (from the 1960s and the UK) and I had to light it with LEDs because of the size. I’d love to share a picture once I am finished adding the trees to the scene.