

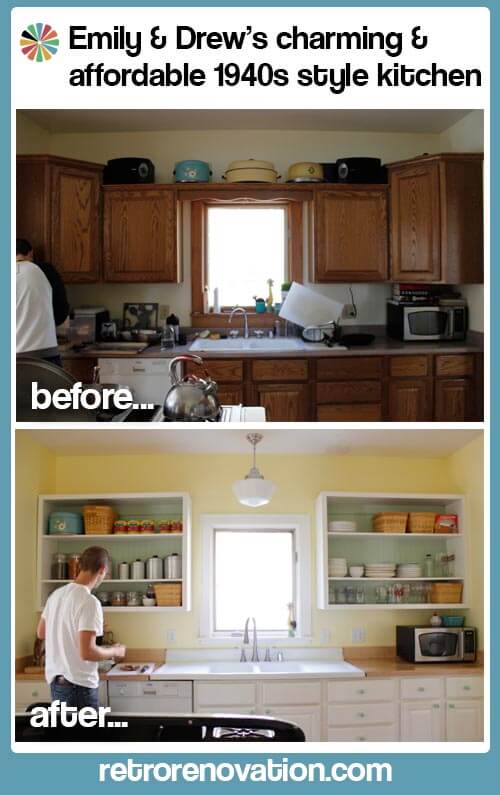
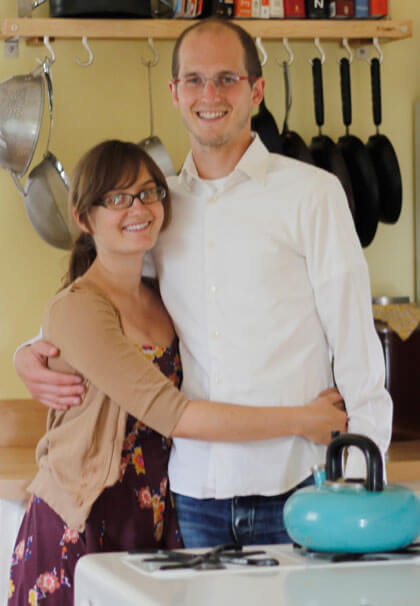
 Reader Emily and her husband Drew fell in love with their 110-year-old Victorian house immediately, even though it needed a lot of work. With a small budget that had to stretch to cover remodeling expenses for several rooms, they had to get creative. With their latest project — the kitchen — they worked with the plain Jane stock kitchen cabinets already in place, made a few strategic investments, styled to give of a colorful vintage vibe — and rolled up their DIY thrify sleeves. Months of hard work painting, building upper cabinets, installing a vintage drainboard sink and loads of other projects paid off for the couple. Their kitchen is so sunny and happy.
Emily made the time-lapse animation above to show how the kitchen sink area progressed over time.
Emily writes:
The house is a 110 year old Victorian, and was literally falling apart when we bought it (think: plaster chunks falling out of the walls, electrical cords duct-taped around doorways, peeling paint, etc.) But it had great bones and lots of details that reminded me of the house I grew up in – maple floors, decorative trim, tall ceilings… I was smitten. Honestly, even the disrepair seemed like a not-altogether-bad thing – it meant we’d get the house super cheap and that we’d make it our own.
We got a housing rehabilitation loan in conjunction with our mortgage. Our budget was $30K, which we stretched to cover moving one bathroom, adding another, and creating a hallway on the second floor. Anything we could do ourselves, we did…. The house was in bad shape when we moved in (110 years old, with virtually no maintenance done in the last 30 years), so we’ve gut remodeled almost every room now, but on a budget, doing most of it ourselves, and using salvaged wood/trim/fixtures whenever possible. The ReStore is my friend. I re-plastered and painted every room in this house (plaster as in lathe and plaster, not drywall repair). To anyone doing the same: I’ve tried every plaster compound known to man. Quickset45 is the only way to go. Trust me. [Editor’s Note: Precautionary Pam reminds: Remember, readers, vintage houses can contain vintage nastiness like lead paint and asbestos — get your own trusted properly licensed professional to help you determine what’s in your house and its layers so you can make informed decisions.]
The hardest part of that initial renovation was being without a bathroom. For a shower, we connected a hose to the basement slop sink and hung it from one of the rafters. You had to stand in a cement mixing tub to shower, and then run across the concrete floor to turn the water off. Did I mention this was December, in Wisconsin, in a 110-yea- old house? Yeah, that hurt.
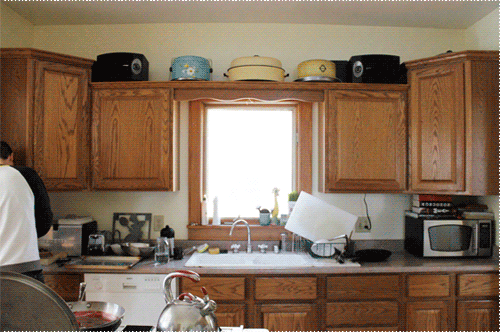
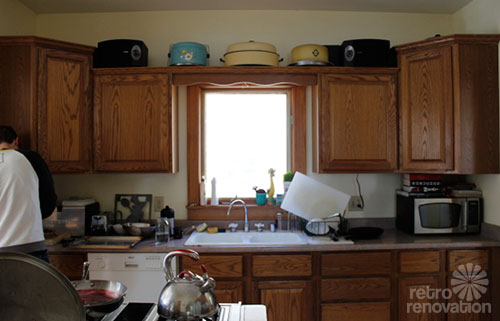
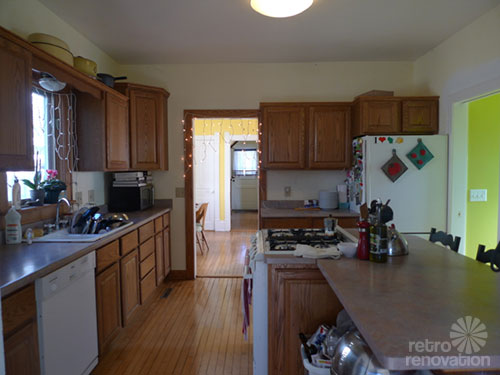
The kitchen and back rooms were a remodel/extension done in the 90’s (the architectural equivalent of bachelors buying a new pack of tee shirts instead of washing the ones they have?), so those were last on our to-do list.
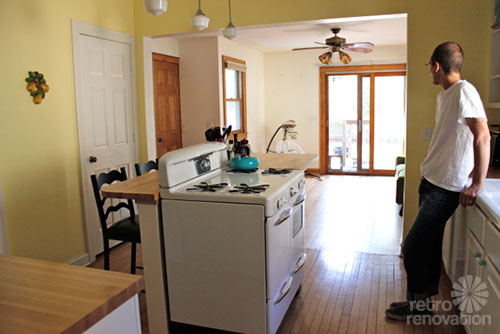
Well, we finally tackled these last two rooms this spring. Our big goals for the spaces were to make the kitchen brighter, the cabinetry more practical, and the back room warmer. It had a Mediterranean style tile floor, which made the space look and feel cold, and we really only used it for storage. We wanted to make it a family room.
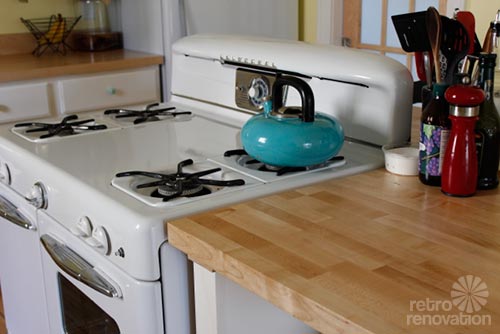
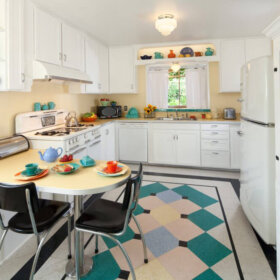
My favorite kitchen photos on this blog are always from the 1940s, and I wanted to capture that bright, clean, cheerful feel in the kitchen without it screaming ‘retro’ so loudly that it’d clash with the Victorian elements of the house.
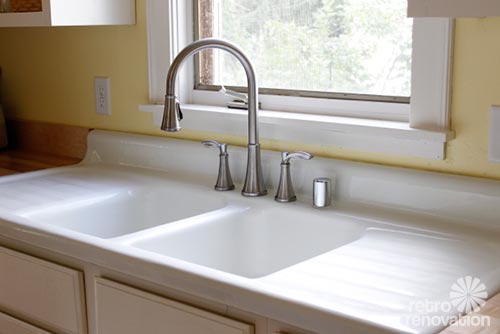
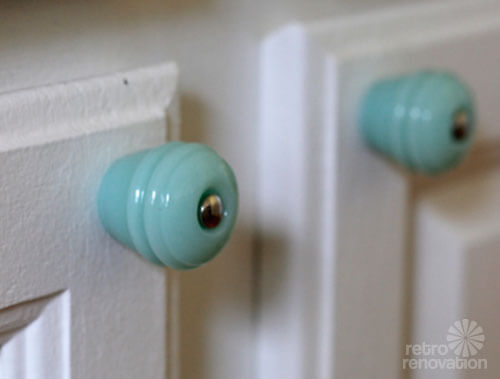
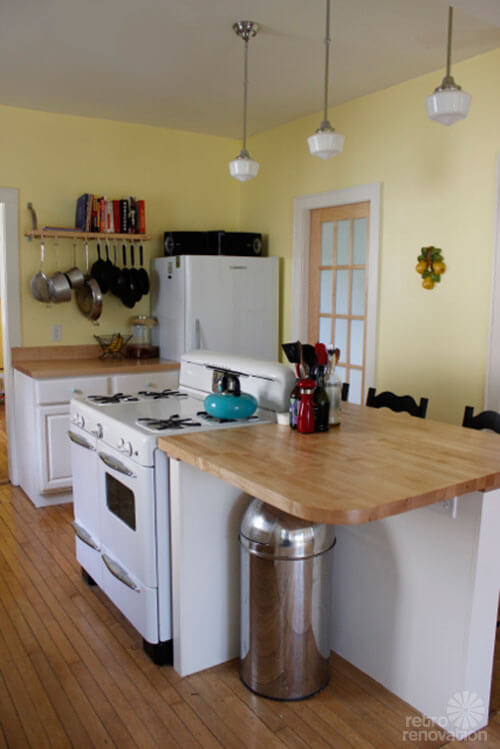
I think we managed that, using a farmhouse sink from the 40s, a 1954 Universal oven (yay, craigslist!), beadboard, school house light fixtures, and jadeite knobs. But we broke with the period by opening up the wall between the two rooms, installing butcher block counters, and keeping the wood floor.
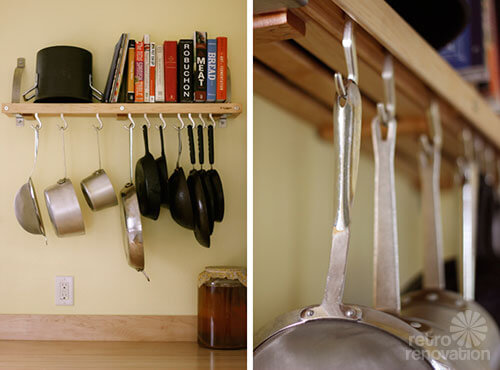
We couldn’t afford new cabinets, but the existing uppers were making me crazy (I found the corner cupboards really annoying – you have to take out half their contents to get to anything in the back). I’m an art teacher, so I took advantage of my spring break to build new ones. We kept the lowers, but painted them and added knobs.
I’d fallen in love with the jadeite knobs offered by Rejuvenation, but they were pretty pricey. I ended up finding nearly identical ones online at D. Lawless Hardware. For the lights, I dreamed of milk glass with painted stripes, but these Schoolhouse Mini-pendants were close enough and a better price.
It really does feel like a whole new room now.
[Precautionary Pam notes: Readers, please consult with local building codes — with properly licensed professionals — to ensure your stove placement conforms with local building codes.]
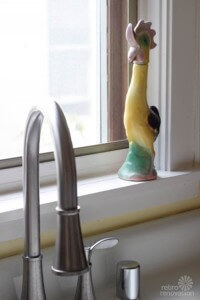
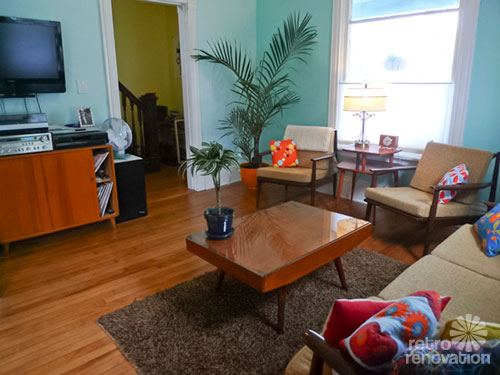
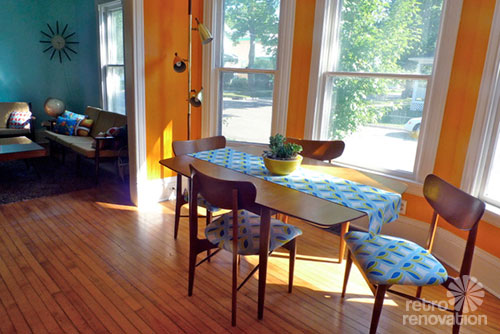
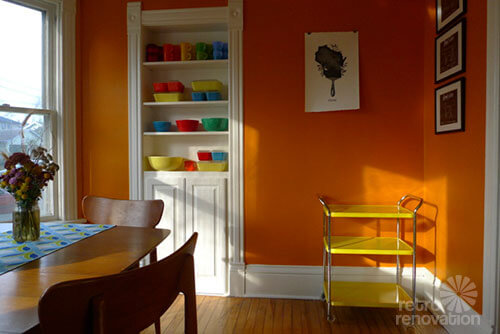
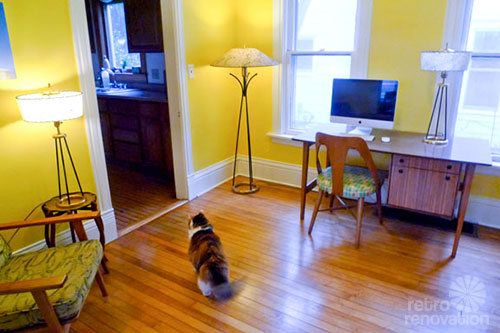
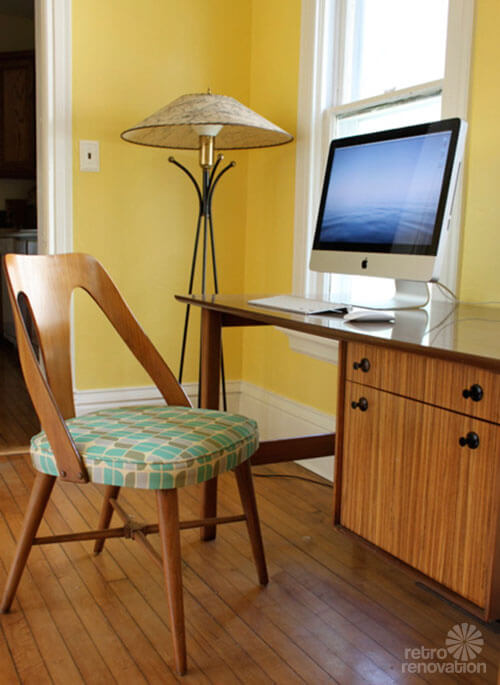
As you can see, we’re not afraid of color in this house 🙂
Well, that’s our story! Thanks for letting me share!
 The hardest part of that initial renovation was being without a bathroom. For a shower, we connected a hose to the basement slop sink and hung it from one of the rafters. You had to stand in a cement mixing tub to shower, and then run across the concrete floor to turn the water off. Did I mention this was December, in Wisconsin, in a 110-yea- old house? Yeah, that hurt.
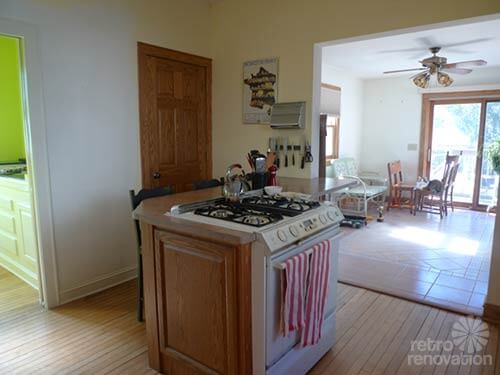 Since the kitchen and back room were fairly new, those weren’t part of the first remodel. That turned out to be a good thing, because it gave me three years to figure out how we used the space and what really needed changing. Retro Renovation has been my morning read with coffee all that time, so you can imagine how it affected the final outcome. Super helpful!
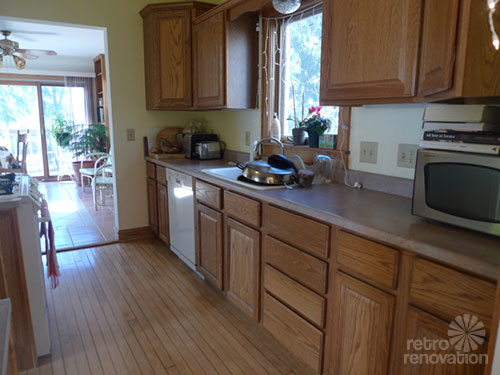


 I think we managed that, using a
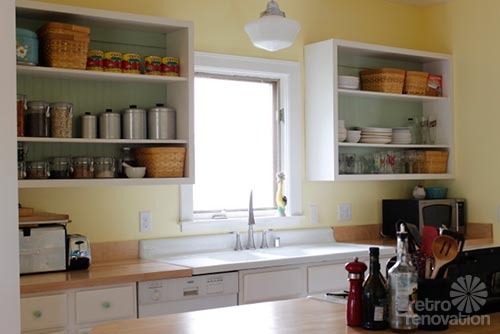
 Emily, you and Drew did a fabulous job. We also want to underscore to everyone: You waited three years to remodel the kitchen, and were happy you did. This affirms a key piece of advice we have here: GO SLOW, people, in making big remodeling decisions. (Unless the changes involve environmental or safety issues, of course.) Take the time to study and learn how you use the space… how you could use it more effectively… and what style of retro speaks to you.
Mega thanks for sharing your story and inviting all of us in to take a peek inside your cheery and colorful home.
Read more about Emily and Drew’s kitchen remodel on Emily’s blog, prairie loon.


Susan Conley says
I’m looking for one also, yours looks great!
SuzueMo says
looks amazing!! i’m shopping for my drainboard sink-so difficult to find!
Pam Kueber says
Here’s my page on drainboard sinks resources: https://retrorenovation.com/farmhouse%20drainboard%20sinks/