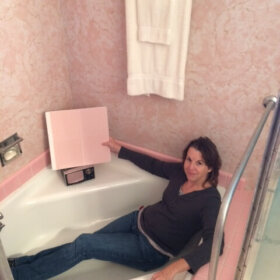
 More happy dances were in order this past weekend after I finished grouting the pink wall tiles in my master bathroom. Yes, things are really starting to take shape in there — getting ever closer to a finished bathroom. Pam asked me to do an impromptu video to show how my bathroom is looking with freshly grouted walls — so if you have about four minutes to spare — why not listen to me geek out about wall grout. You can even play a fun game and count how many times I say, “exciting.”
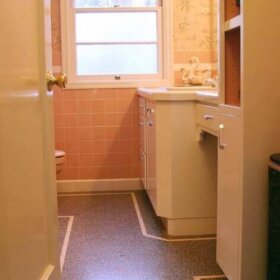
 I had such a good experience with the SpectraLock expoxy grout that I used to grout my bathroom floors, that decided to use it for all the walls as well. This time I chose the “bright white” color.
 Grouting vertical tile joints is much more difficult than working on a horizontal surface. Your biggest foe will be gravity. Since my floor was finished, I covered it with protective paper and taped it down to ensure no grout from the walls got on the finished floor. Even if you do your walls first and floor second, it is still a good idea to put down paper or tarps to catch all the grout that falls off the float when grouting. Once this epoxy grout dries on a surface, it is difficult to remove.
 The instructions on the SpectraLock container say that use with narrow or vertical joints can leave out up to 10% of the color mixture to make the grout easier to apply. I forgot this when mixing up the first batch, and it was extremely difficult to get into the tile joints. For subsequent batches, I left out about 8-10% of the part C colorant, which helped immensely.
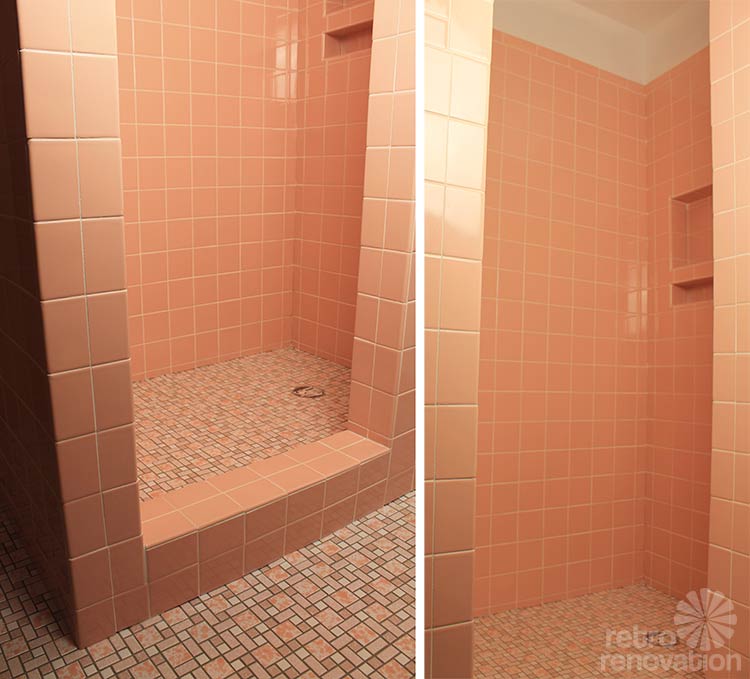 Starting on the inside of the shower and working my way around the room took me about three solid days, spread over two weekends. If I thought grouting the floor was a workout, grouting the walls was like total body bootcamp. It took a lot of strength to force the grout into all of those small 1/16 vertical joints — from the tippy top of the shower down to the floor. Let’s just say, my arms feel sore just thinking about it.
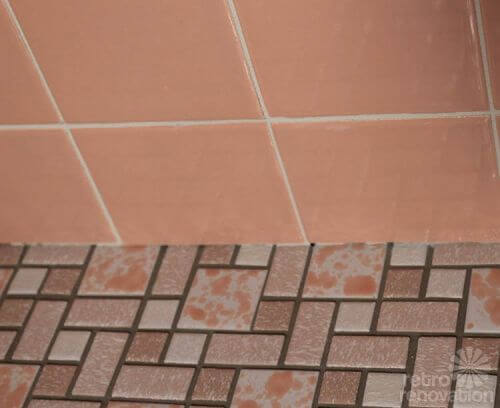
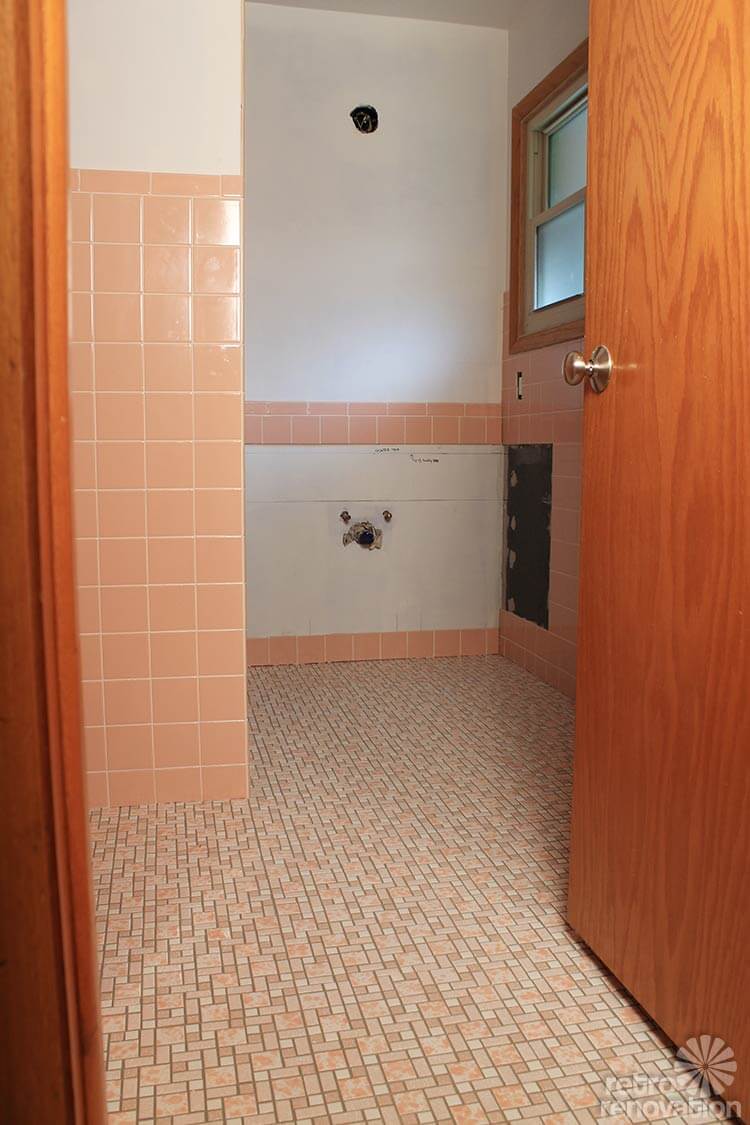
 In the end, the walls look amazing. Up next is the last step to finish off the tile — caulk. The inside corners of all the walls, joints where the floor and wall meet, and the top edge of the bullnose tile are all in need of some caulking. It is important to caulk the corners instead of grouting them because caulk allows for slight movement in these areas. Grout applied to corners will likely crack over time.
Also on deck, the electrician is coming to hook up the lights and fan and I’ve chosen a paint color. Then there’s that little job of building the vanity. Eeek…
Stay tuned.