

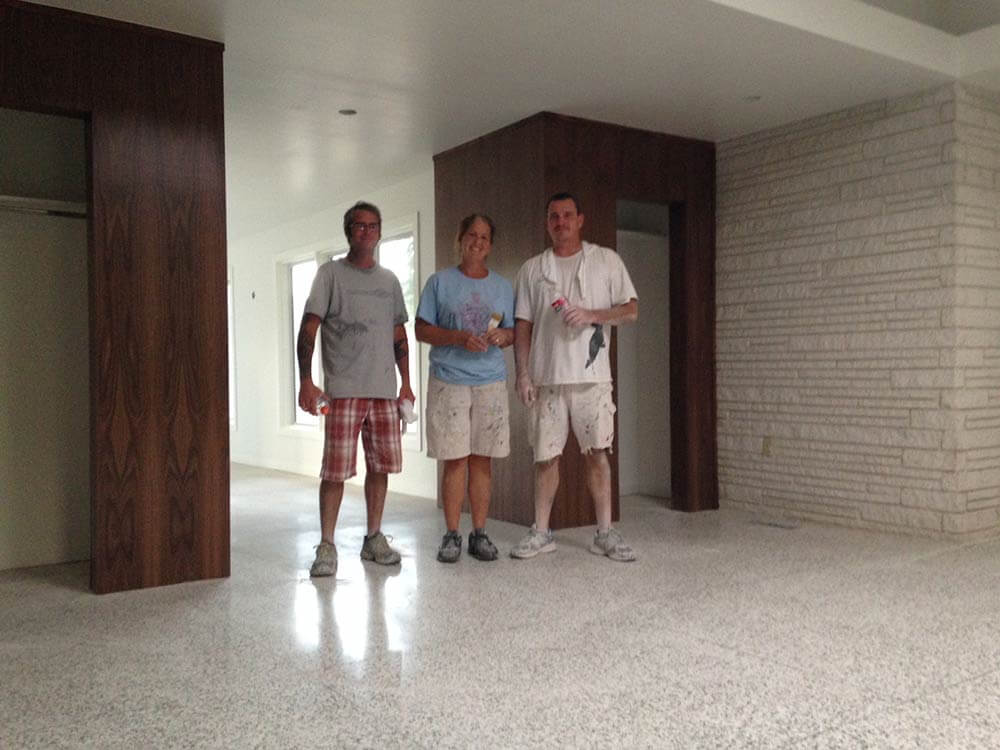
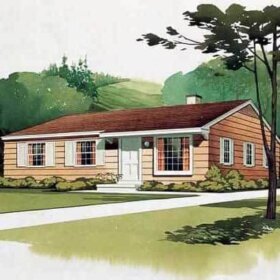
 We’re in the home stretch of our series chronicling Mike and Lindsey’s Edward Durell Stone ‘House of Good Taste’ remodel. In this seventh installment, the couple tease us one last time with a few ‘project in progress’ shots as they work on the finishing touches before they move into their mid-century modern dream house. Today, let’s see how the woodwork, door installation and painting turned out.
 Mike writes:
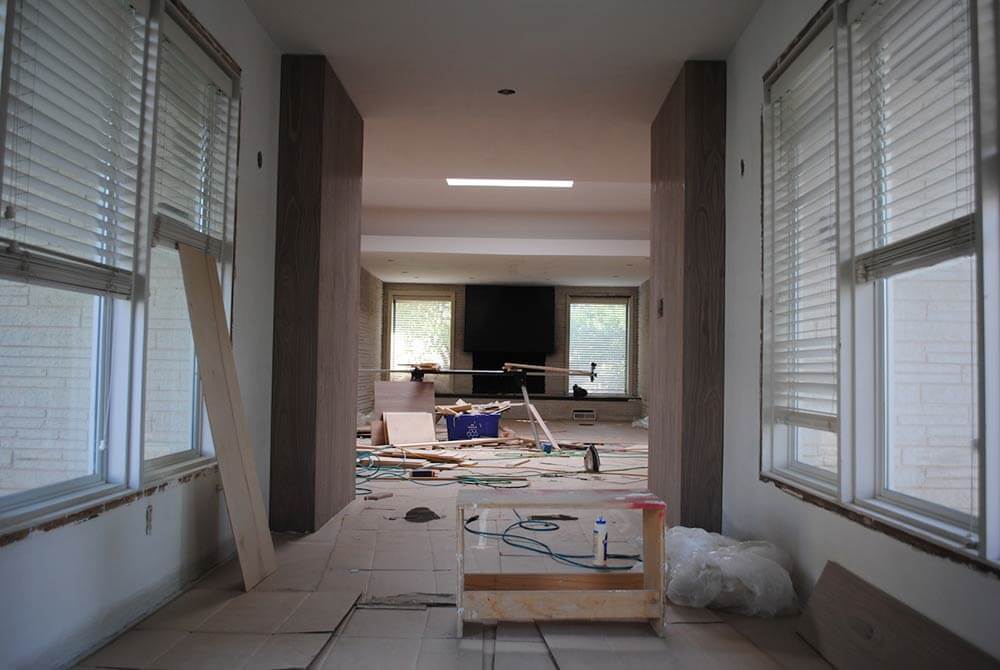
While the kitchen gets wrapped up with backsplash, counter tops, appliance install, etc., the final projects in the rest of the house get our full attention. These are some of the more fun and exciting parts, as we have been planning them since the beginning and it’s great to see them actually come to fruition. The highlights of these projects are the re-creation of the wood paneled closets in the main living area, the passageway doors that pay tribute to the originals, and new custom double entry doors. Lastly, the place gets some paint!

Wood panelled closets
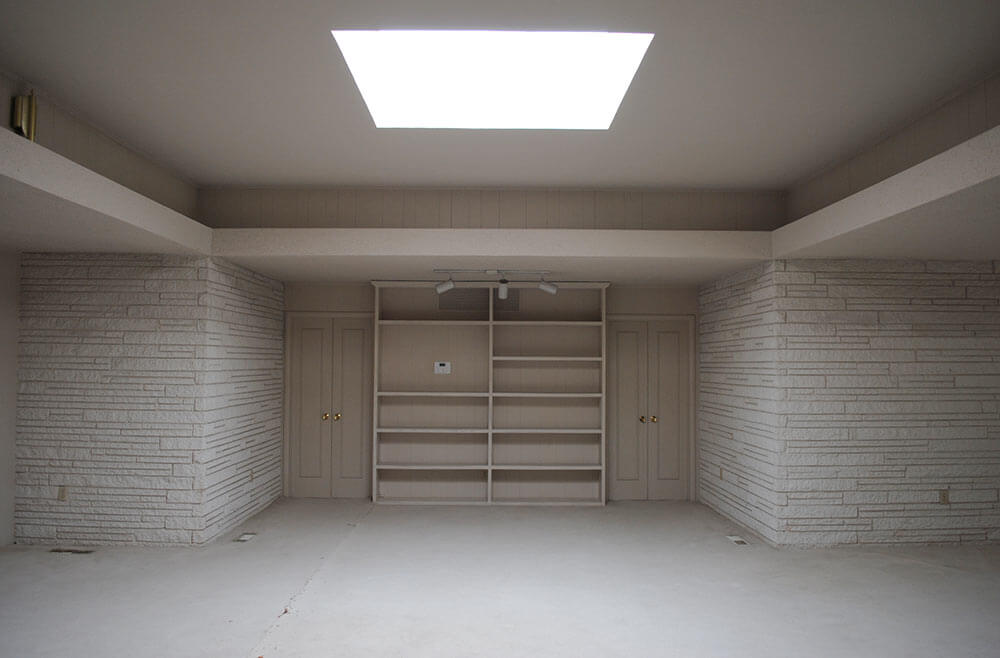
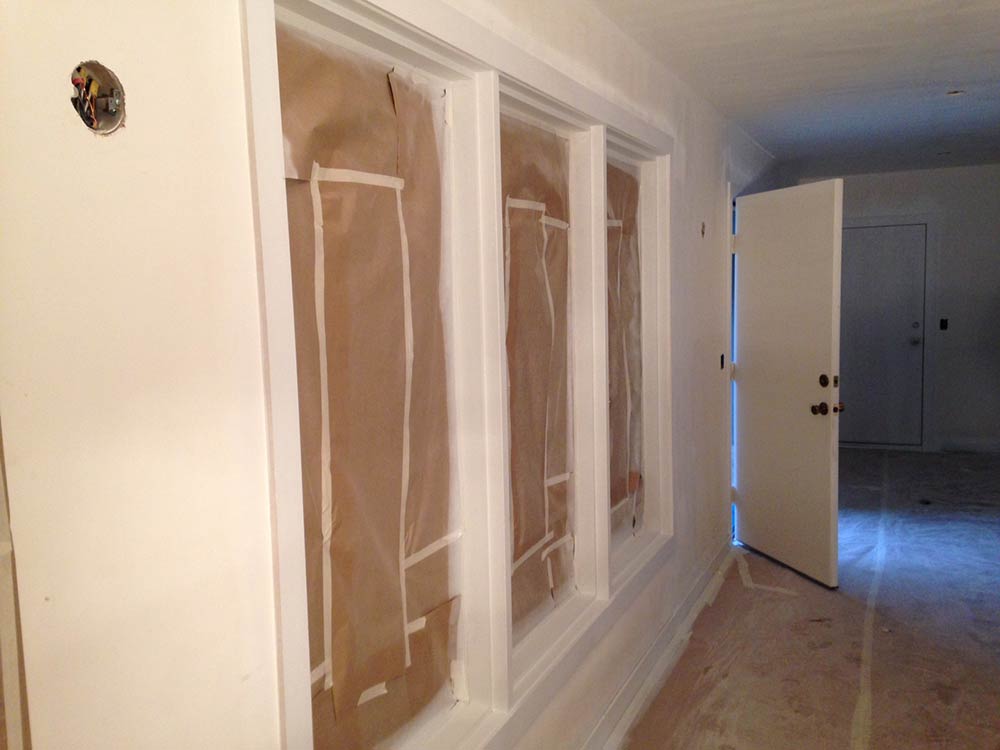
One original detail of the house we liked were the two matching wood paneled closets, with hidden paneled doors, that are at the end of the long entryway. We just didn’t like that the wood had been covered in several layers of paint and were generally beat up. We tore them out during the demo without knowing for sure what we would do in their place, but we knew we wanted to do something that would be a nod to the original.
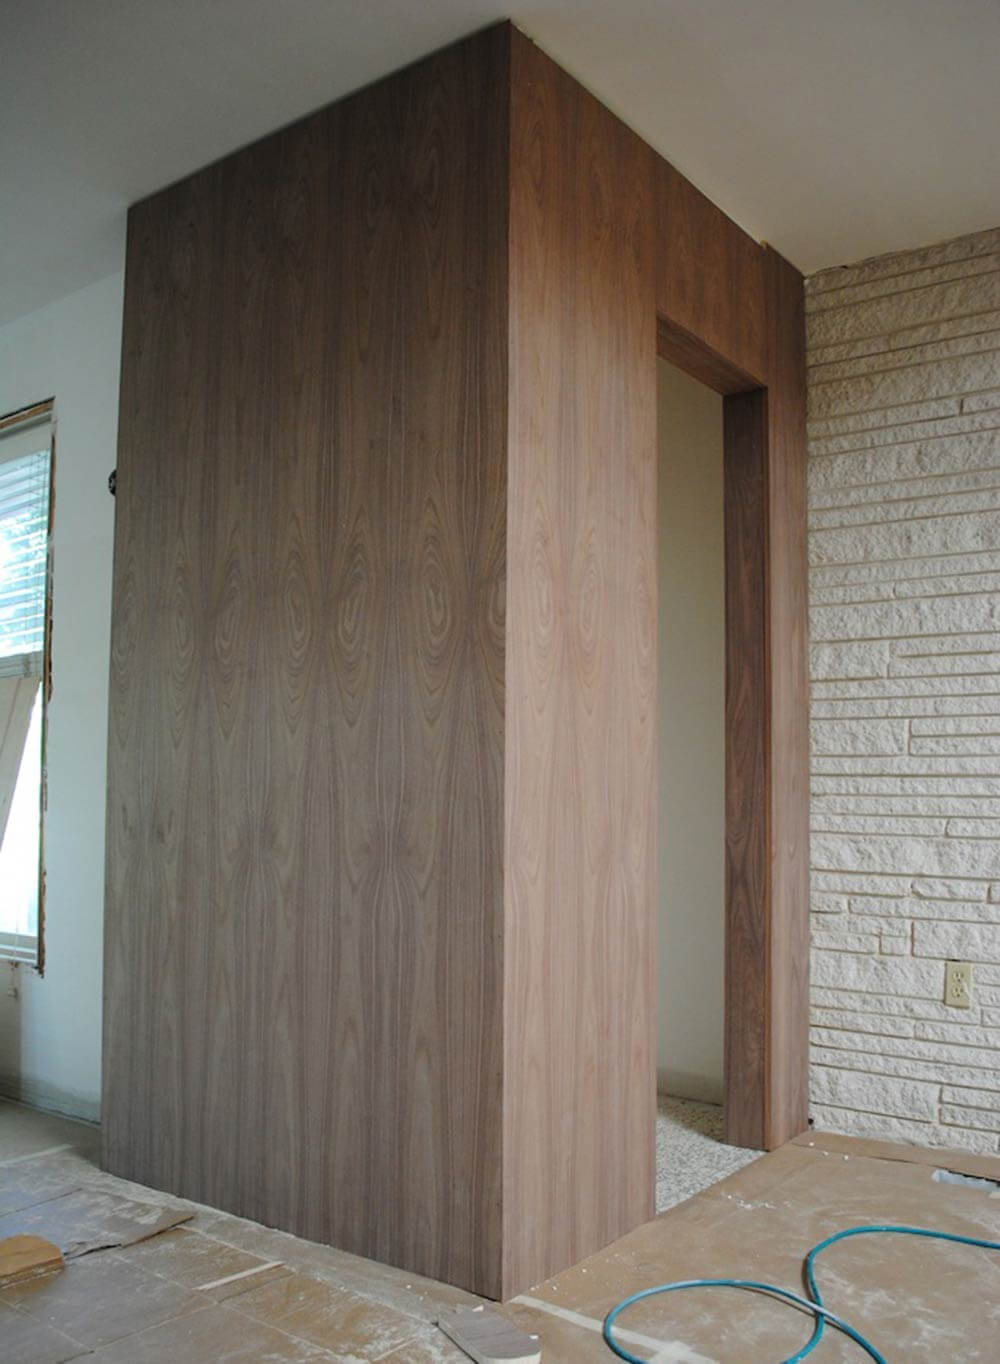
Once we saw how amazing the walnut cabinets in the kitchen were turning out and realized we needed to soften the house up in general because of the hard surfaces in the terrazzo and polished concrete floors, we thought that bringing the walnut through the rest of the house would help make it feel warmer.

After a couple brain storming sessions with our carpenters Joe and Kenny, we came up with the plan to do two large walnut paneled closets with integrated hidden doors to match.
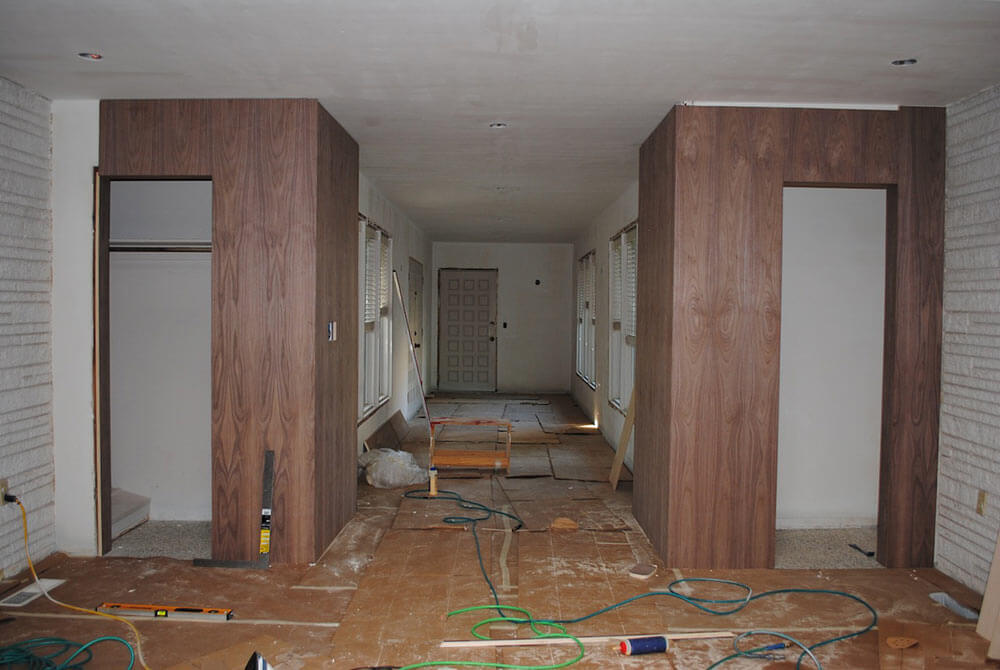
Passageway doors
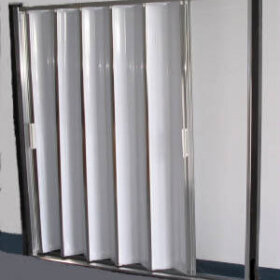
The original passageway doors off the main living area were all double doors. We always thought they were cool but figured they were not necessary, so we planned to leave them out — that is, until we made a surprising discovery during demo.
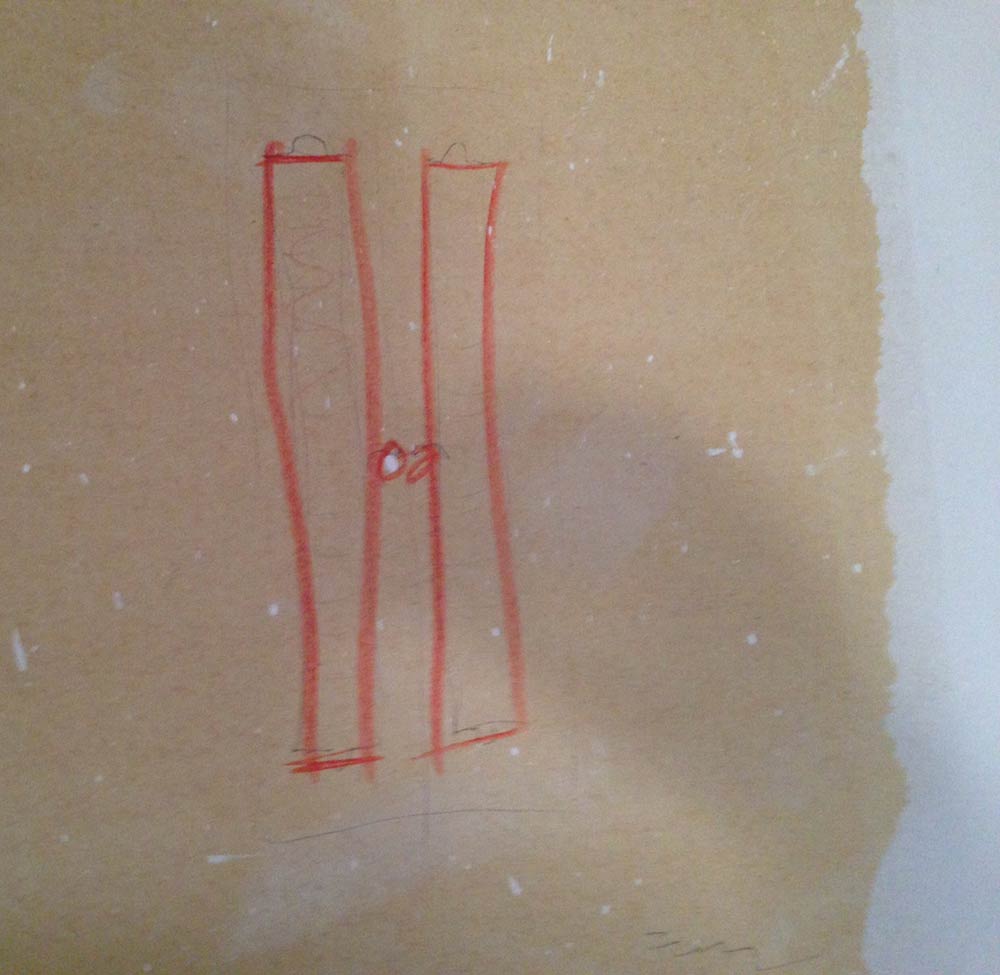
When we pulled the paneling next to one of the doors off, we found a sketch drawn on the wall showing how the original double doors were to be constructed. Our guess is the builder did this for the carpenters so they knew what he wanted.
This revelation, coupled with how awesome the walnut paneled closets turned out, pushed us over the edge to go with double doors like the originals, but in walnut.

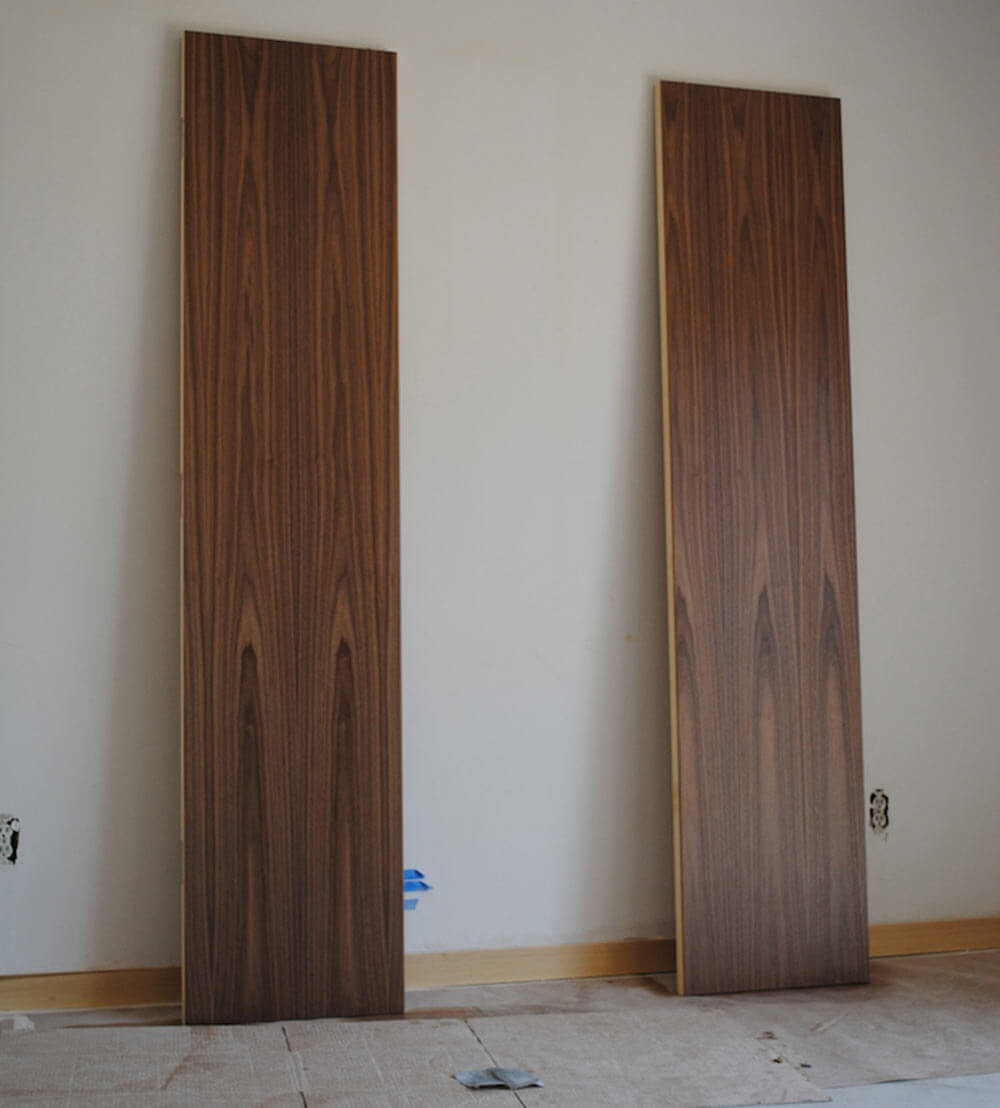
Pricing out solid walnut doors brought us back to reality, as they can be in the $500-$1000 range each. The doors needed to be solid core to help keep the noise out of the bedrooms, which we are realizing is going to be a bit of an issue in this house with the hard floors, raised ceiling, and no hallway buffer between he main living and bedrooms (hmmm.. maybe that’s why they had carpet down everywhere). But like always, Joe and Kenny came to the rescue with the idea to use the lower cost solid birch doors and veneer them in walnut, which would end up costing half the price of solid walnut doors. Our doors turned out great, but Joe and Kenny said the veneering was a major PITA, and vowed they would never to do it again
Front door
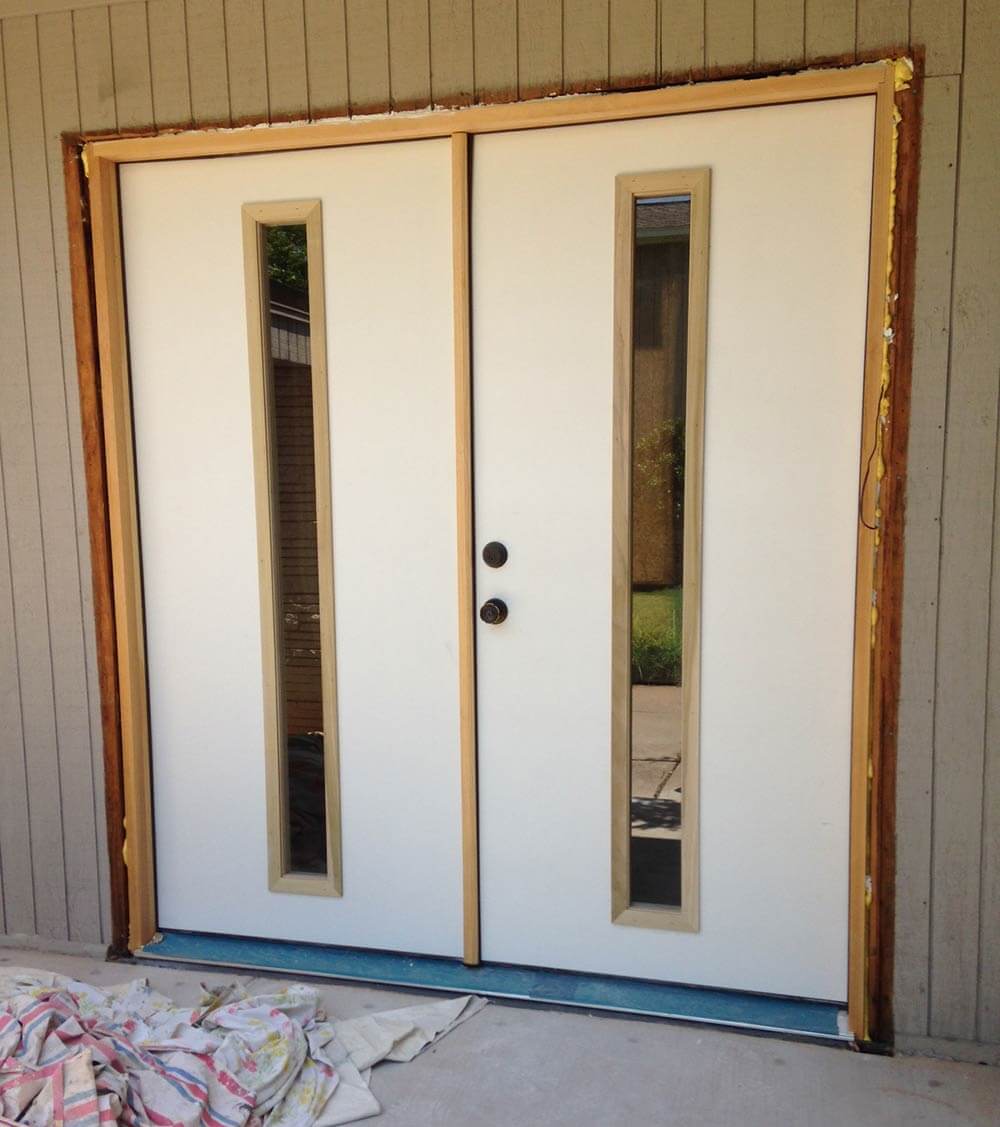
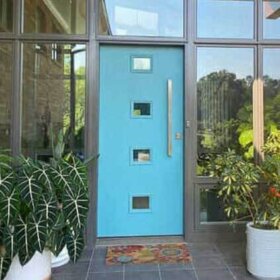
The front door was original to the house, and we actually kinda liked it. But it had been moved from its original location when the hallway connecting the house and the garage was added. Maybe the moving of the original front door to its current location had something to do with it leaking water anytime there was a hard rain. The bottom of the threshold had rotted out and the door was in overall rough shape from 50 years of use. We had done two Crestview Door insert kits in our previous home and loved them, so when we saw that they had discontinued them, we were bummed and had to go on the hunt for other options. We looked at every mid century door option that Pam and Kate had featured on Retro Renovation, but none of them were quite right for us because of various reasons. We almost went with the Terma-Tru Pulse line, but decided against it because the trim used around the glass has a “traditional” look to it that is not easily noticed in pictures. We are only pointing this out so that others are aware in case they are as particular as we are. We saw one in person and felt it really hurt the overall look and wished that they had taken the time to design new trim for the Pulse line instead of utilizing the same trim they use for all their other doors.
So without finding any pre-made solutions, we decided to just make our own and it turned out to be incredibly simple and cheaper than any other option. We simply used solid core fiberglass doors, cut holes, made basic wood casings, and got glass cut to fit locally — essentially making our own Crestview doorlite kits.
- Read our coverage on how you can make your own DIY midcentury doors
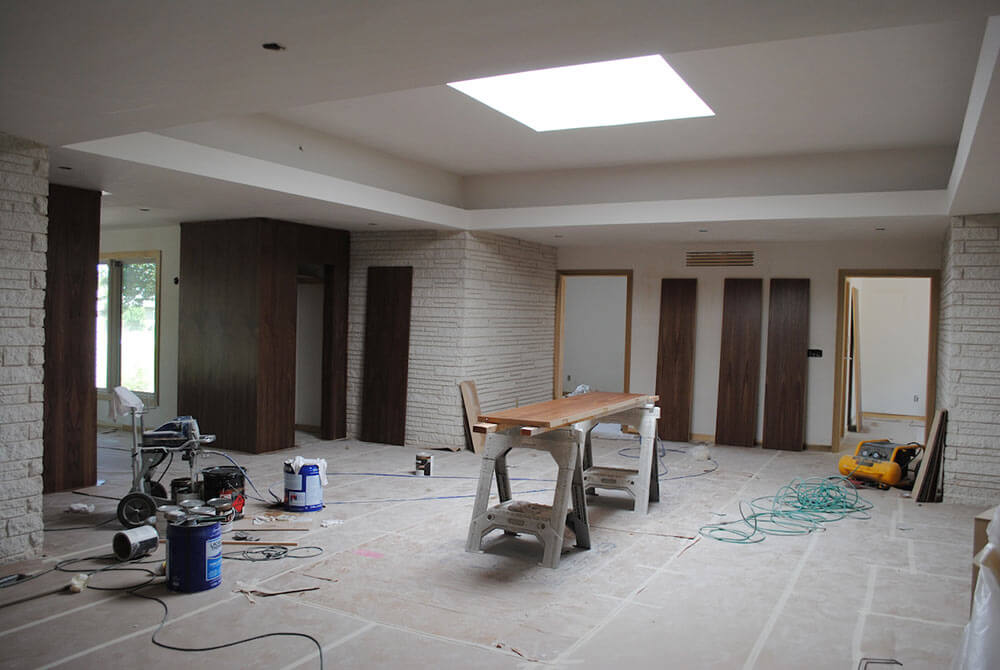
Paint
Around our house selecting paint colors normally includes 10 different trips for samples, 20 test spots all over the house, and at least one knock down drag out fight. But amazingly this was a simple choice (thank the lord!), we chose white on white with a blind faith recommendation from a local acquaintance that does design consulting for mid century homes.

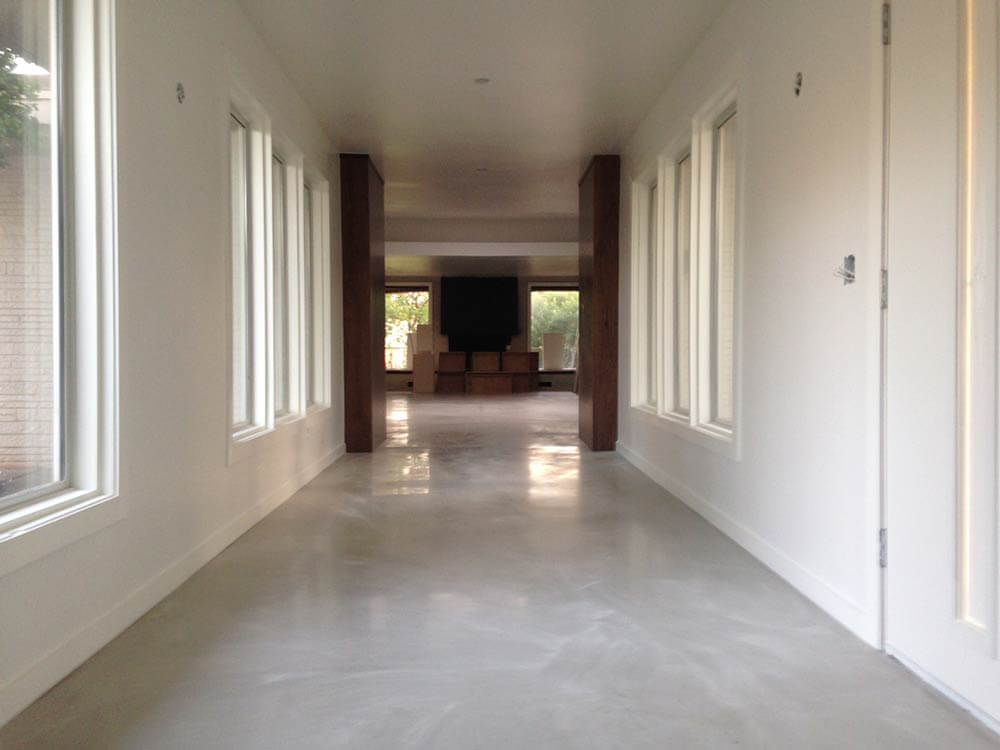
Behr Snowfall was the choice and we really like it. Lacquer in semi-gloss on trim and eggshell on walls and ceilings. We have a great paint team in Walker Construction, who are also responsible for the staining of all the wood work as well.
Bathrooms
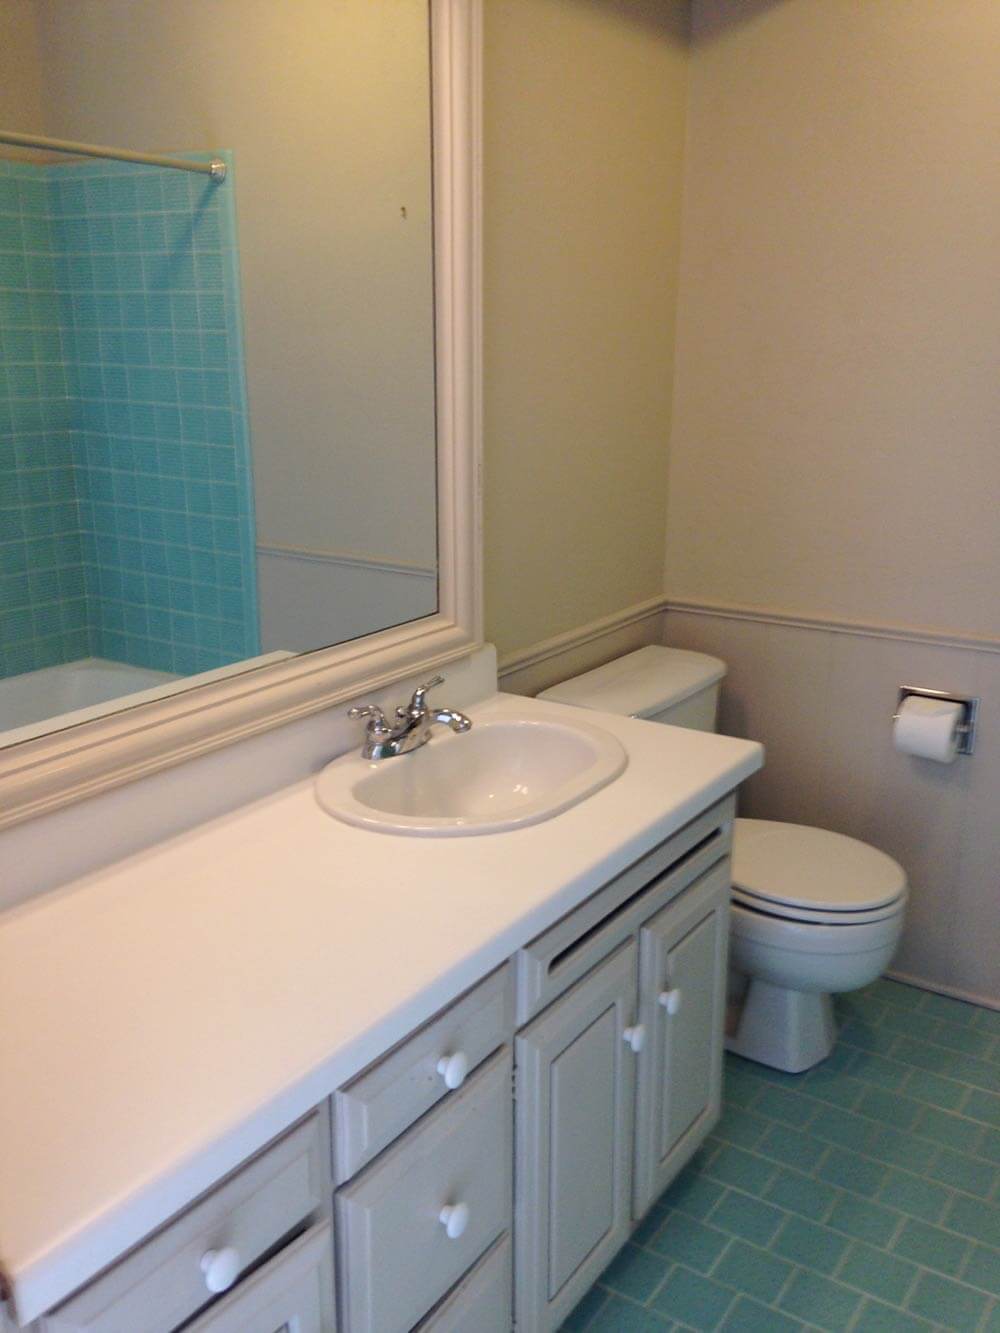
We noticed several comments in the other installments asking about the bathrooms. In the 1st installment we explained that we were not going to tackle them at this time, since we have to leave a project for the future, right? Even though we aren’t touching them right away, we though we would include a few pictures of the two bathrooms in case people were interested. The master (above) has some pretty cool original tile, which will be kept and it will just get a medium overhaul with a new vanity, counter top, fixtures and smoothed walls and ceilings to go with the rest of the house.
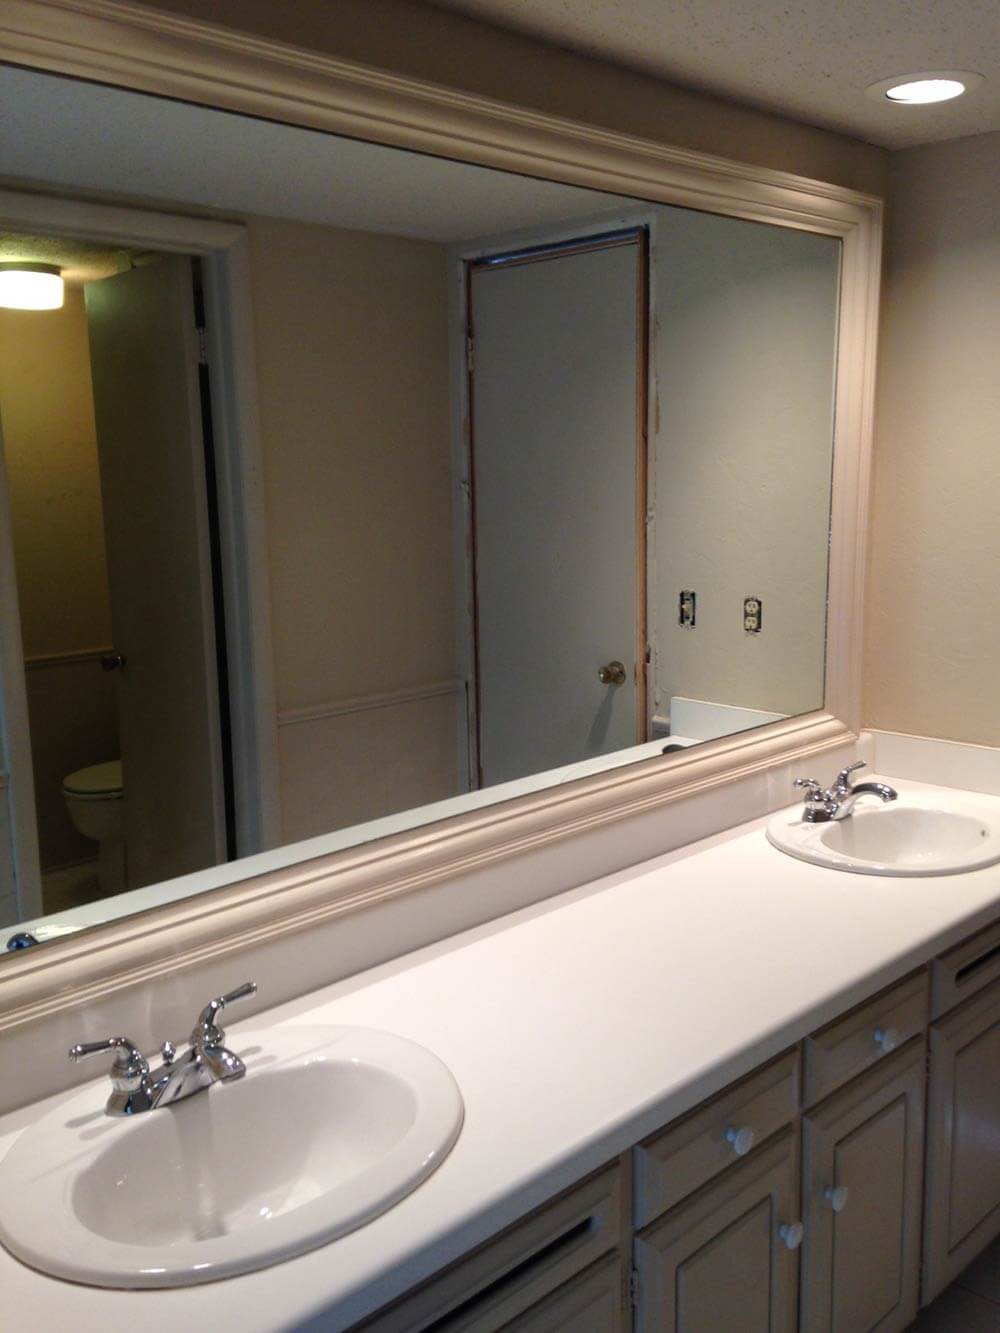
The Jack and Jill bathroom is pretty bad with nothing we think is worth keeping, so it will get a entire gut at some point.
The next time we check in we will be completely done and can finally share the finished results. We have purposely not shown anything fully completed along the way and we are very excited for everyone to see how it turned out.
Mike and Lindsey — you guys are doing a great job, but we are all so excited that you are almost done. We are excited to see the big reveal — next up!


David D says
I just read each and everyone of the installments covering this project. Being Mike’s brother, I have witnessed first-hand Mike and Lindsey’s hard work and dedication towards this project. Their patience, vision, attention to detail, and hard work has really paid off with an end product that simply cannot be “purchased”. I’m really looking forward to hanging out at your home over Christmas. Love you guys!