

 Retro fans love to share their finds and projects on our Facebook page — which is where Pam spotted Jeff and his living room wall project. Jeff started out with a contemporary looking dark red accent wall and with a little paint and some creativity, ended up with a wall decorated with geometric shapes as wall art. Jeff’s geometric wall art idea is a great budget-friendly home decor project for those who have large, blank walls in need of a little pick-me-up.
Jeff writes:
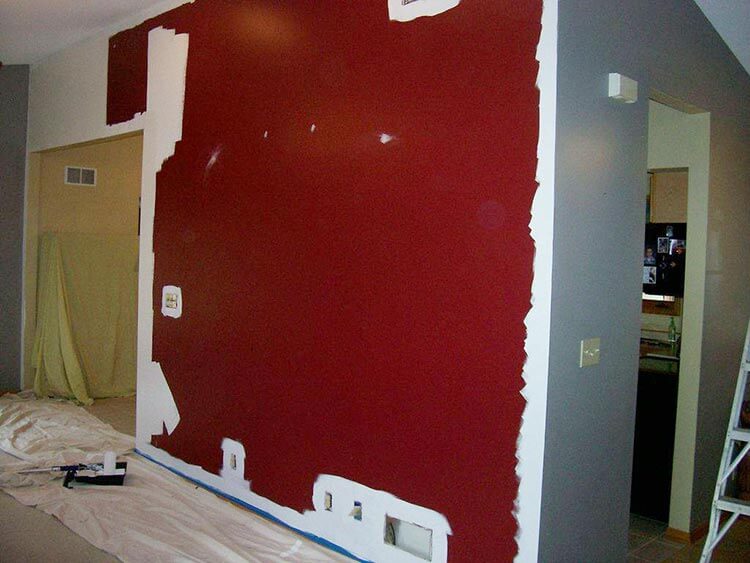
I decided to “retro” my living room wall a little bit to more match the mid-mod look. The beginning…………..Cover up that dark accent wall. I have found the best thing to cover up a wall — and to use for primers — is ceiling paint. They use the same additives to stick to a ceiling as more expensive methods.
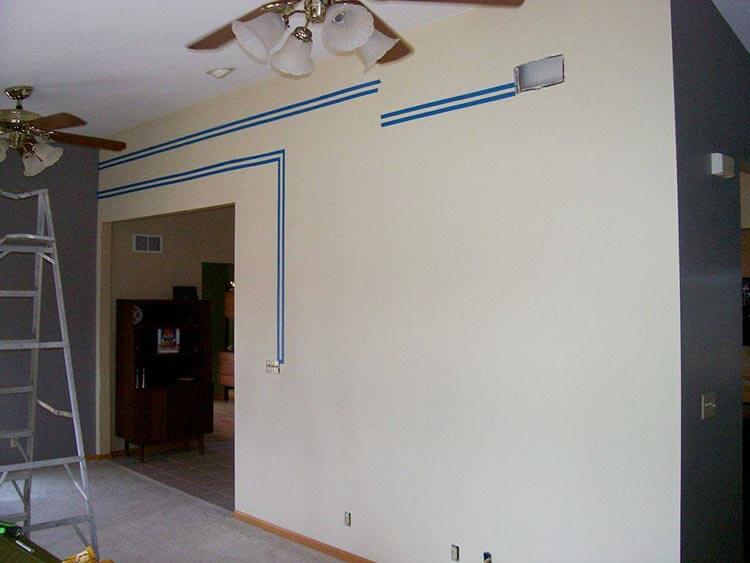 Above: Jeff used painter’s tape to mask off shapes on his living room wall.
Above: The finished wall. I asked Jeff if the orange square was raised to hide the light switches. His reply:
Yes it is, and the matching color circle that is on the right is raised to cover the vent.
What an interesting idea for a wall treatment. I’m guessing that Jeff plans to add some wall art above the sofa to fill in some of the blank space, which would be framed nicely by the pattern he’s painted. Either way, what a project to add some pizzaz to an otherwise plain living room wall. Mega thanks to Jeff for allowing us to share his idea over here on the blog.
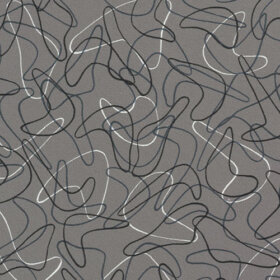
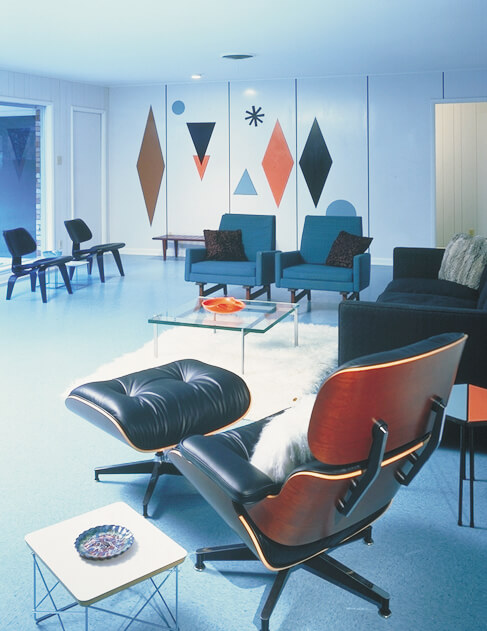 Another great idea — why not use the same techniques to paint a pattern like the fantastic laminate accent wall in the living room of the Wilson House? The possibilities are endless!


James Cobalt says
Oh wow! I have the same lamps as the one on the end table by the sofa. Do you know anything about them? I just got them through an ad on Craigslist.
My shades are different- wider and a bit shorter. They look old and similar, but I’m not sure if they’re original. They don’t secure onto them right. Not sure if it’s because they got replacement shades or if it’s a result of them rewiring it.
John says
That looks so fun. I want to try a graphic pattern for my 70s home!
Scott says
The execution came out neat as a pin. As my taped borders generally do not break anywhere nearly as clean as I’d like (until I’ve done touch-ups and repairs with a smaller artist’s brush), I would be all ears you have any tips to share, Jeff.
Rick says
Great room and great minimal wall design! Would like to know how the circles were done so neatly.
For Pam or Kate: when will ‘Showing reader’s finds’ happen again?
Jeff says
Unless your walls are smooth as glass you are always going to get bleed spots every now and then. I knock off most of the high spots with a putty knife before taping and that helps. To do the circles I just used ornate objects at hand……..A pizza pan, pie plate etc. for the triangle I used different size construction squares and straight edges. For the squares I just used a couple of old boards I had laying around. I traced them with a carpenters pencil and taped.
JudyC says
That is an amazing idea. Something like that might add the perfect touch to my bathroom! Thanks for the tip.
Carole says
That is pretty cool. 🙂
Mary Elizabeth says
Wonderful job, Jeff. Keep up the creative work on your home.
Robin, NV says
Wow! That looks great! It has such a nice sense of proportion. I’m inspired to finish my painting project so I can finally say my kitchen redo is done.
Andi says
What a creative idea to add “instant retro” to a space. That space itself looks pretty cool with the angled ceiling.
I like the way the vertical rectangles and circles repeat the shapes in the lamp on the end table, and I love the various shades of gold, orange, maybe deep burnt orange (or barn red?) that you chose. Well done!
virginia says
Great idea! Looks wonderful, Jeff, and thank you for the tip on ceiling paint.