

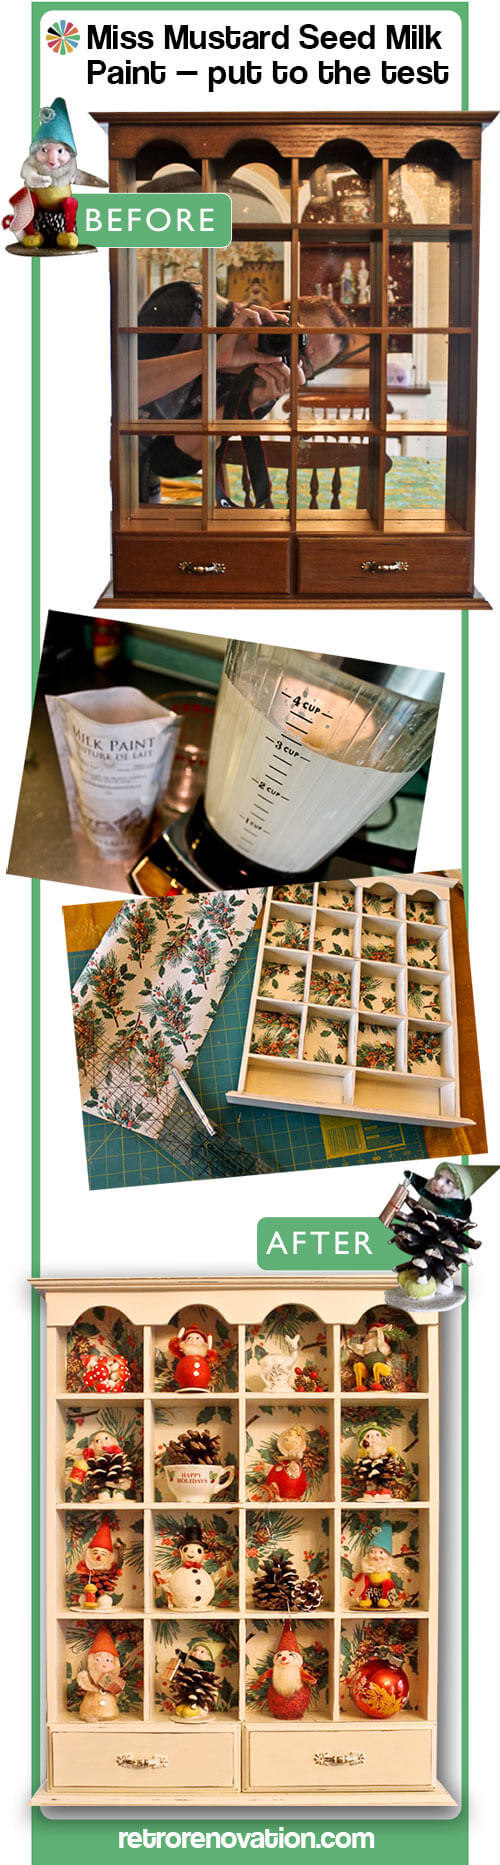
 Yup, it’s Kitschmas in July errr May happening at my house. A few weeks ago I tested Annie Sloan’s Chalk Paint. For my next crafty project / craft paint test, I tried Miss Mustard Seed’s Milk Paint. Well, actually, I used Homestead House Milk Paint — but that’s the company that makes MMS’s paint, so same diff. Read on to see how I transformed an inexpensive vintage display shelf into a snowy condo for my beloved new/vintage NOS Shiny Brite pine cone elves and other Christmas weebits… and to hear my first impressions of working with Miss Mustard Seed’s Milk Paint.

I’m gonna try and make this story snappier than the last one:
 1. I started with this ubiquitous display shelf, which I bought for $10 at a recent estate sale. Don’t yell it me for painting this wood. It’s not fancy wood.
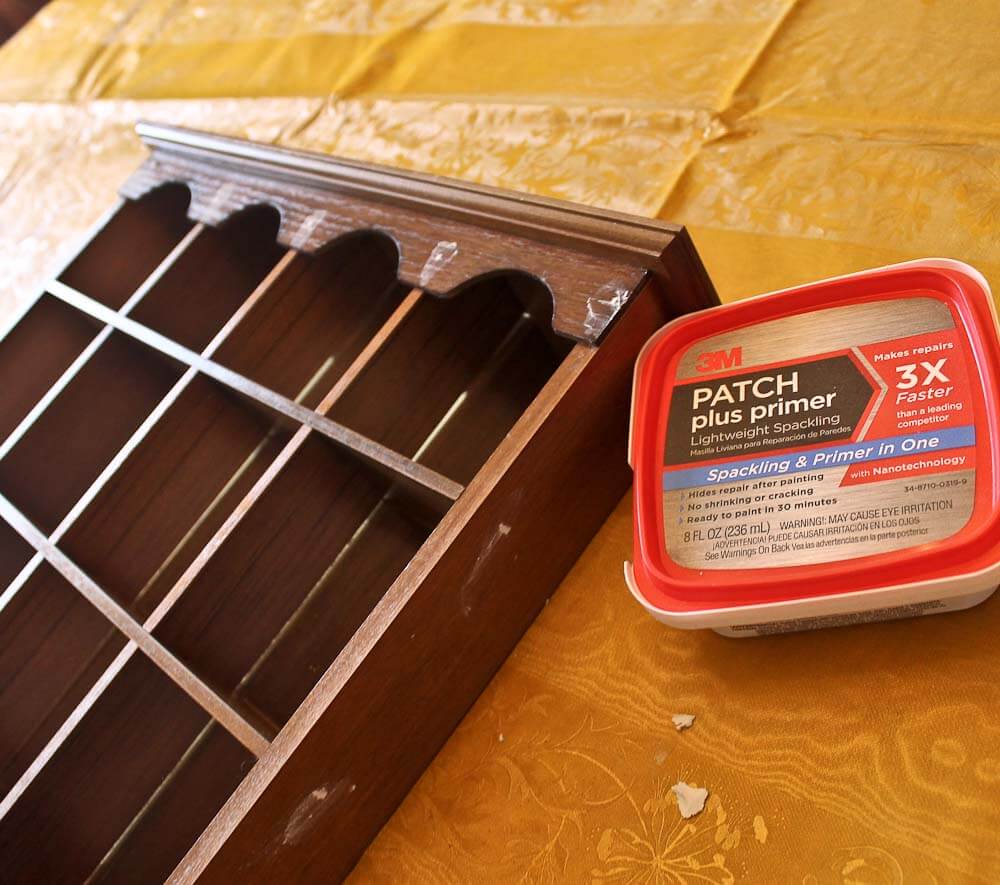 2. Fill holes. About a year ago, 3M sent me this PATCH plus primer. It worked just fine. Thank you, 3M!
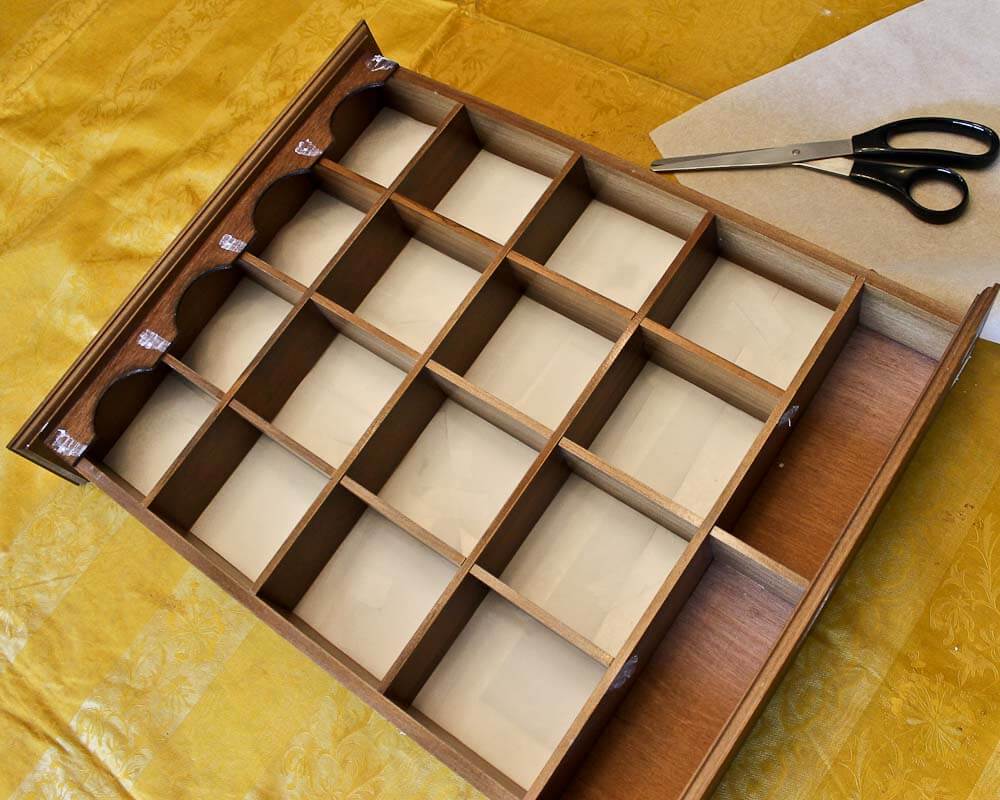 3. I slipped small squares of parchment paper under the wood mullions, thinking it could protect the mirror underneath, in case I decided to keep the mirrors. Note: This was a typical, stupid-lazy-Pammy idea that definitely did not work. Next time I will skip this step and just let the mirror get messed up but allow me to go for cleaner edges on the shelving.
 4. I mixed up the milk paint powder [color: Limestone] with water in the blender. I actually goofed. I was going to start with 1 part powder, 2 parts water. But I later realized I had grabbed the wrong measuring cup and used only half as much powder as I was aiming to. So my slurry was pretty thin. Also, the mixture was quite foamy — next time, I will skip the blender and use a spoon or a whisk instead of the blender.
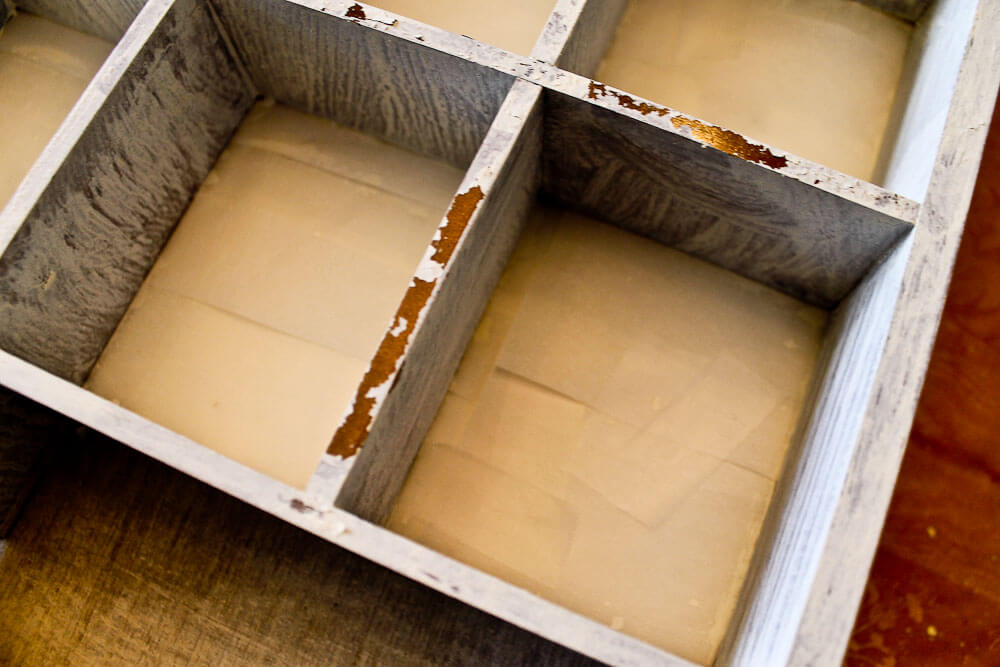 5. Above: To apply the milk paint, I used a decent quality, smallish, angled, painter’s brush that I had in my drawer. This brush worked like a dream. The photo shows the result of my first coat — my mistaken 1:4 powder: water ratio. Plus, I had not used the bonding agent. When using Miss Mustard Seed Milk Paint: If you are a working with a previously varnished or painted surface — and you want your ultimate finish to be all chippy — you just apply it like I did, above — no bonding agent. But if you want it to stick, you add a special bonding agent to your mixture. There are also techniques to use hemp oil to demarcate where you want to control(ish) where chippiness will happen. So next…
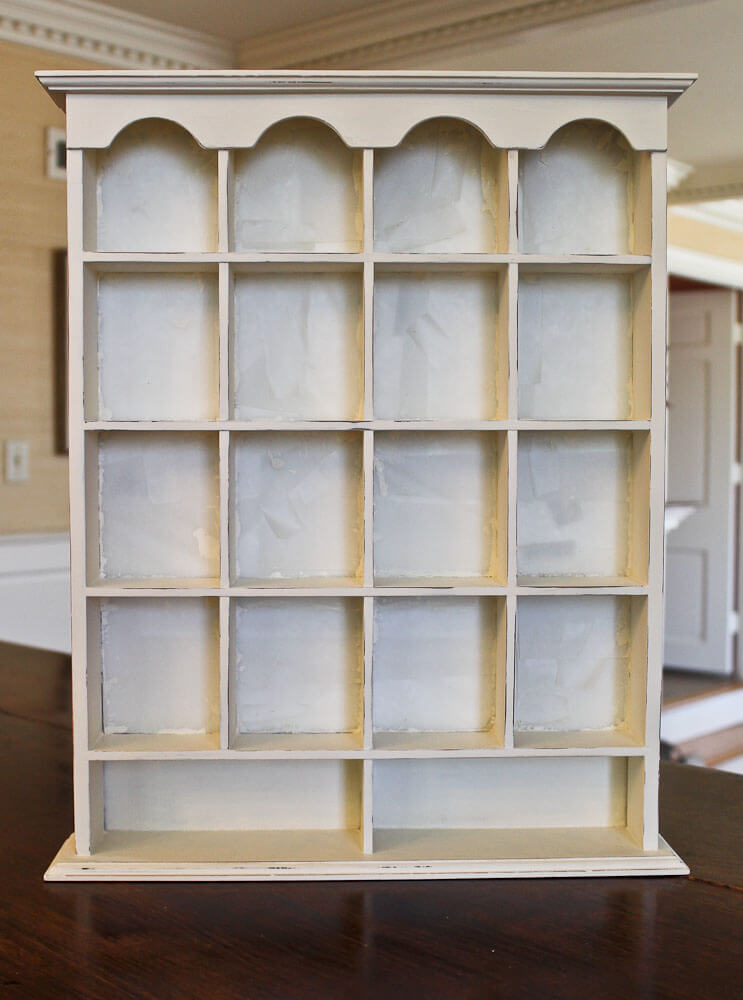 6. I wanted complete coverage, so I dumped all the powder into my existing mixture. And, I dumped in all the bonding agent. Yup, nice and thick and coverage was better. This piece has three coats throughout, and four coats on the front parts. I wanted a relatively smooth finish so began sanding after the second coat and after subsequent coats. I had lots of paint left over.
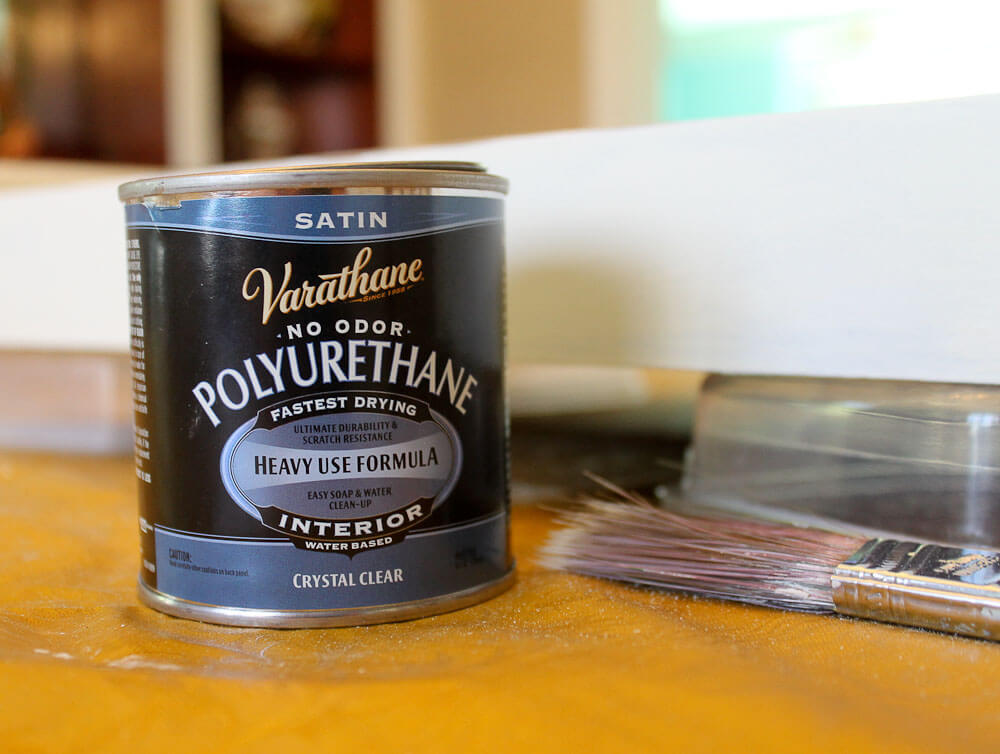 7. Two coats of Varathane. As with Chalk Paint, you need wax or poly to set the finish. On my chalk paint project I had used the wax, which was a PITA, albeit I liked the finish. This time, on with the Varathane — the first time I’ve used this product, and I loved it. Dried very fast, with soft luster, and without visible brush strokes, and I wasn’t bothered by an odor.
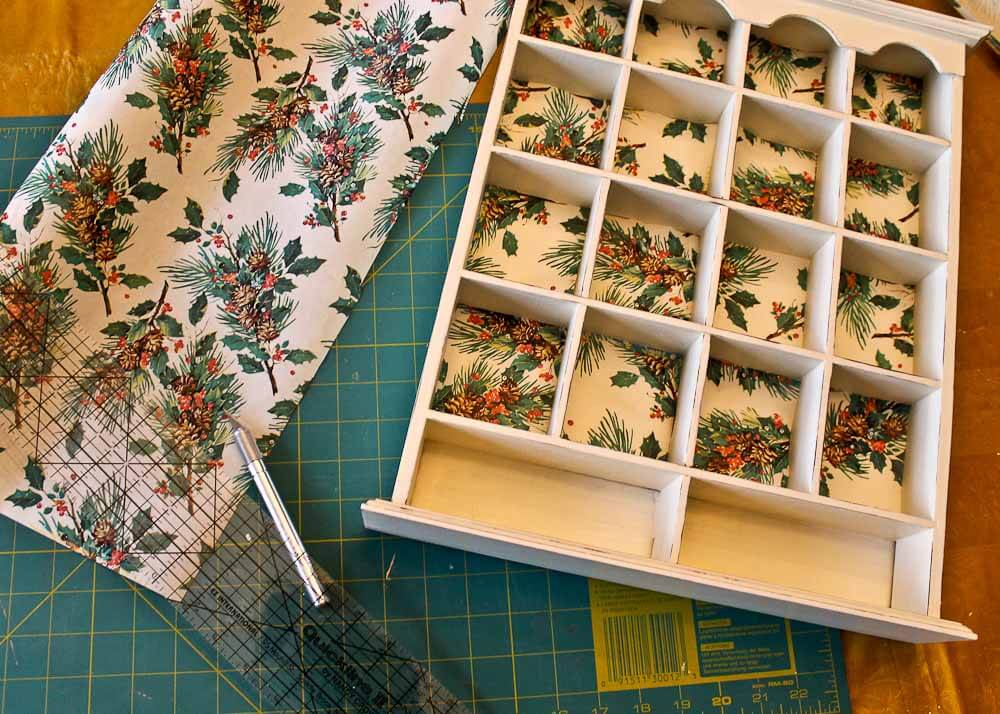 8. Above: I cut vintage wrapping paper from my hoard to fit the squares.
 These are all very artfully arranged! I had my little guys with me to test how the different paper fragments looked in different locations. And, I tested the entire arrangement sans pine cone people for “flow” of the paper and its design. I have found that since I became a blogger, and every craft project I do is likely to end up on the blog, I have tended to rush through them, as if they were a chore. On the past few, I have really tried to slow down and enjoy the process. By this point in this project, I definitely was into the zen of it!
Not shown: The mirror underneath was a mess — paint had seeped through along the edges. And because I was jamming paint down against the parchment paper on the inside squares, an edge of paint built up on the shelves there. This piece is very *homemade.* Next time: I will not worry about trying to save the mirror; this will actually give me more control with my paint brush and allow for a smoother finish of the shelves where they meet the back.
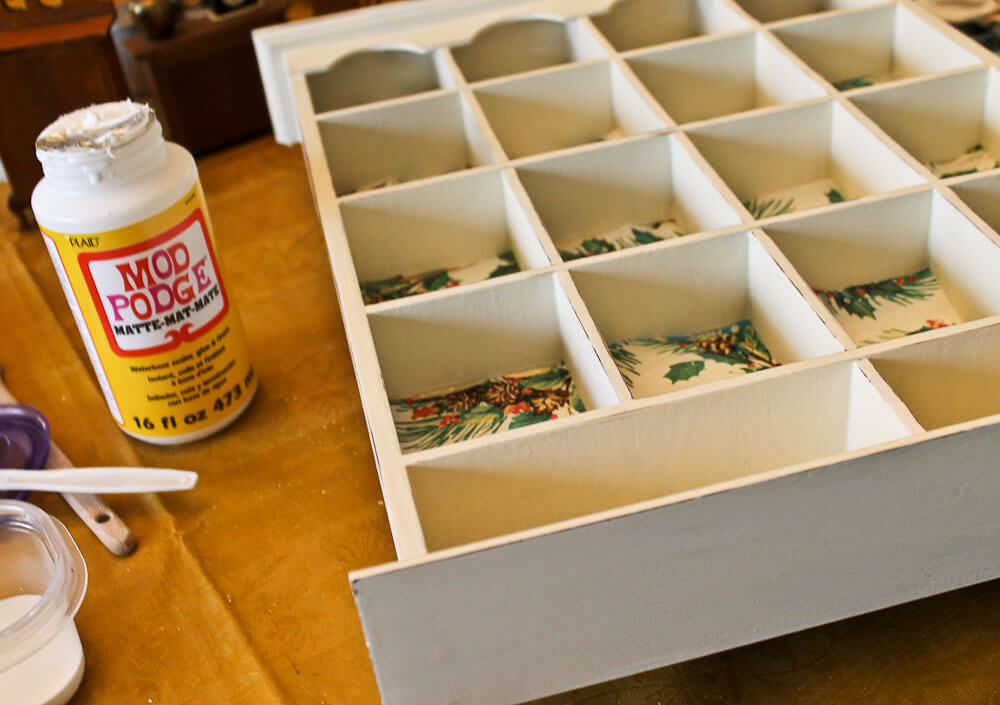 9. Above: I decoupaged the paper square-by-square onto the mirror itself. I brushed Mod Podge right onto the mirror… then the paper went down… then I Mod Podged the top of the paper. The Mod Podge worked like a dream as an adhesive. And it worked fine as a top coat, too. However, I did not really like the shiny finish (even though the bottle says Matte, there is luster). Next time, I will try a flat varnish instead. Oh, and maybe test before I start slapping product down. (Operative word: Maybe.)
 10. You can see what the Mod Podge looks like when it’s still wet. I really like Mod Podge because it dries flat… levels out… without visible brush strokes. Originally, I thought I would keep the bottom two shelves open for display items. But at this point, I was eyeing the drawers. All quick-like, they were painted with three coats of milk paint and Varathaned, too.
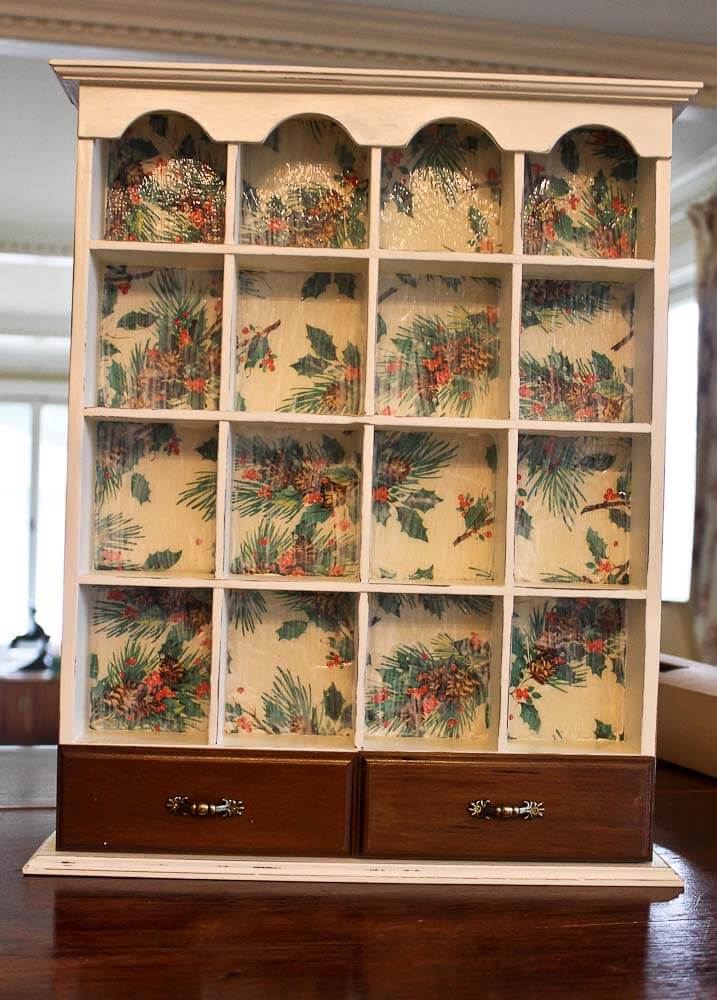
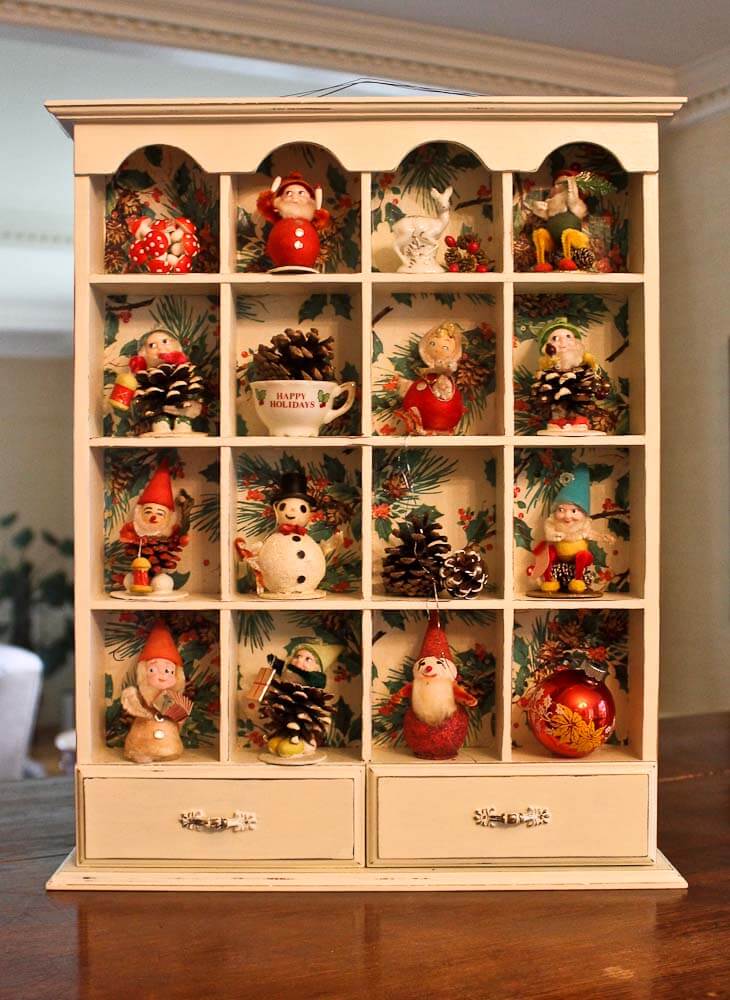 11. All styled! People… people who need pine cone people… are the luckkkkkiest people, in the world. The vintage ornament is held in place by a pinch of Quakehold! Museum Putty (affiliate link), which I adore. I should really Quakehold the other ceramic pieces, too.
Pros and cons of Miss Mustard Seed Milk Paint — my experience:
Cost:
- $22 CDN for powder to make a quart, purchased directly from the company. It looks to be less expensive there than at other sources online, but you need to compare shipping.
- $12 CDN for 250 mml of bonding agent.
- $9.98 CDN for shipping.
- Total for approx. a quart of the paint mixed pretty thickly with bonding agent added: $26.40 CDN or $21.97 USD. There was lots left over after this project.
- You can also find Miss Mustard Seed Milk Paint (affiliate link) online at Amazon and other retailers.
- Cost for Miss Mustard Seed Milk Paint versus Annie Sloan Chalk Paint: A quart of Annie Sloan is $34.95 online(not including shipping) whereas I was able to get a quart of Miss Mustard Seed + 250 mml of bonding agent direct from the company for $28.29 (not including shipping.) Assuming coverage is equal — which I have not tested side-by-side — it could be that Miss Mustard Seed has Annie Sloan beat on retail price. But, if you can buy Annie Sloan locally, you can eliminate shipping costs. Hey, I’ll say: For small batches, at least, it’s pretty darn close.
I liked:
- Good coverage once you amped up the powder : water ratio.
- Colors look fabulous — many are very 1920s, 30s, and 40s retro. Overall, I count 81 colors to choose from — including both Miss Mustard Seed and Homestead House lineups, which are different.
- Easy to sand and sanded down smoothly.
- I got no headache whatsoever.
- You can mix up just the amount you need in small batches and vs. a liquid product and not have to worry about using a jar of liquid product before it dries out.
- You can order it online direct from the manufacturer. Great website.
I will nit pick:
- Having to mix the stuff myself.
- The blender made the mixture foamy; plus I didn’t really like using my food blender to mix this stuff. If I were to use this paint regularly and mix it with a blender, I would pick up a second blender at an estate sale (there is always one) and reserve it for milk paint blending only.
- Apparently you are supposed to wait 12 hours between coats when you use the bonding agent. Oopsy.
- Didn’t seem to sand down as easily as Annie Sloan Chalk Paint.
Update: I love Annie Sloan Chalk Paint; I do not like Miss Mustard Seed Milk Paint
At then end of the experience, I came out thinking that of the two choices so far, I liked Annie Sloan Chalk Paint somewhat better. But… I don’t have any super strong rationale why. I think it was a combo of the fact I did not have to mix it… and the fact that my recollection is that it sanded down better.
Update August 2015: I’ve used both Annie Sloan Chalk Paint and Miss Mustard Seed Milk Paint on a few more projects. I DEFINITELY PREFER Annie Sloan Chalk Paint — in fact, I LOVE this product! It goes on smooth and sands down so beautifully; you have immense control over your final product; it’s super easy to work with. In contrast, I really DISLIKE the MMS Milk Paint. You need to add binder to get it to stick. You need to mix it up and that provided random results; but my biggest dislike is that once you add the binder, the stuff does not sand down easily, so you cannot control the shabby-ness of your edges. NO QUESTION: I prefer the Annie Sloan.


Darla Berry says
Cute! I am absolutely obsessed with these little pine cone elves. I have been displaying them on a round 3-tiered sweets stand as my dining table centerpiece but thinking about a better way to show them off.
Bonnie says
Thanks for all the info on Milk paint. Very helpful.
Bonnie
Pat says
Absolutely fabulous! I was going to say that some wood items beg to be painted and that is one of them! Now, if it was quarter sawn oak, I’d have another opinion. I like that museum putty too.
Has anyone noticed that Glidden has come out with a paint that is supposed to be like milk paint? I just saw it advertised at Menards, I am going to check it out, I need some green for a pie safe.
Karen says
When I saw the wet Mod Podge, I had the urge to toss some glitter on it. Very resourceful project!
pam kueber says
I still need to do a shelfie with glitter!
denise says
OK, Pam, this is adorable!
Here’s a list of small appliances I have in my studio so I’m not using my kitchen ones:
blender –as you mentioned, good for making paper pulp, too.
food processor –mix glue and paper pulp for paper mache
a handheld blender –which may have been the perfect answer for this paint mixing, also works for plaster of paris
a toaster oven –for quicker drying of small crafts, like paper mache, clay baking, etc.
a crock pot (different sizes) –for paint removal on metal, for wax melting, dying material
blow dryer –for drying water base paint so I can quickly get to the next step
Carolyn says
This is adorable. Again, you’ve inspired me. I’ll start looking for an old display shelf tomorrow.
pam kueber says
🙂