

 Well, my dollhouse renovation project is going slowly. Summertime: There are just too many happy diversions! Even so, I did power on to complete the first to-do item on my checklist: Stripping and refinishing the floors. After much research and anxiety about making *the right* decision, I decided to finish the floors with classic, orangey Bulls-Eye Amber Shellac. Bug poop! Yes: Bug poop, in its liquid form, looks great on my dollhouse floors. I LOVE how they turned out. I LOVE Amber Shellac!
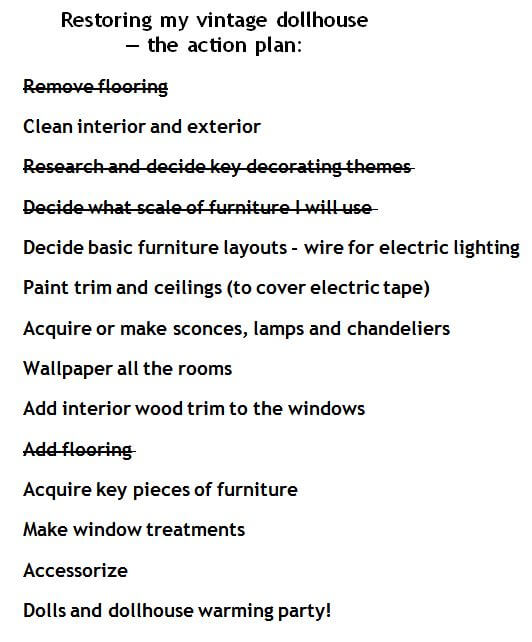
Here’s the process I used to refinish the floors…
1. Remove the original flooring
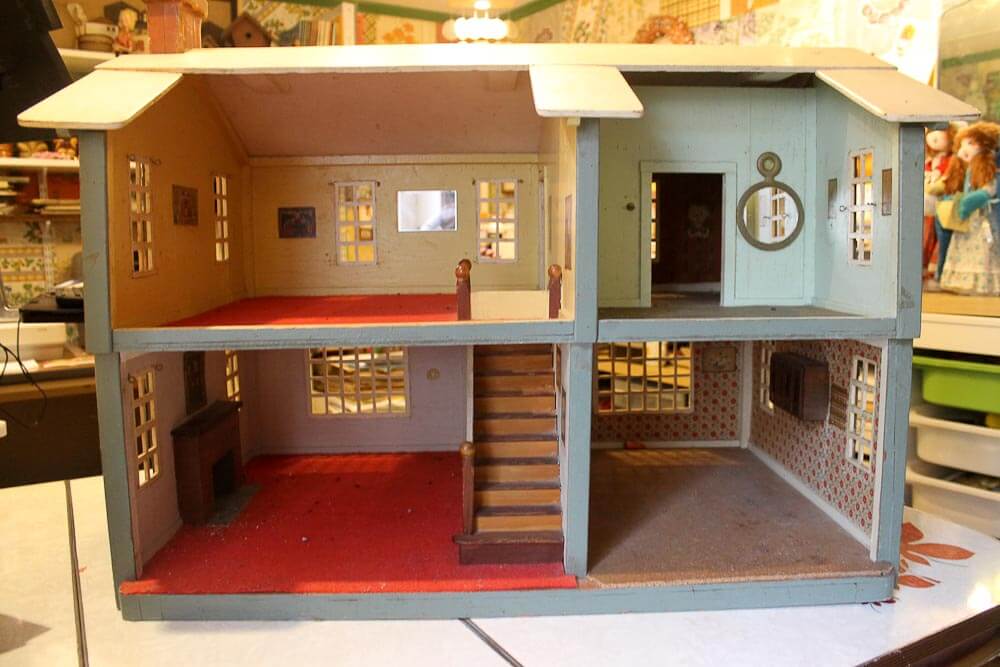
Above: As found in my awesome circa-1940 Neely-Hall dollhouse, pieces of woven wool were used for “carpeting” in the two living areas and the bedroom. Sheet cork was glued down for flooring in the kitchen and the bathroom. First step: Get this stuff off.
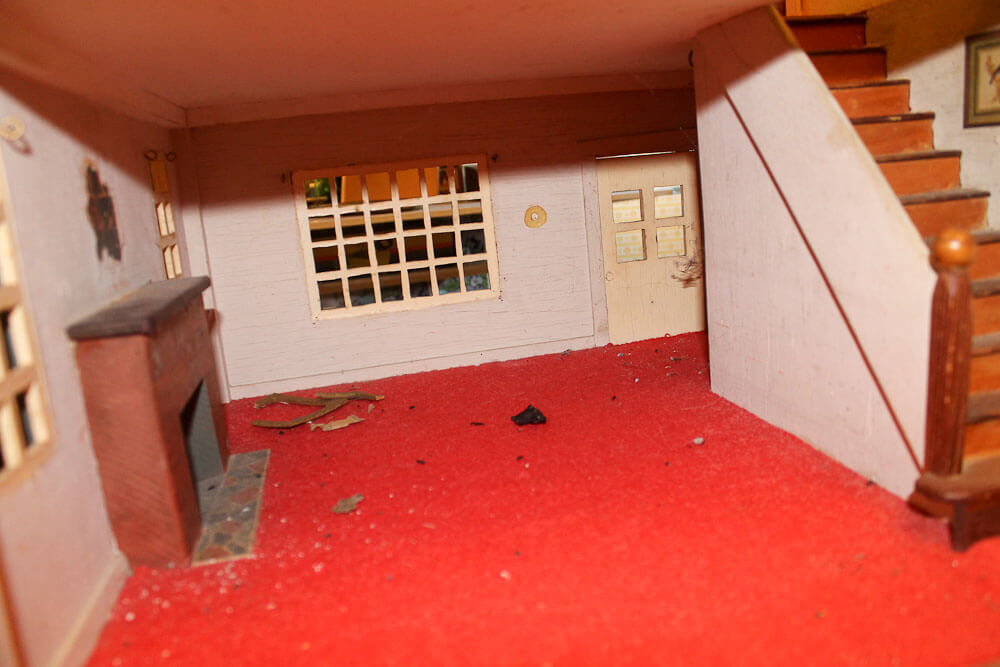

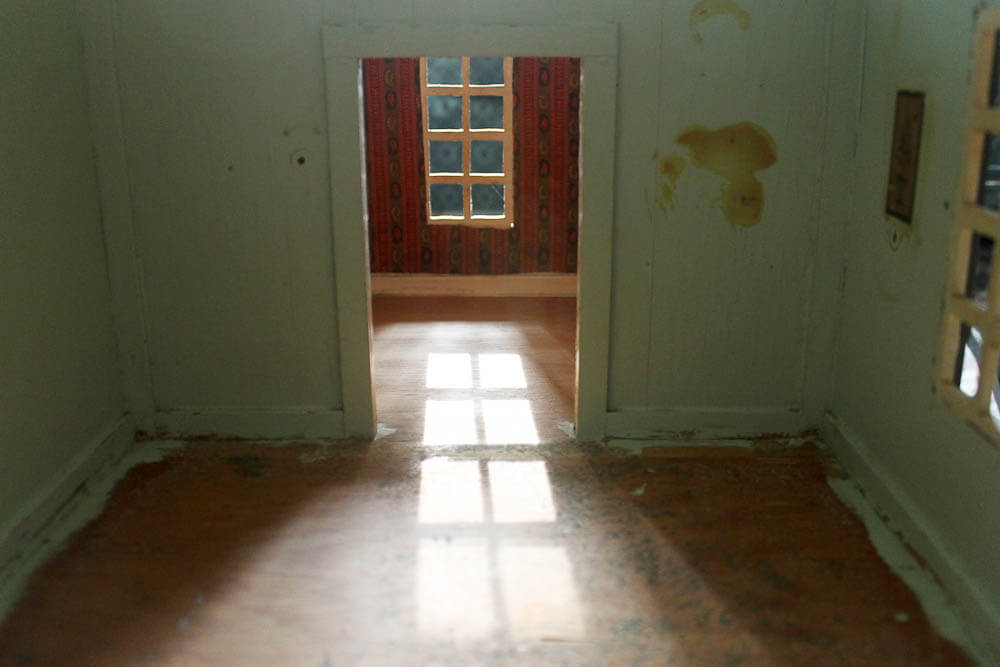
Above: The wool ripped out easily — one tug on a corner and it all came up. The adhesive was quite dried up. As you can see, in the downstairs living room, there were remnants of wool fluff left. Also, as I later discovered, I *think* there was amber shellac also applied on to the plywood floor under the adhesive.

Above: In the upstairs living room, the wool came right up. In this shot, though, you can see the paint that I needed to get off the floor. I am pretty sure it was oil paint. When Grandpa painted the trim, he knew he was going to put down carpet, so he didn’t bother being neat about where the paint ended.
 Above: Removing the cork was much more difficult. I used a steel paint scraper to get under the cork. I hit the end of the scraper with a ballpeen hammer to get more force.
This strategy worked just fine, it just took patience. Above: There was cork in the bathroom, too. Here’s what the room looks like after I got the cork up. Lots of adhesive left, and paint along the edges here, too.
 Precautionary Pam reminds: There can be vintage nastiness in old materials, including varnishes, adhesives, flooring, and more. Do you own research, testing, consult with your own professionals on how to make informed decisions on how to handle. Read more about the hazards that may be found in old houses and for more links: Be Safe / Renovate Safe.
2. Remove all the adhesive and paint drips with Citristrip Stripping Gel
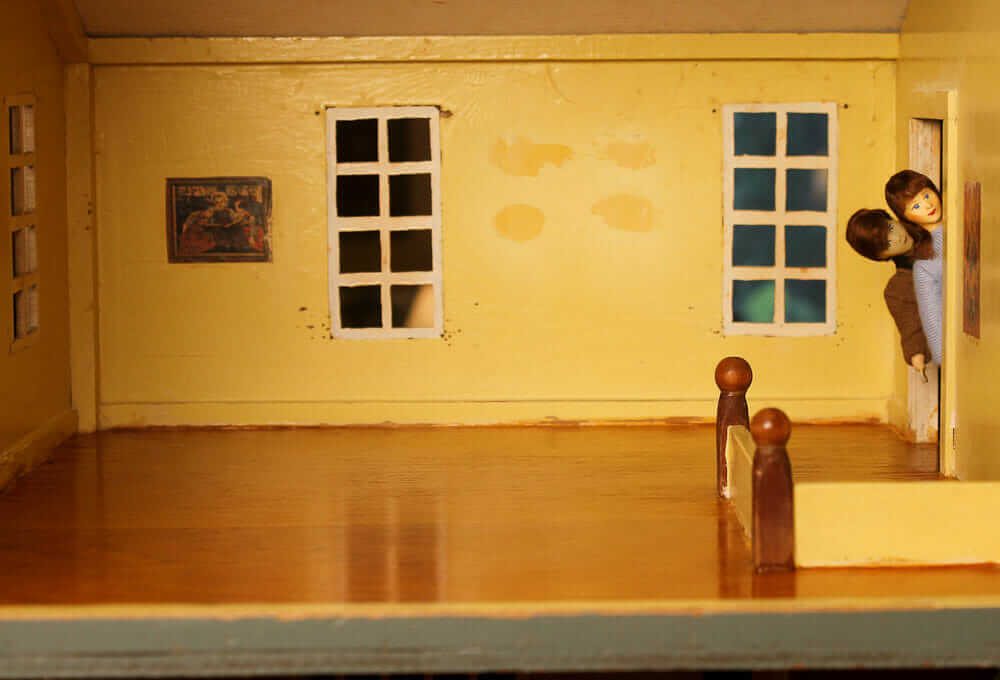
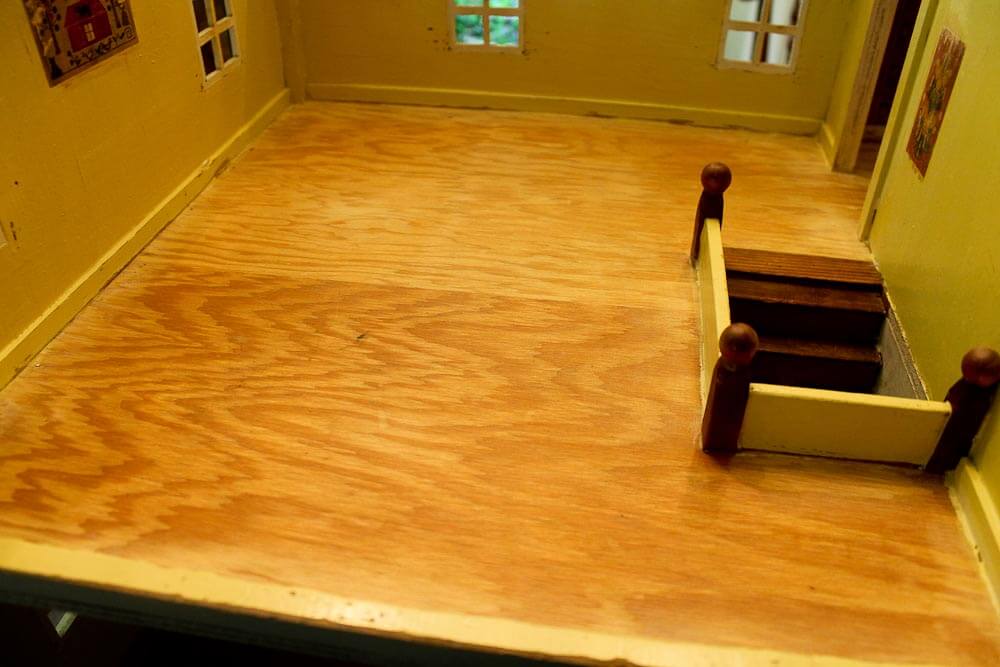 Above: I used Citristrip Stripping Gel, and it was pretty darn effective at getting up the adhesive, the wool and the cork. The oil paint was tougher; I really had to scrape at it — carefully — as the plywood underneath was soft and I didn’t want to wreck it. But with time, I got most of the paint up, too. What shadows of oil paint that remain along the edge of the floor, I just left… wabi sabi is better anyway.
As per the directions, I used odorless mineral spirits to clean up the Citristrip. And as per the directions, I did this all in a very well ventilated space and used the personal safety equipment recommended.
This was all quite messy, but it worked. Here are some thoughts from my experience:
- Follow the directions.
- I really liked the Citristrip Gel, including because it did not smell bad to me.
- I also liked it because it does not dry. You can leave it on a long time to do its thing.
- I started out leaving it on for an hour to see what would happen. Nah.
- Longer. Yah-ish.
- At one point, I left it on 24 hours. That did the trick, for the most part. In all, I think I ended up putting down the Citristrip four times.
- I did need to use a scraper.
- It was not really good for getting up all the old oil paint along the edges of the flooring.
- Overall: I definitely preferred it to other stripping products I have used before, because it seemed pretty gentle overall, not smelly, but got the job done. Other products that use harsher chemicals may work even more effectively, but golly, I loved the gentleness of this product — it was so much more pleasant to work with — and except for the most seeped in oil paint, it got everything up.
Why do I think there was Amber Shellac on the plywood flooring originally? It was while I was using the Citristrip that I decided that the plywood had likely been covered with at least a coat or two of shellac before the flooring went down. Gooey orangey stuff came up along with the wool fluff, for example. See how, after stripping, there is no gloss whatsoever to the wood? When I pulled up the carpet, there had been gloss on the wood.
See the stair risers? I also think there is Amber Shellac on those.
I also decided to go with Amber Shellac because I thought that’s what Grandpa would have used in the 1940s — when this dollhouse was likely made. Also, I thought the glowy orangey Amber Shellac would look lovely on the plywood. Which it did! Burnt orange is my favorite color. Heck to the yeah to Amber Shellac!
2. Apply Bulls-Eye Amber Shellac
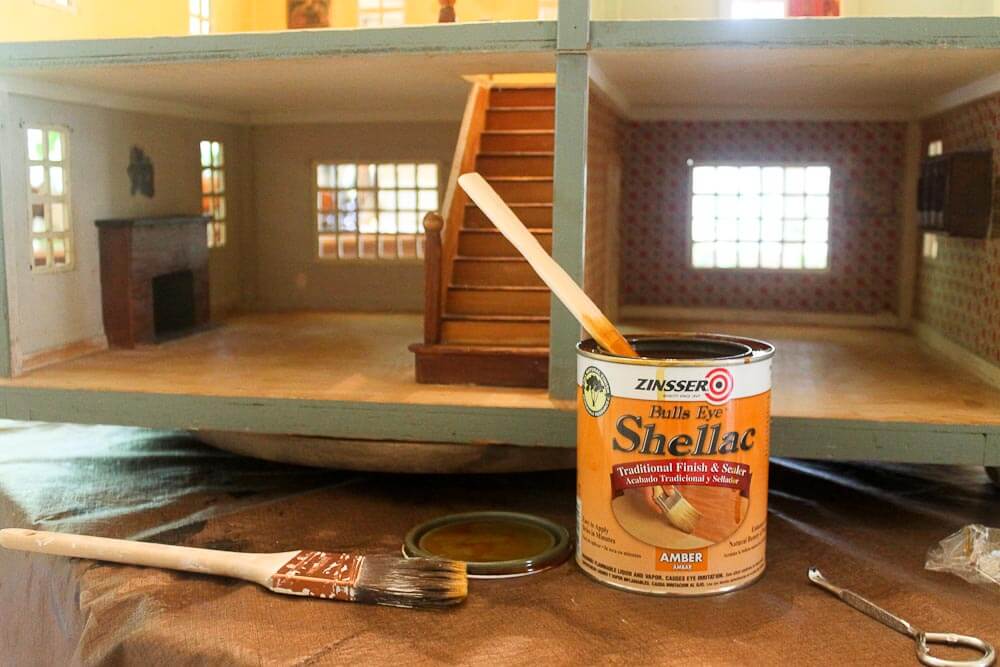
I followed directions. Nom nom nom. I love this stuff. Experience:
- Apply in very thin coats — and move fast while you work. Apply in the direction of the grain. Try not to overlap strokes. The thinner you get the Amber Shellac down, the better — if you apply too thickly, it will take much longer to dry.
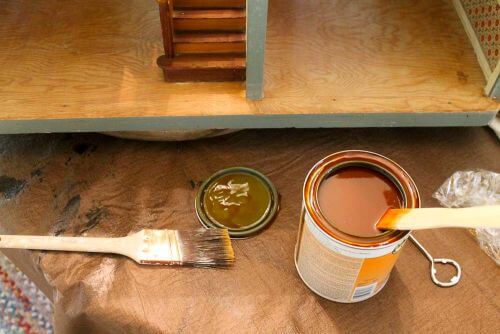
- I used two angled brushes that I already had on hand. I am not sure, but I think one was natural bristle, the other, not. I think the natural bristle brush worked better — it worked very well. They worked very well.
- Let dry thoroughly between coats. I let each coat dry at least 24 hours between coats — because it was hot and humid outside — and because I had the time.
- If it’s humid outside, it will take longer; be patient.
- Follow directions — do this in a well-ventilated area and use any personal safety equipment recommended, etc.
- I sanded with high grit sandpaper in between coats — to facilitate adhesion of the next coat. After sanding, I wiped with clean lint-free cloth, the stuff shines right up, easy
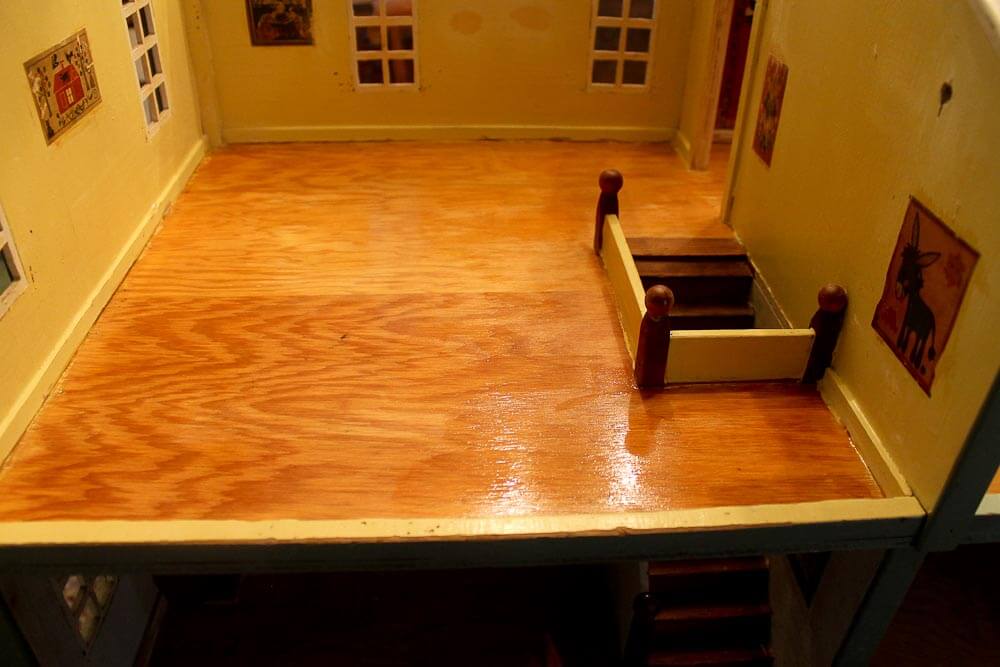
- I just kept going until I got the coverage and gleam that I wanted — in this case, four coats. I did not sand the last coat, although I could (when you wipe off after sanding it’s still shiny.)
- The stuff goes a long way. I have tons left over in my quart can. What will I do with the rest? I already have a plan!
UPDATE: Reader Douglas provide the link to this Zinsser (marketer of Bulls-Eye Amber Shellac) bulletin, which describes how you can further thin the Amber Shellac if you want: http://sevenspaint.com/docs/tds/Zin%20clear%20shellac.pdf
See the reader Comment stream for further discussion of readers’ experiences using Amber Shellac. Remember, though: Do your own research — contact the company Rust-Oleum/Zinsser directly to answer any specific questions you have.
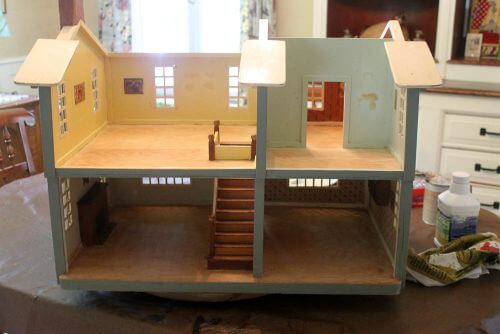
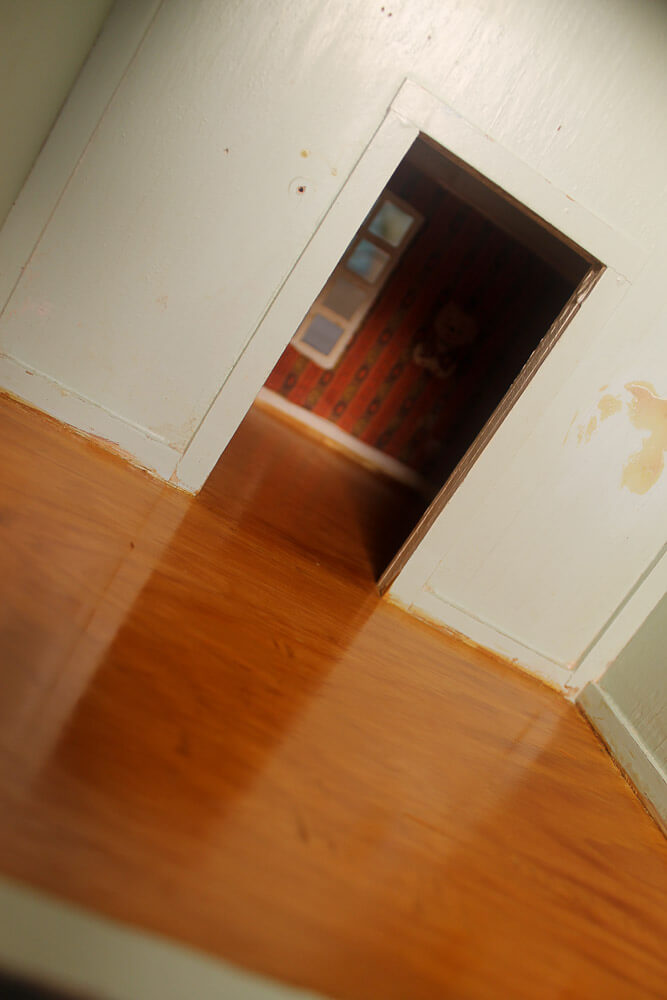 The floors turned out so well, I decided that, for the near term at least, I will not cover them with any additional flooring. I’ll use *rugs.*
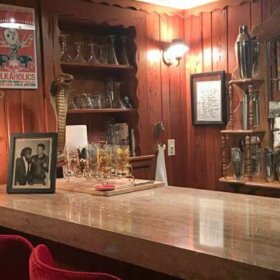
So pretty! So shiny! So orangy! So vintagey! Makes me wish I had a knotty pine kitchen to refresh and renovate! Makes me want to do cartwheels!
Next on my renovation checklist: Thoroughly clean the inside and outside of the dollhouse. Then: Make final decisions on basic furniture layouts so that I can wire the dollhouse for electricity. Yikes, that will be nerve wracking — I’ll be cutting some holes in my precious dollhouse!


Salt Young says
Love Amber shellac also, sometimes called orange shellac because of the color cast. I’ve been told it is what old Arts and Crafts homes had on the wood work and is why some people use amber tinted poly when restoring the floors in old home to get a vintage color.
My Dad and Aunt talk about my Grandmother using Spray orange shellac over light gray paint with a “wood grain” texture done with steel wool to create a blond effect on cabinets and wood furniture. Has anyone else heard of this technique ?
Also used to work with a Visual Merchandiser who loved to paint store props like urns, vases, etc. He used to take the brightest yellow paint possible as a base coat then paint black spots and waves on the item which looked awful. Then would spray it with orange shellac over it giving it a turtle shell effect that was great! That’s when I started to believe in the blonde wood technique might be as great as my relatives say it was. (?)
pam kueber says
Wow, the turtle-shelling technique sounds very interesting! I may need to try that to see what happens!
George says
Amber shellac is great for furniture, too. However, it’s not waterproof, so a finish coat of a varnish rub is really good to prevent stains from water-based liquids, such a condensation from glasses. I notice you have used the Zinsser brand, which is really top quality, in my opinion. A base coat of rubbed shellac with a furniture varnish top layer was always a good way to get a simulated “French rubbed” finish, and shellac has the great benefit of raising the grain on wood so the use can sand it down before the final finish.. I do like the way it makes the floors in your dollhouse shine.
pam kueber says
Thanks for the tip!
Barbara Voss says
I’d heard that shellac was made from ground up beetle shells. I used shellac on my pretzel chair and sectional and it brightened and glossed it perfectly. I also loved the smell, which I remembered from childhood.
zumpie says
Love the dollhouse and shellac, but it isn’t poo, it’s another bug “secretion”….dried into flakes and then suspended…
pam kueber says
ummm… I’m afraid to ask…
Kathy Burgess fabre says
I am renovating a 1940s house (duplex) in Pensacola, Fl. and the back apt has amber tongue and groove hearts of pine ceilings and walls. the floors are that, also, but have almost been ruined by dogs. All of the floors will have to be redone and I am thinking this might be the answer. Love this site. It has been a wealth of info for me.
Grama Robin says
I’m a shellac fanatic! The redwood paneling in our living room had 5 coats of paint, but the original finish was shellac, so taking the paint off was a lot less difficult! Shellac can be used as a primer under paint – and under stain if you want the stain to be subtle. Every time there’s a baby in the family, I get out our antique cradle, and sand and shellac it again, because shellac is non-toxic! Just found a vintage high chair for the last grandson and shellac made it shine (along with some fruit decals). Our 1959 camper was done by a boat builder. When we restored it all I had to do to the wood was – you guessed it – re-shellac it. The only problem is that alcohol will mar the finish, but that’s just a good excuse for vintage coasters! And it’s easy to find at your local hardware or paint store. Great job so far on the doll house! Can’t wait to see your progress.
pam kueber says
Thank you! Amber Shellac is DREAMY!