

 The vintage wallpaper my kitchen has been up for heading toward 10 years now, and alas, the humidity in the room … the brittleness of the old paper … and likely, the imperfection of my original DIY wallpaper install finally came home to roost — and the wallpaper started peeling off along the edges in various spots throughout the kitchen. I finally took a couple of days to fix the issue — with satisfactory results — but also with some bleed-through results. Read on for the befores, durings, afters, steps, and results, both positive and negative…
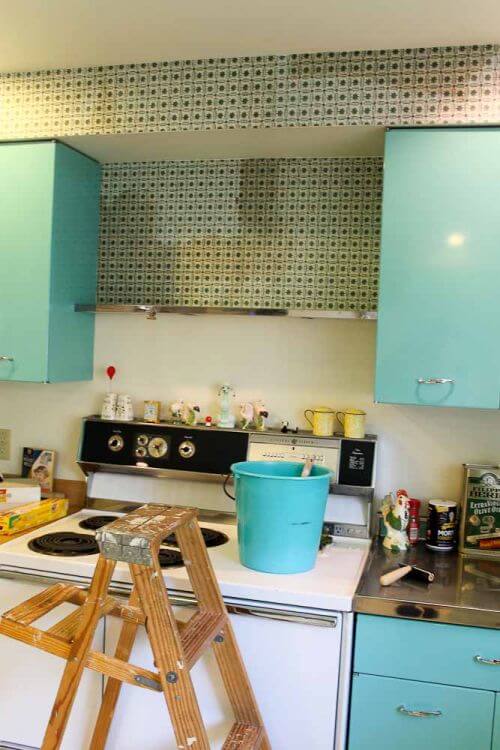
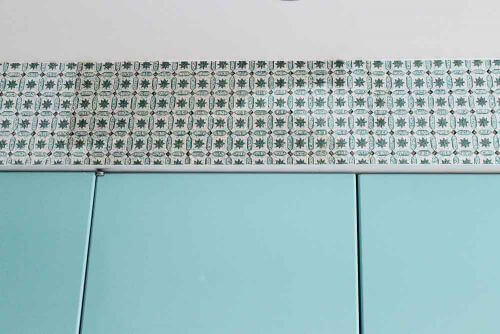
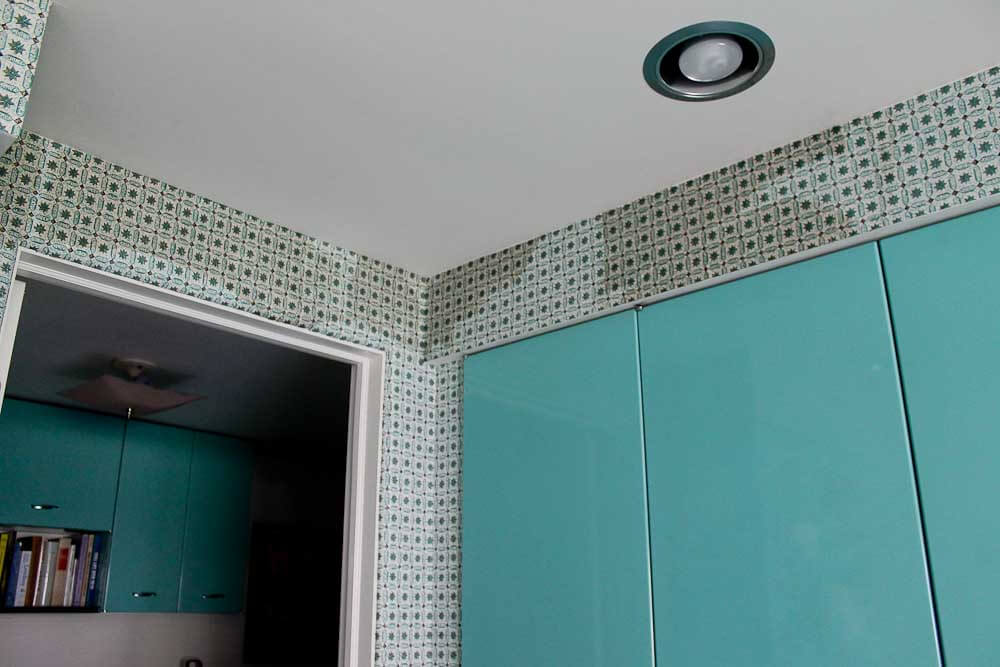
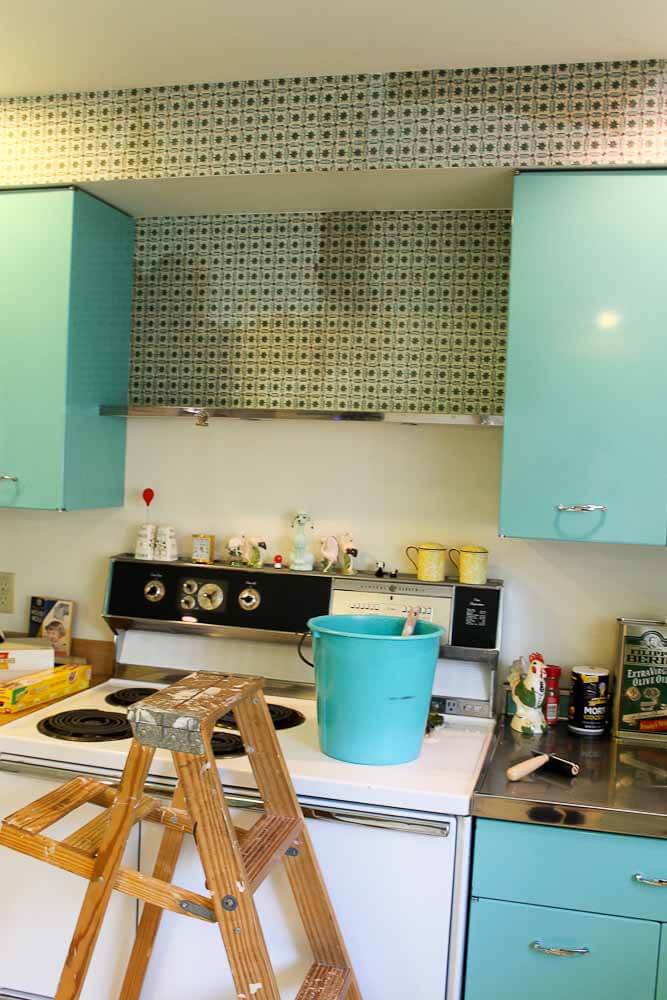
“Before” — Wallpaper peeling off along the edges:
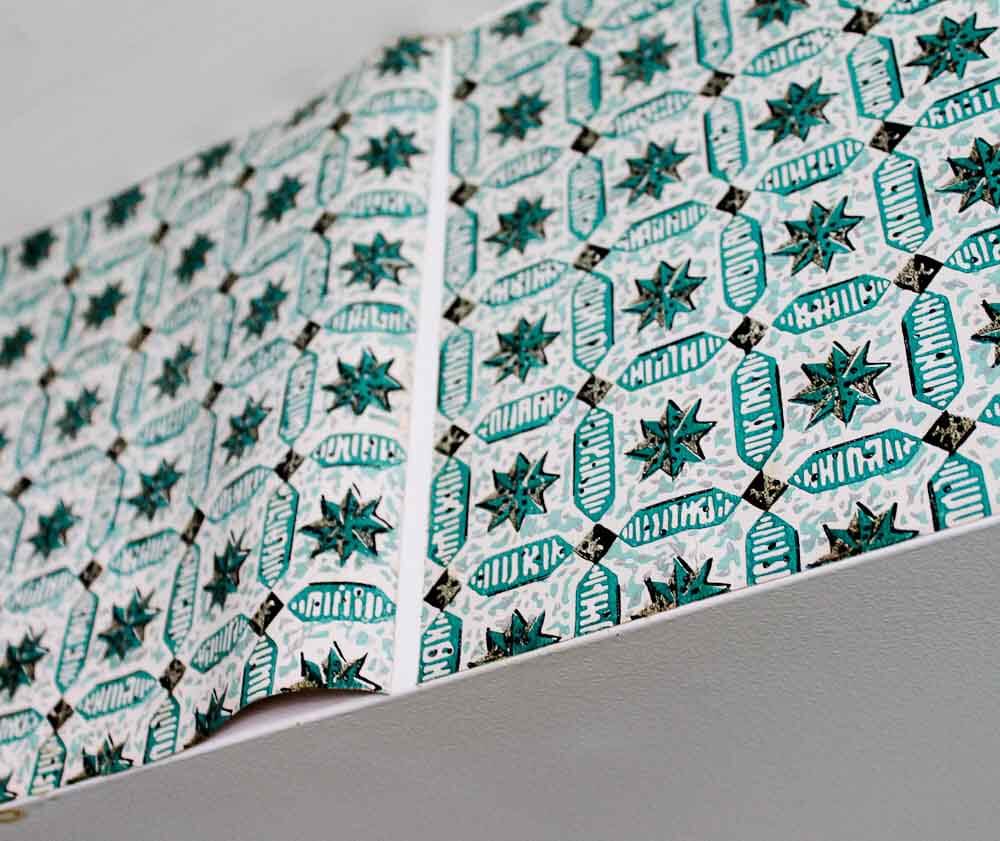
 Above: Yikes. I was well on my way to living in a decollage wallpaper kitchen but, while I do like that look, that wasn’t my goal for this particular space.
-

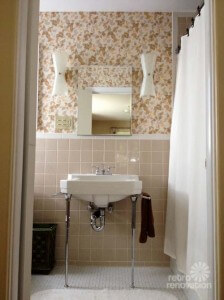
Read about my project to put up this wallpaper — the old stuff also came down in this bathroom. See my story on how to apply vintage wallpaper. In my story I also later linked to instructions from Hannah’s Vintage Wallpaper (advertiser on this site, but this mention is not part of the *deal*.) Since I wallpapered my kitchen before I read the Hannah’s (I think she published her story much later), the only two steps I can see that I may have done “wrong” — or at least suboptimally — were that I did not necessarily apply the size the same day as I papered and I did not mix my paste using hot water. I’m not sure that these were really my issues with my vintage wallpaper coming down, though. I hypothesize that I did not originally apply the wallpaper paste thickly enough, or I did not let it soften on to the paper long enough. Also, my paper — which I bought locally from a longtime former wallpaper store (not Hannah’s) — was very very brittle — very dry — with age and likely, bad-humidity storage conditions. Surely, that must have had something to do with its ability to hold the paste longterm….
- Our story: Seven places to buy vintage wallpaper — from 80 cents to $200 a roll
“During” — Repasting the edges of wallpaper:
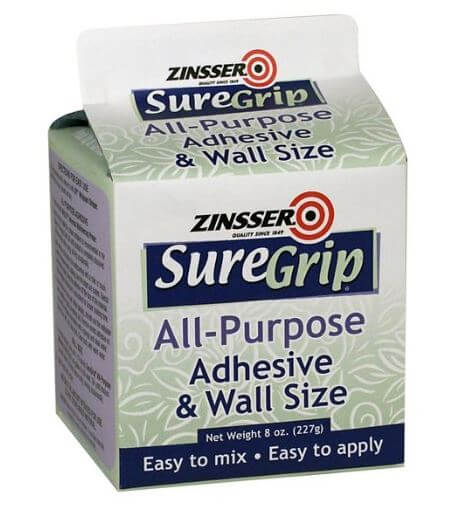
I bought Zinsser SureGrip powder (*Amazon affiliate link) at my local hardware store. You can use it to both size the wall, and then, to apply the paste. I followed the instructions. First, I resized behind each section of the wallpaper that was coming down.
 Then, I used a paint brush to apply the paste the back of the paper itself. I let the paste sit on the paper a bit while the paper was kind of still hanging off the wall. I took it slow, because I did not want the paper to rip off. I slathered that paste on but good, *which* was not smart but continue….
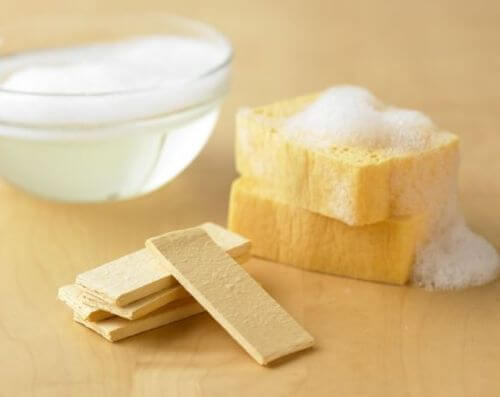 When I felt like the paper had been saturated enough, I then used a big sponge, wet, to smooth it on. I love the kitchen sponges from Williams-Sonoma — we have used them in our kitchen for 25 years. I used an old one for the wallpaper project.
Above: The wallpaper re-pasted… in the process of drying. I also used a roller (all I could find was a collage brayer, shown in one of the photos, it worked great) to get out the air bubbles and really seal the edges. You need to be careful during this portion of the project not to “stretch” the saturated wallpaper.
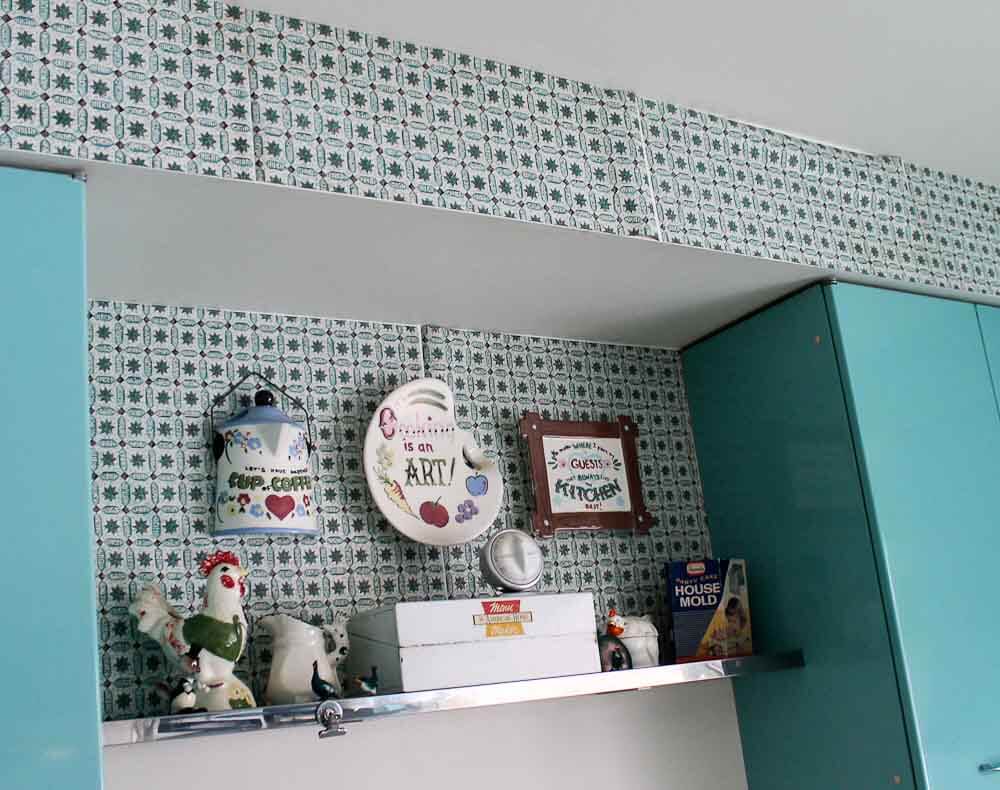
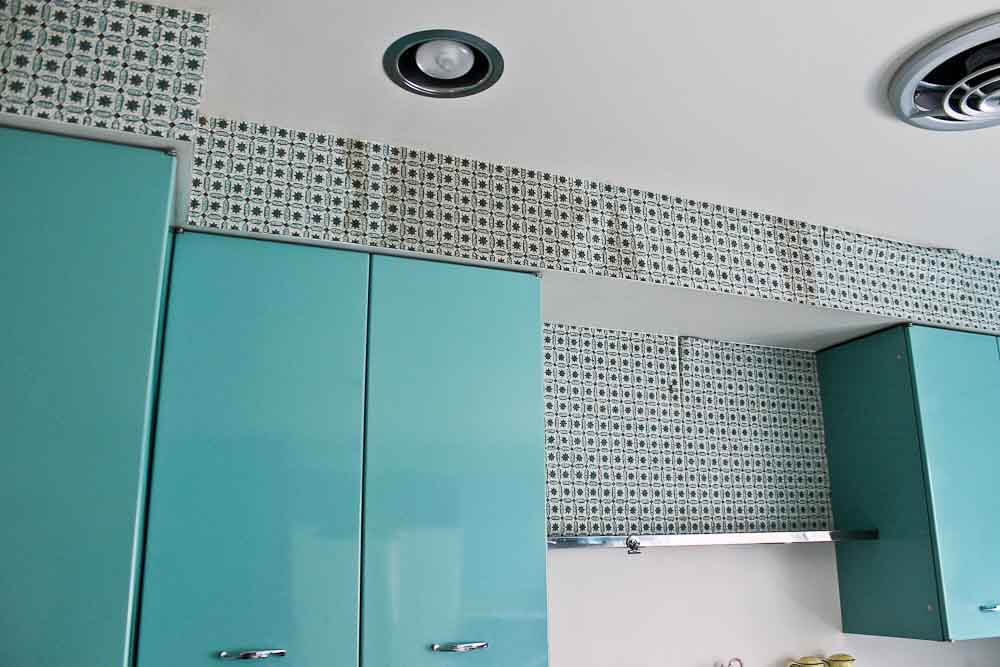
After — All’s better… basically… except, beware of using too much paste (I think)… :
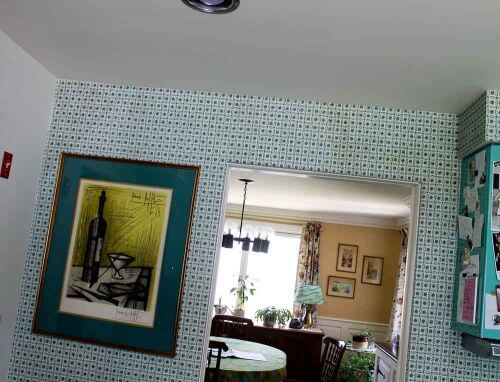
In general: The glue dried clear, and all’s better now.
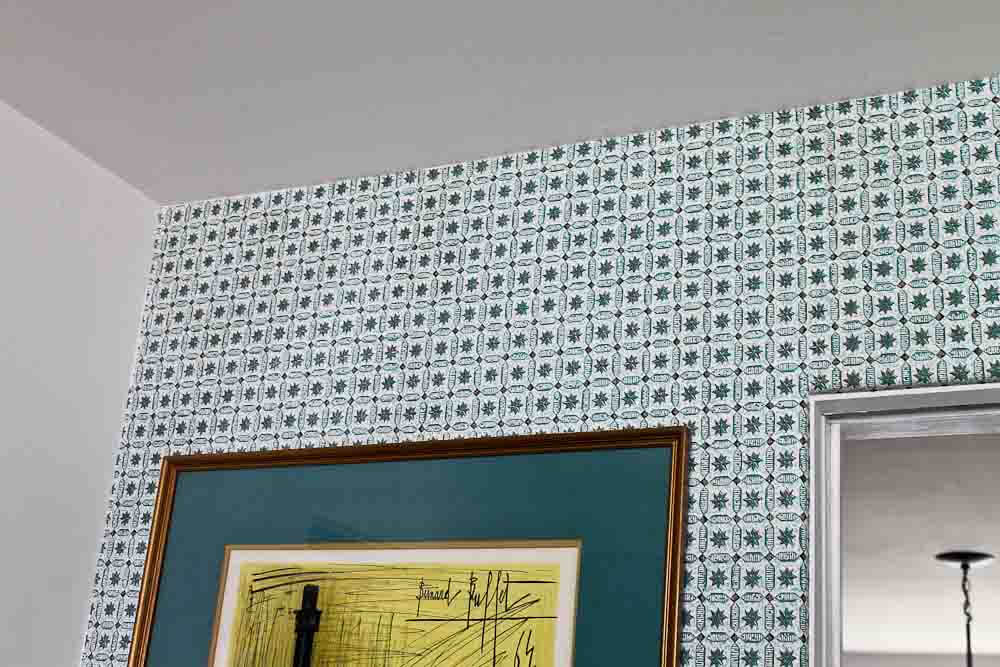
 BUT, in some spots, I seem to have applied too much paste, and the paste behind the paper did not dry clear. Above: A few days after and you can still see the glue all splotchy. Rorschach test: I see the shadow of a brontosaurus heading over to eat some trees. What do you see?
 Above: Two photos from a few weeks later… it’s like… the glue is taking a long long long time to dry clear. Brontosauras Bob is still there, albeit, fading some more. As you can see I play with these photos in Lightroom so the percentage of black may change photo-to-photo, but I assure you: Bob has faded.
Tip to viewing photos on this blog: Click on any photo, and it should double in size on your screen for closer inspection. This should be the case on any stories on this blog published in the past few years. (Earlier, not.)
 Even so:
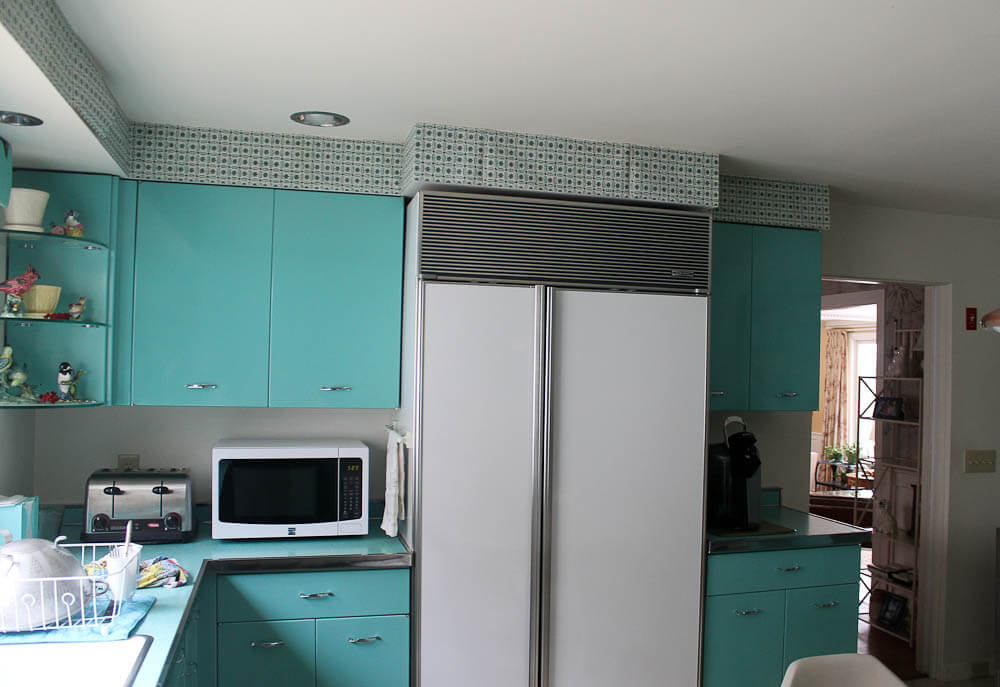
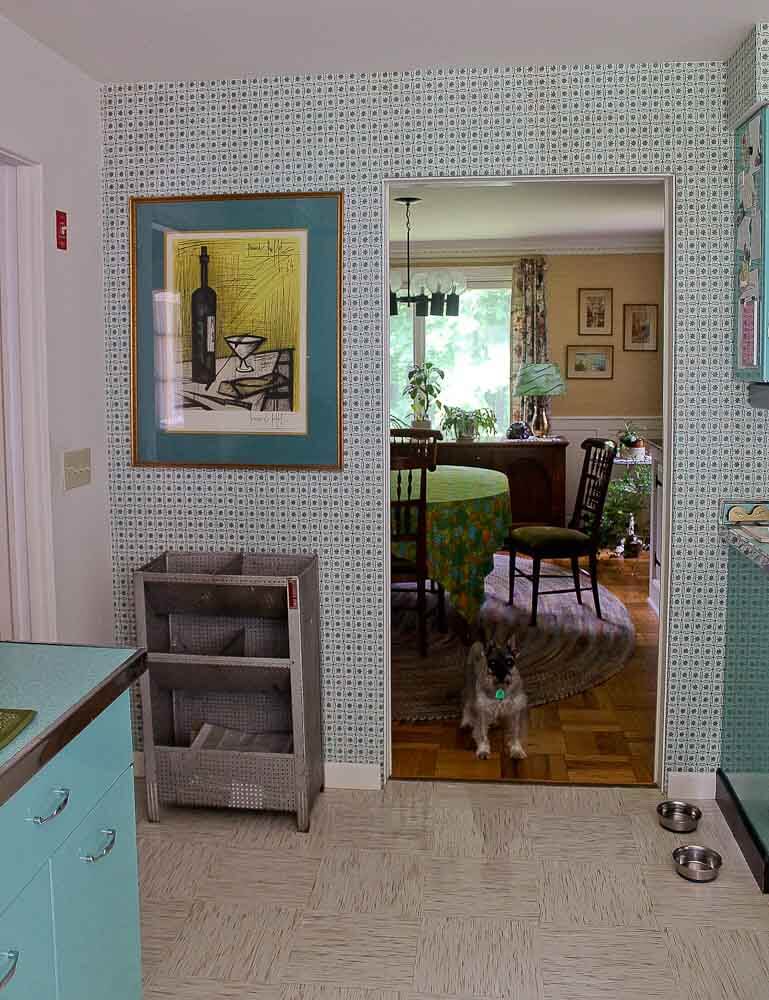
- In the grand scheme of my kitchen, you don’t really see the splotchies because there is (1) so much going on, and (2) the wallpaper is often in shadows or direct light and ya just don’t notice the imperfection of the fixit. This is, yet again, a typical case illustrating the plight of a Do-It-Yourselfer: DIY and you know where the mistakes are and can obsess about them. Luckily, I am not much of a DIY perfectionist at this point in my life.

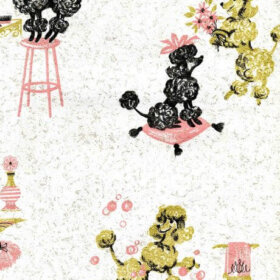
- This was a whole lot easier that taking down the old wallpaper and putting up new/vintage wallpaper. In fact, I went window shopping at Hannah’s Wallpaper, and they sent me a bunch of samples for free to consider. Thank you, Hannah’s Treasures! I was really quite psyched about the wallpaper above. A whole new crazy 1960-70s flower power look for my kitchen! DH liked it, too. But… on top of the (1) stripping and window valance, and (5) reaccessorize, and (1-2-3-4-5) I just got exhausted at the thought, I have so many projects going on or already on the to-do list. So, I fixitted what I had. That was the right solution for here and now, splotchies or no splotchies. Wabi-sabi, and in this case, especially sabi 寂 — that’s what I say.


Shannon says
Is it possible to put up wallpaper on a modern wall that has texture? Just regular ol’ texture, nothing too much?
Nick says
In the past my grandmother used nails. They have a smaller head so they’re barely visible. Personally sorry them white or some color to correspond with where I put them on the wall paper.
Kathy says
I bet it will lighten up even more with time. Even so, I think it is the perfect place to display a row of copper molds or decorative plates or trivets.
The new wallpaper brings to mind the wallpaper my mother put c. 1973-5 in our 1920s Tudor Revival to match the aqua tile in the bathroom, and of a similar paper in the kitchen of thick shiny vinyl printed with red, pink and coral geraniums. She looked all over to find paper to match the 1950s coral Formica and metal edged countertops. The breakfast nook was white with curtains to match the wallpaper.
It sounds a bit garish, but since the wallpaper was largely confined to the backsplash and an accent wall, it looked really pretty. She painted the wood cabinets green to go with the paper, but it was really bright, so she antiqued them to tone down the color. The adjoining powder room was papered in a cool gold and silver metallic geometric print that was reflected in the mirror above the sink.
My Mom was a big fan of wallpaper and installed red ticking stripe in our previous house’s bathroom (1960 plain-Jane Colonial) and a cross-stitched folk art style border in my first bedroom, to match the light pink walls. I wanted red, but it was pretty and delicate.
My second bedroom featured very bold oversized blue gingham checks that looked like overlapping pieces of tissue paper–very pretty, The furniture was painted in bold saturated colors of lime green, yellow and blue, with a hanging canopy with dotted swiss curtains for the bed nook, and the white vinyl floor I wanted so I could do as much messy art as I wanted.
Alas, we moved just a year after completion of my dream bedroom and the next owners stripped every bit of wallpaper in the house, except for the gold foil powder room. The next wallpaper reincarnation (in a 1904 Victorian cottage) was in 80s earthtones–all rust, brown and beige. Tasteful, but not as much fun!
She supported the family for a while with her wallpapering skills. More than once she had to use her artistic skills to figure out how to mismatch paper so it looked intentional because people did not buy enough to allow for a pattern match. Big patterns in particular often need custom cuts and have a lot of waste to fit properly, and many patterns are offset or don’t match edge to edge. So if you buy a paper you love, make sure there is enough for the pattern match on each wall.
pam kueber says
Your second bathroom sounds like a dream room indeed! Your mother and I would have gotten along famously — I am the world’s #1 fan of wallpaper!
karenn says
When we inherited my in-laws’ home, it was a museum of peeling wallpaper. We are in the middle of removing it, and I found some of the edges where my MIL had used double-stick scotch tape in a vain attempt to fix the peeling edges. I had to laugh. Too bad she never had the opportunity to read your Brontosaurus Bob technique.