

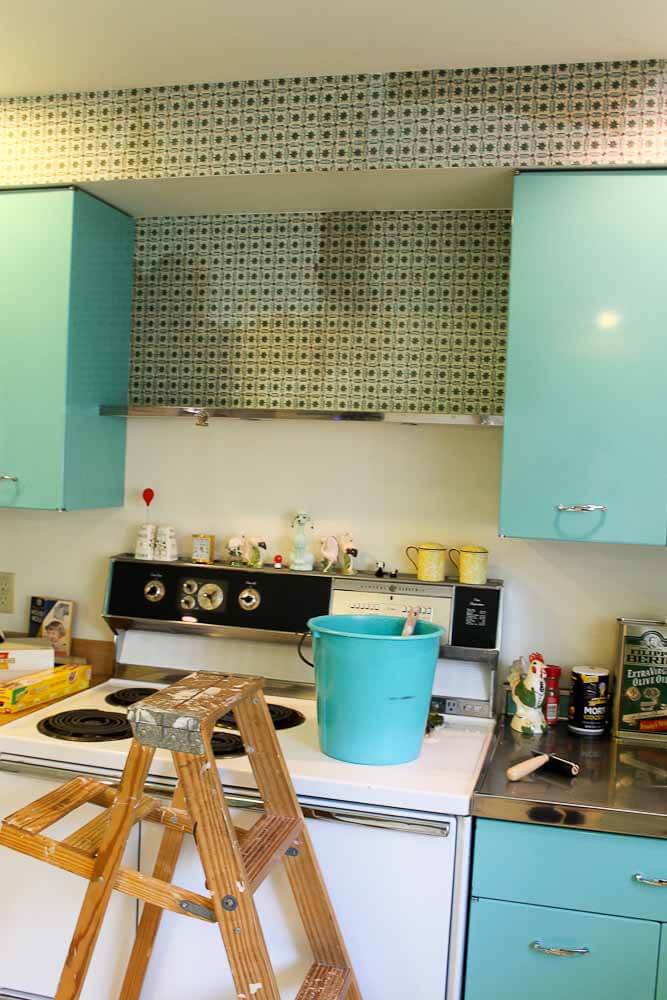
 The vintage wallpaper my kitchen has been up for heading toward 10 years now, and alas, the humidity in the room … the brittleness of the old paper … and likely, the imperfection of my original DIY wallpaper install finally came home to roost — and the wallpaper started peeling off along the edges in various spots throughout the kitchen. I finally took a couple of days to fix the issue — with satisfactory results — but also with some bleed-through results. Read on for the befores, durings, afters, steps, and results, both positive and negative…
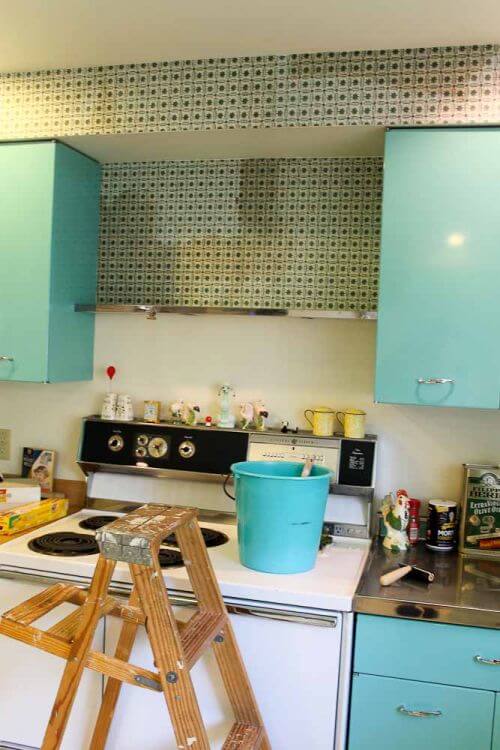
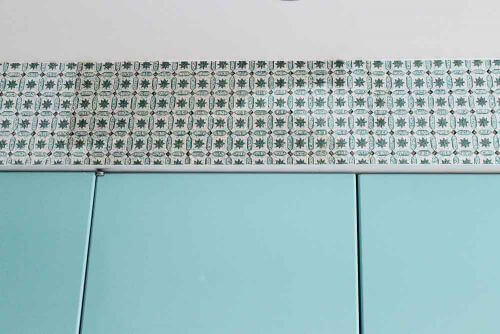
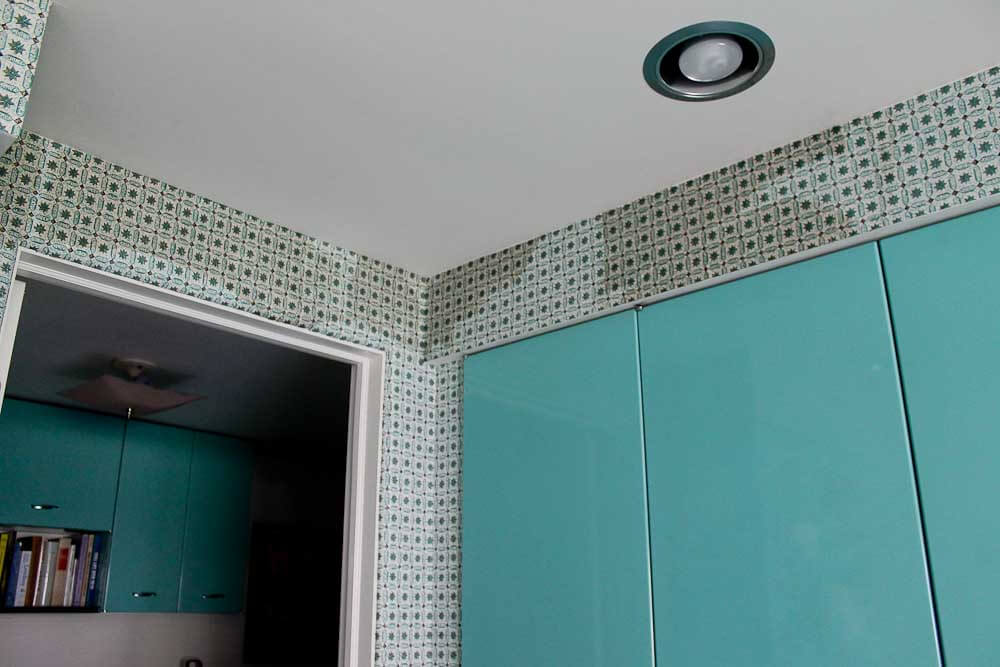
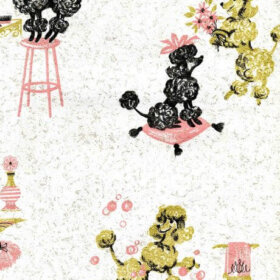
“Before” — Wallpaper peeling off along the edges:
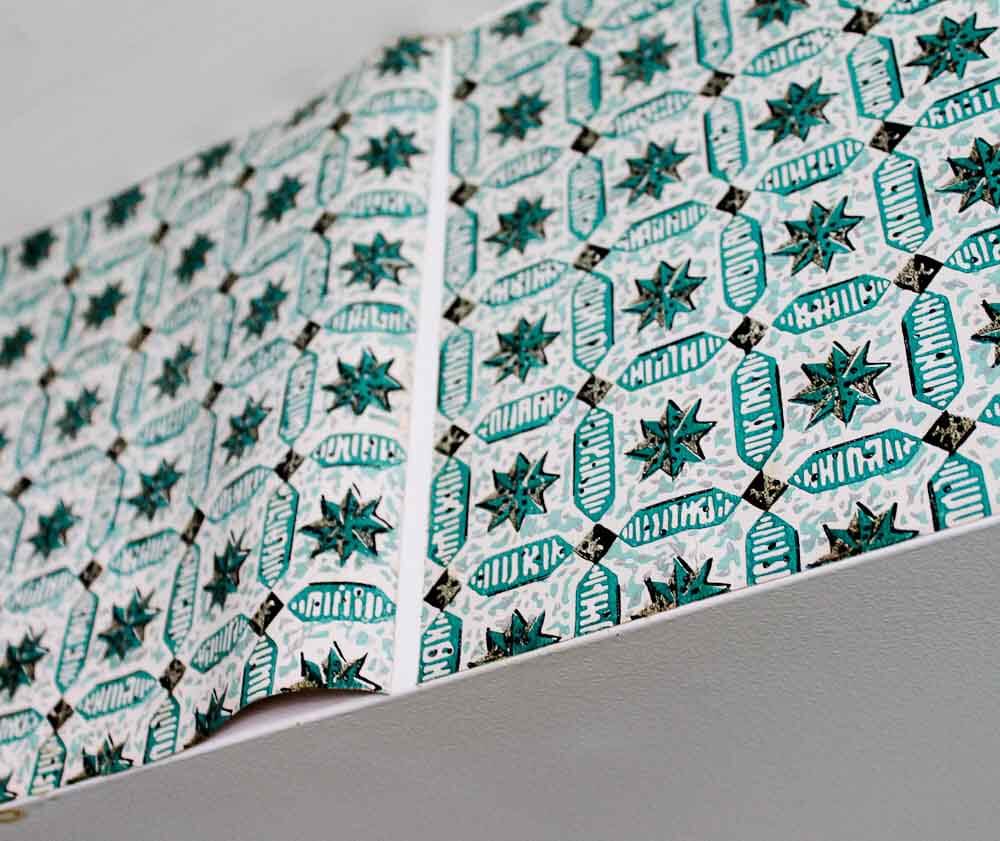
 Above: Yikes. I was well on my way to living in a decollage wallpaper kitchen but, while I do like that look, that wasn’t my goal for this particular space.
-
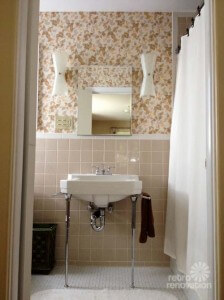
Read about my project to put up this wallpaper — the old stuff also came down in this bathroom. See my story on how to apply vintage wallpaper. In my story I also later linked to instructions from Hannah’s Vintage Wallpaper (advertiser on this site, but this mention is not part of the *deal*.) Since I wallpapered my kitchen before I read the Hannah’s (I think she published her story much later), the only two steps I can see that I may have done “wrong” — or at least suboptimally — were that I did not necessarily apply the size the same day as I papered and I did not mix my paste using hot water. I’m not sure that these were really my issues with my vintage wallpaper coming down, though. I hypothesize that I did not originally apply the wallpaper paste thickly enough, or I did not let it soften on to the paper long enough. Also, my paper — which I bought locally from a longtime former wallpaper store (not Hannah’s) — was very very brittle — very dry — with age and likely, bad-humidity storage conditions. Surely, that must have had something to do with its ability to hold the paste longterm….
- Our story: Seven places to buy vintage wallpaper — from 80 cents to $200 a roll
“During” — Repasting the edges of wallpaper:
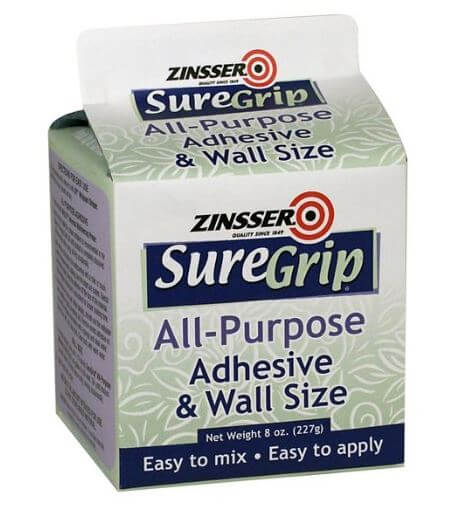
I bought Zinsser SureGrip powder (*Amazon affiliate link) at my local hardware store. You can use it to both size the wall, and then, to apply the paste. I followed the instructions. First, I resized behind each section of the wallpaper that was coming down.
 Then, I used a paint brush to apply the paste the back of the paper itself. I let the paste sit on the paper a bit while the paper was kind of still hanging off the wall. I took it slow, because I did not want the paper to rip off. I slathered that paste on but good, *which* was not smart but continue….
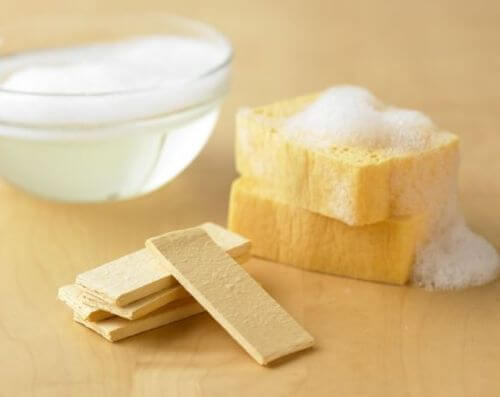 When I felt like the paper had been saturated enough, I then used a big sponge, wet, to smooth it on. I love the kitchen sponges from Williams-Sonoma — we have used them in our kitchen for 25 years. I used an old one for the wallpaper project.
Above: The wallpaper re-pasted… in the process of drying. I also used a roller (all I could find was a collage brayer, shown in one of the photos, it worked great) to get out the air bubbles and really seal the edges. You need to be careful during this portion of the project not to “stretch” the saturated wallpaper.
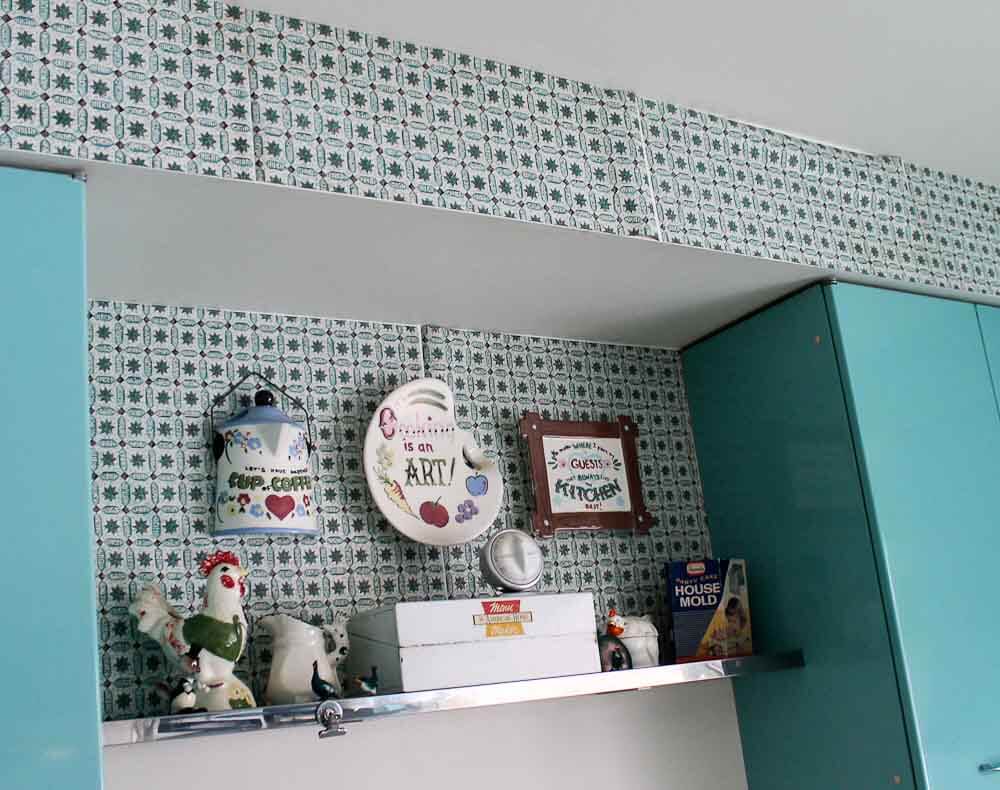
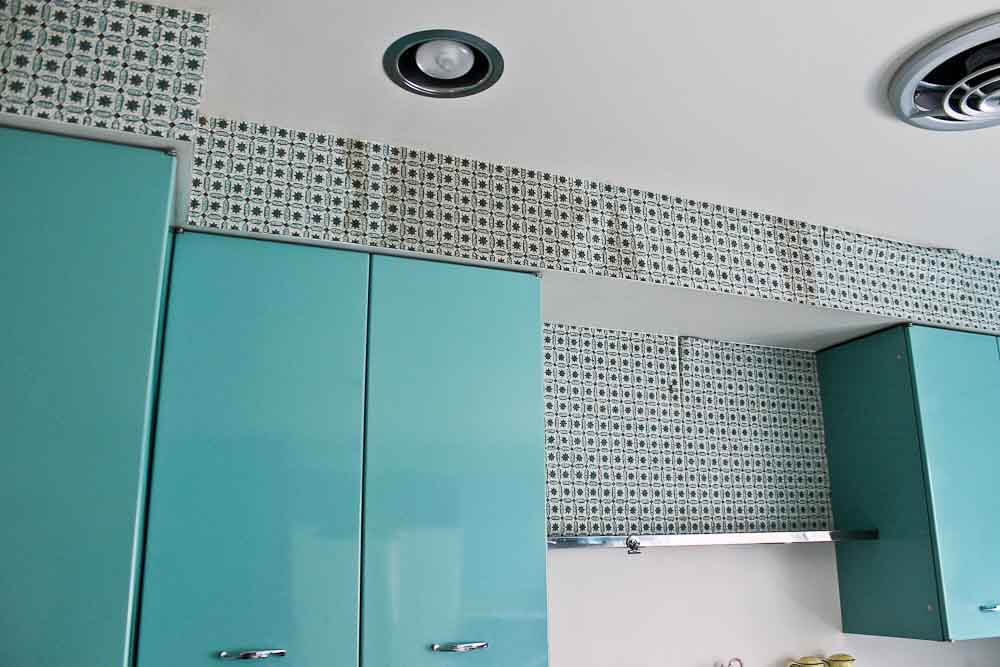
After — All’s better… basically… except, beware of using too much paste (I think)… :
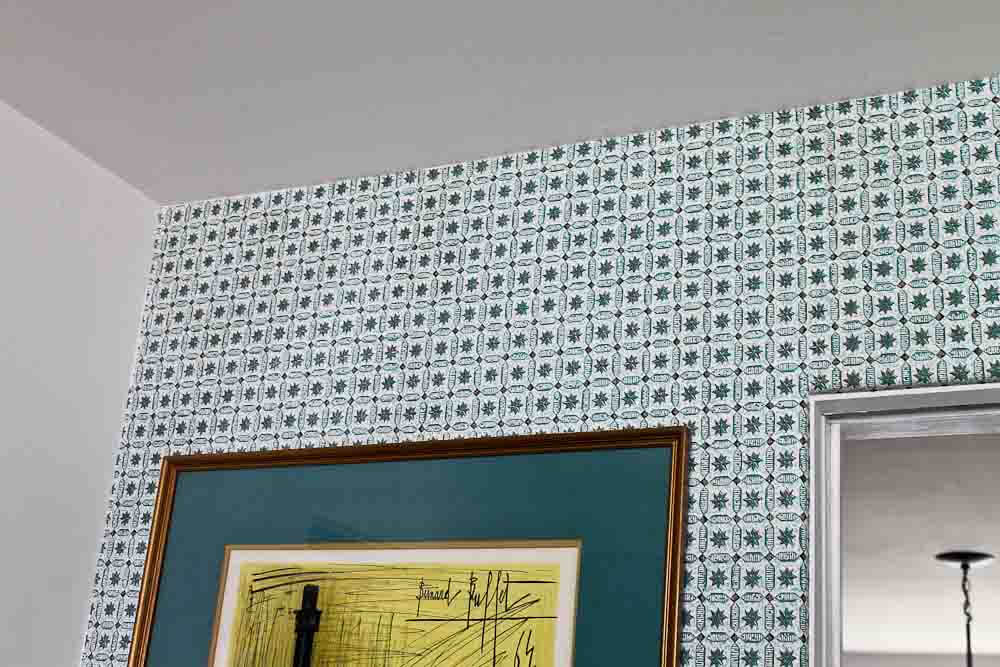
In general: The glue dried clear, and all’s better now.
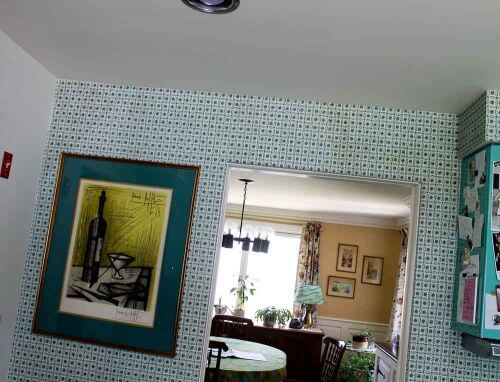 BUT, in some spots, I seem to have applied too much paste, and the paste behind the paper did not dry clear. Above: A few days after and you can still see the glue all splotchy. Rorschach test: I see the shadow of a brontosaurus heading over to eat some trees. What do you see?
 Above: Two photos from a few weeks later… it’s like… the glue is taking a long long long time to dry clear. Brontosauras Bob is still there, albeit, fading some more. As you can see I play with these photos in Lightroom so the percentage of black may change photo-to-photo, but I assure you: Bob has faded.
Tip to viewing photos on this blog: Click on any photo, and it should double in size on your screen for closer inspection. This should be the case on any stories on this blog published in the past few years. (Earlier, not.)
 Even so:
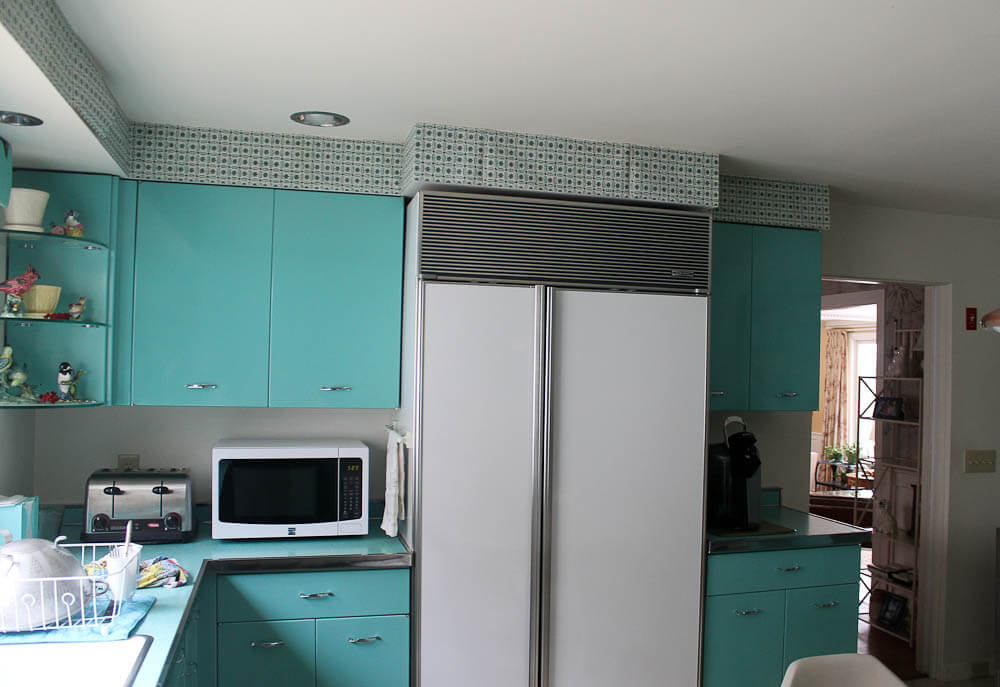
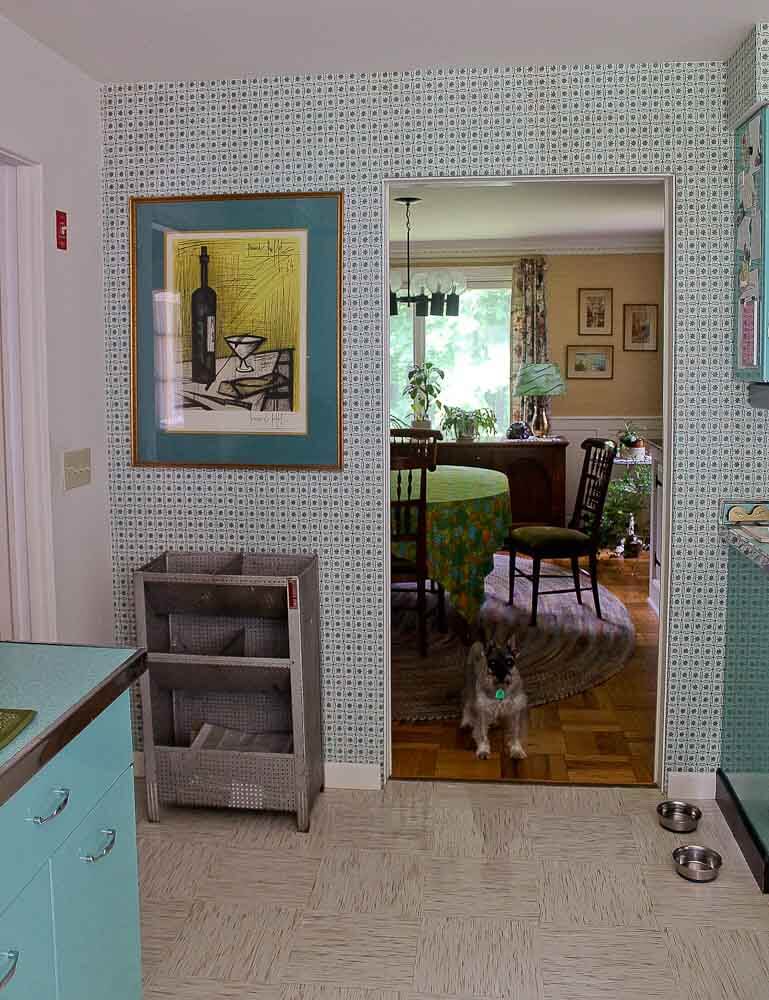
- In the grand scheme of my kitchen, you don’t really see the splotchies because there is (1) so much going on, and (2) the wallpaper is often in shadows or direct light and ya just don’t notice the imperfection of the fixit. This is, yet again, a typical case illustrating the plight of a Do-It-Yourselfer: DIY and you know where the mistakes are and can obsess about them. Luckily, I am not much of a DIY perfectionist at this point in my life.

- This was a whole lot easier that taking down the old wallpaper and putting up new/vintage wallpaper. In fact, I went window shopping at Hannah’s Wallpaper, and they sent me a bunch of samples for free to consider. Thank you, Hannah’s Treasures! I was really quite psyched about the wallpaper above. A whole new crazy 1960-70s flower power look for my kitchen! DH liked it, too. But… on top of the (1) stripping and window valance, and (5) reaccessorize, and (1-2-3-4-5) I just got exhausted at the thought, I have so many projects going on or already on the to-do list. So, I fixitted what I had. That was the right solution for here and now, splotchies or no splotchies. Wabi-sabi, and in this case, especially sabi 寂 — that’s what I say.


Joe Felice says
A long time ago, someone told me always to “size” the wall before installing paper, even pre-pasted. Here in Colorado, we have just the opposite problem due to lack of humidity, especially indoors. Our glue dries faster, and so you have to work a little quicker. I have always just used good-old Elmer’s glue to re-seal recalcitrant spots and edges. I just brush a little on. It has always worked great, dries clear, and is easily removed and cleaned up with water.
pam kueber says
Yes – I size!
Jordan says
Good idea here – super sorry that it ended up blotchy in some places though! Well, now you know for next time you need to fix some peely paper!
Erik says
In my opinion, you waited too long before addressing the problem.
With wallpaper, the occasional loose seam or edge is a fact of life. I learned from my father that it is better and easier to take care of a edge or seam right away with Elmer’s white glue when the peeling is first noticed and small and minor, instead of letting the peeling progress until it is major problem requiring the use of wallpaper paste. Just regularly look your wallpaper and when you see a loose seam or edge, grab the Elmer’s glue and take care of it right away so the peeling doesn’t get worse. Consider it regular maintenance that is required with wallpaper.
Carol says
Pam, Bravo on that wax job on the floor!!! I can see Astro’s reflection very well under Brontosaurus Bob. Don’t worry about Bob, he will make you smile unexpectedly now that you’ve named him. I say keep what you love as long as you can live with the imperfections. That said, I’m really diggin the flower power paper. It would look awesome in the kitchen with the chairs in yellow. It never hurts to “hoard” a little something for later use if you love it. New wallpaper in 10 more years?
Mary Elizabeth says
Pam, I don’t see a Brontosaurus. I see Apatosaurus, formerly known as Brontosaurus. My six-year-old grandson recently corrected me on that one.
When I wallpaper, which isn’t often anymore, I don’t use the old fashioned paste. I use a synthetic paste that comes premixed and stays pretty thick and doesn’t saturate the wallpaper. You put it on with a brush. The last one I put up in a kitchen lasted 20 years, until the new owner peeled it off and painted. My daughter reports that the first wallpaper I put up in 1978 or 1979 is still in the powder room in our old house–no peeling.
The other thing I do is always squeeze out the excess paste with the flat blade (careful not to rip the paper) and then roll the seams with a roller. Nor do I overlap seams–or I should say, I overlap them and then cut them with an Exacto knife and a straight edge. Finally, if seams come loose over time, I get a special wallpaper glue
Retro renovating, for me, doesn’t mean using the old tools to get the old look. 🙂
pam kueber says
Hi ME, thanks for the tip – next time I’ll try the premixed and see how that does. I even have a project in mind!
Mary Elizabeth says
And I forgot to say that Astro keeps popping up whenever you take photos in your house. So cute! He must think you are taking photos of him and that your blog is all about him. 🙂
pam kueber says
Yes, he follows me all around the house 🙂
Jennifer says
Although you claim to not be a DIY perfectionist, isn’t there a tiny voice whispering in your ear that you should take down the wallpaper and recreate the pattern with acrylic paint so that you never have to worry about peeling paper pitfalls again? 🙂
pam kueber says
nooooo, there is nothing quite like vintage wallpaper, or screen printed wallpaper! the LAYERS!
Jacki says
When we bought our 1963 home our hall bathroom’s original wallpaper had similar issues; curling from the ceiling, baseboards and seams coming apart. I paid $225 to a professional wallpaper installer to repair it and it was the best money I’ve spent so far on this house. He used wallpaper paste to soften the paper then used a heat gun to seal it in place. No one would believe it was the same paper if it weren’t for the pink elephants all over it.
Mary Elizabeth says
Pink elephants?? Wow, I want to see that paper!
Jason says
I love the current wallpaper and I’m glad you repaired it. As I’ve said, or at least think I have before, that kitchen is just amazing! It makes me smile every time I see it! Even your bucket matches:)
Steve H says
So true. I always marvel at the perfection of your kitchen.
pam kueber says
Thank you!
I still am indecisive about backsplash treatment. Part of me wants to tile. I bought these 7 years ago — https://retrorenovation.com/2008/04/13/it%E2%80%99s-spring%E2%80%A6-and-project-fever/
But the larger part of me wants a wallpaper that coordinates with the soffit and accent wall wallpaper. So, I have done nothing for nearly 10 years.
Mary Elizabeth says
Was looking at your old story about using plastic tile for a backsplash. I think it would be great! Did your plastic tile come with instructions? If not, I would suggest a product called Bondera, which DH found and our tile mason friend used to put up a ceramic tile backsplash in our kitchen. It is so easy–sticky on both sides, just peel and stick. It’s meant as a first step to stick the tile to the wall (instead of mud) before grouting, but plastic tile needs no grout, just a little bead of silicone caulk along the bottom at the edge of the counter. If this product is strong enough to hold ceramic, it should be fine with plastic.
The Bondera strips come with complete instructions. Our mason friend had never used it before we found it, and he found it easy to use. (We have no stock in the company! We just found this stuff on line and thought it was the perfect product for tiling over old laminate.)
pam kueber says
Thanks, I might give it a try!
Mary Elizabeth says
Told DH about my suggestion, and he thinks it’s a great idea. However, he suggested you contact the manufacturer of Bondera (and some other brands of tile setting mats, which is what they are called generically) to see if the application of plastic tile instead of glass or ceramic tile is appropriate. Like you, Pam, he always suggests contacting the professionals!
Katie says
Tile! B&W had some colors that would look stunning with your current wall paper.
pam kueber says
I want bone 2×2, they told me they did not have it…
LuAnn says
It made me feel so much better to hear that even Pam put a design choice off for 10 years because of indecision. It seems to be the story of my life lately. *Sigh*
pam kueber says
oh yeah. i am not a fast decorator!
pam kueber says
Thank you, Jason!
Robin, NV says
Pam – I’d say 10 years for wallpaper to stay in place (especially in a high humidity environment) is really good. I wouldn’t fret over your original hanging job at all.
I’d love to see the flower power version of your kitchen with the wallpaper from Hannah’s. Maybe you and Kate should do a mock-up. Actually, come to think of it, it would be fun to see your kitchen done up in different designs from 50s, 60s, 70s, and 80s – one for each decade. Just to show the flexibility of your steel cabinets. 😀
Doug says
luv that idea Robin. I would also like to see the kitchen mocked up in 50’s, 60’s, 70’s, and 80’s.
Mary Elizabeth says
I third that motion!
midmichigan says
Pretty good fix. It’s definitely better than loose paper. The glue blotches are weird but they are blending out. Maybe in time they’ll be gone. Or you could panel over everything. Or just keep a pitcher of martinis on the table.
pam kueber says
I vote margaritas!
midmichigan says
Indeed! What the heck was I thinking?!!