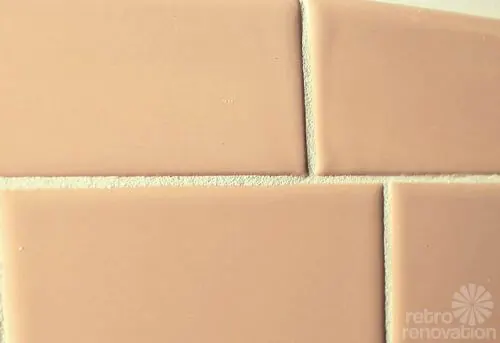
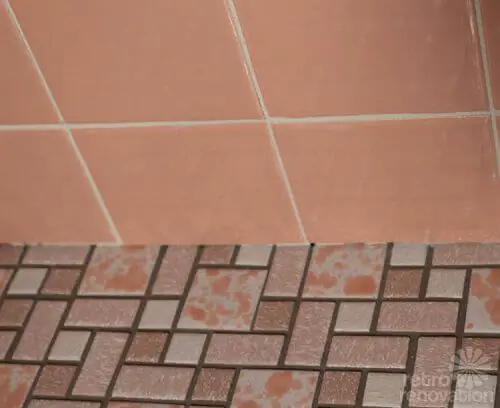
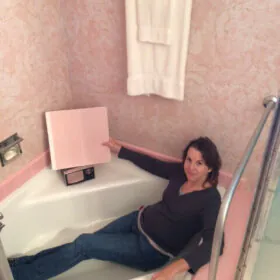
 More happy dances were in order this past weekend after I finished grouting the pink wall tiles in my master bathroom. Yes, things are really starting to take shape in there — getting ever closer to a finished bathroom. Pam asked me to do an impromptu video to show how my bathroom is looking with freshly grouted walls — so if you have about four minutes to spare — why not listen to me geek out about wall grout. You can even play a fun game and count how many times I say, “exciting.”
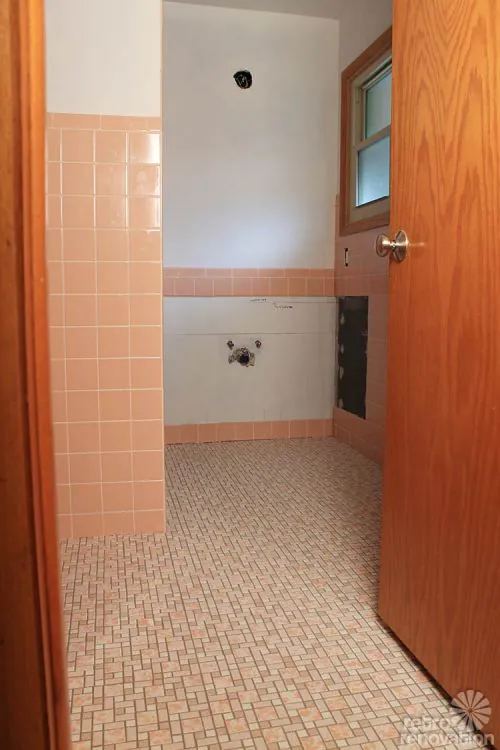
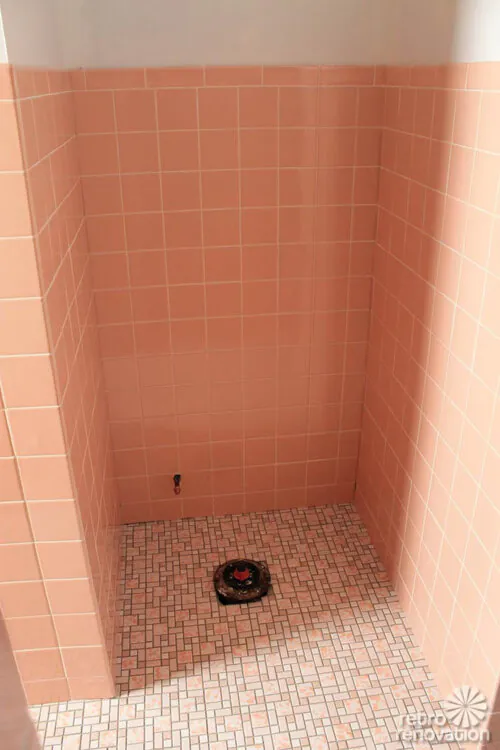
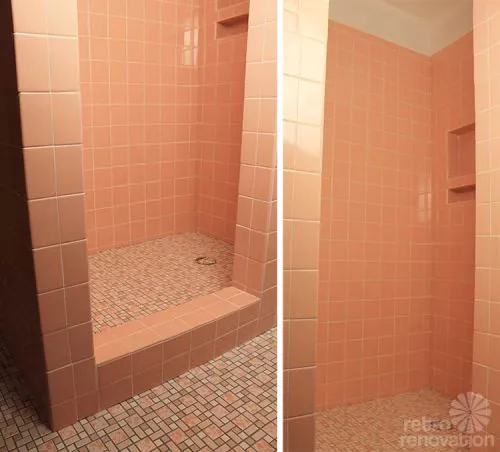
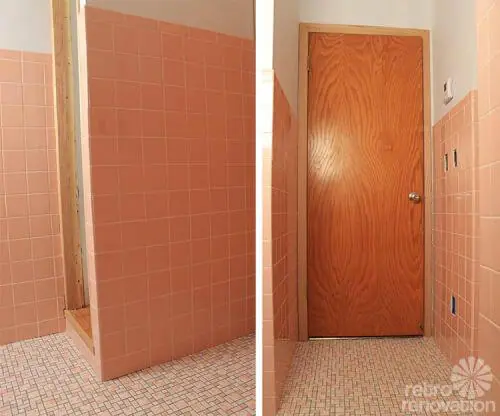
Also on deck, the electrician is coming to hook up the lights and fan and I’ve chosen a paint color. Then there’s that little job of building the vanity. Eeek…
Stay tuned.




Alex Dimitriu says
Hi where are the pink tiles from oplease? Thanks. Alex
pam kueber says
Hi Alex, Kate used B&W tile. Use the search box to find stories about the company. The company is listed here in my big roundup: https://retrorenovation.com/2019/01/22/12-places-to-find-4-x-4-ceramic-bathroom-tile-in-vintage-colors/
Melanie Smart says
Hello we installed the same merola tile but in blue in our 1958 bathroom. But after a couple of months the blue is rubbing off the tile. Is anyone else having this problem? We bought the same tile for our other bathroom in another color. But now very worried this issue is going to get worse or do the same with other color.Any advise?
pam kueber says
Melanie: I think that numerous readers — including Kate, who worked for me for four years — have installed this tile, and I don’t recall that I have ever heard of this issue occurring with them. I called Merola just now, and connected with their Marketing department. They say you also contacted them (the same time that you made this comment), and they have replied back to you via email to connect. They sound like they want to get to the bottom of any issue — so look for their reply email! Good luck!
Melanie Smart says
Hello Pam,
I did see the email from from marketing when I got home from work today. I’m going to take pictures in the morning when I have the best lighting and foward. I did speak to some one in customer service from Merola Tile website but he wasn’t very helpful. Although he was the only one left in the office at the time so I will also try back on Monday. Keep you posted on with both marketing and customer service. Hope we can resolve this issue. Eventually would love to send you photos of our work we put in to restore our 1958 home. Thank you for your help and contacting Merola as well.
Melanie Smart says
Hello Pam,
Finally able to provide an update. Sorry for the delay. Elizabeth at Merola Tile was very helpful and responsive. I sent her photos. Turned out to be grout hazing. Phew!!! I purchased the hazing cleaner on amazon. Took longer to arrive then expected and then we had our 2 years old birthday party. But this weekend we finally got a chance to put in some work. With great results!!!!! It’s gone from nearly all the tile. There is a very tiny amount left in the worst pieces but unless you knew where to look it would not be noticed. This was a huge relief not to be an issue with the tile. I would like to thank you as well for your assistance in contacting Merola tile also. Hope to get started in our other bathroom soon and complete the blue bathrooms restorations as well.
Melanie
Pam Kueber says
Well that’s great to hear!
Kathleen says
Can you please give an update on how this grout has performed? I was thinking about it for our white tile and was told on a tile forum that the white epoxy grout can yellow from the resin. That has me worried! I am having a hard time determining the right grout for our tiling…I could go with a very light grey but really wanted the look of the white on white.
(We just installed the same Mercola mosaic tile as your floors in the grey and LOVE it!)
susan Wulff says
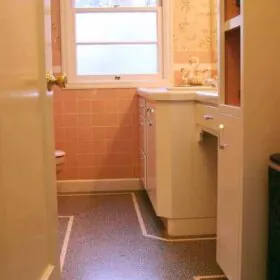
Oh my gosh, this is my parent bathroom!!!! My parents had lived their 40yr and since my dad stroke 7yrs ago, lives with me part-time.
I have been looking “what to do with THAT pink bathroom” for a few years. I too have decided to embrace it. The smaller bathroom too it also has pink everything except a grey tub, toilet and drop in sink.
Looking to change the wall paper and paint the large vanity. Everything else in perfect condition. My parents were anal about up keep.:)
Sure need suggestions.
Thanks Susan
pam kueber says
Hi Susan, you can see all our stories about pink bathrooms here — the stories include lots of ideas — https://retrorenovation.com/category/bathroom-categories/pink-pink-bathrooms/
ken says
I have the same tile pattern in my bathroom, in brown and white mosaic. I’m doing a partial remodel. Anyone know where I might find this tile and also same wall tile in brown. The original tile maker “Wenczel Tile Co” is no longer in business. Been looking for these tiles for over a year. Thanx for any help. Already tried World of Tile, they didn’t have enough of the wall tile, or the right shade of the brown and white mosaic floor tiile.
pam kueber says
Try World of Tile — use search to find my stories.
Sarah says
Wow, Kate! It really looks amazing.
John says
Kate you did great! I absolutely love the pink tile walls and the floor is the prettiest one I have seen in a long time. Is the natural wood door original to the house? It’s beautiful (I cannot stand it when people paint natural wood doors).
gsciencechick says
Love the photo with the open door! Looks so great. Exciting! Can’t wait to see the finished room.
Douglas Camin @ House on Rynkus Hill says
That tile looks great!