

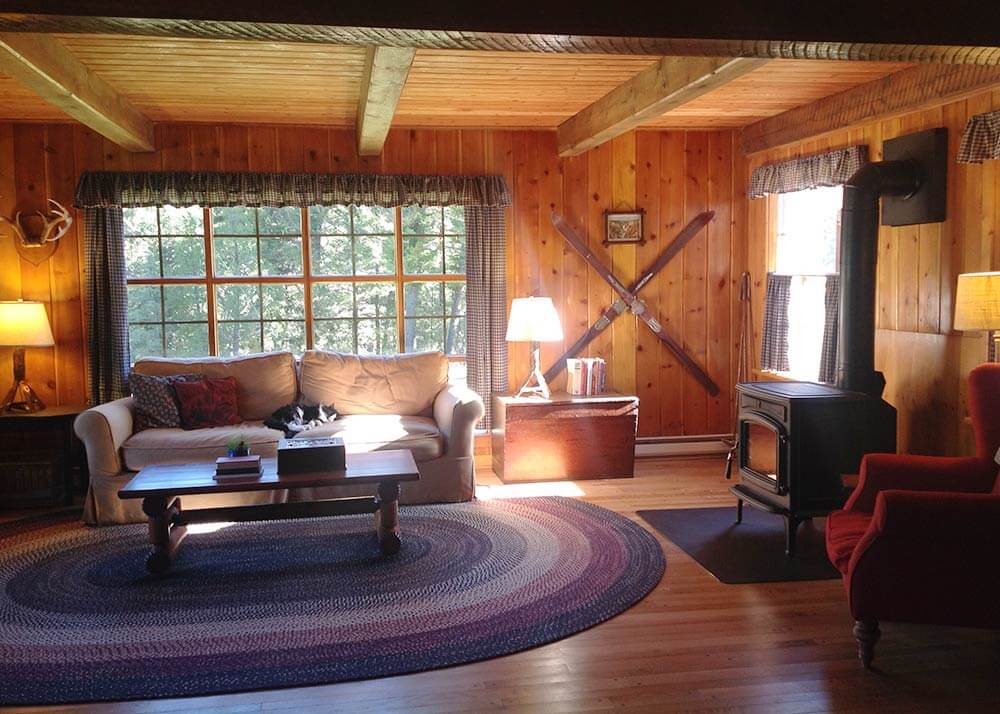
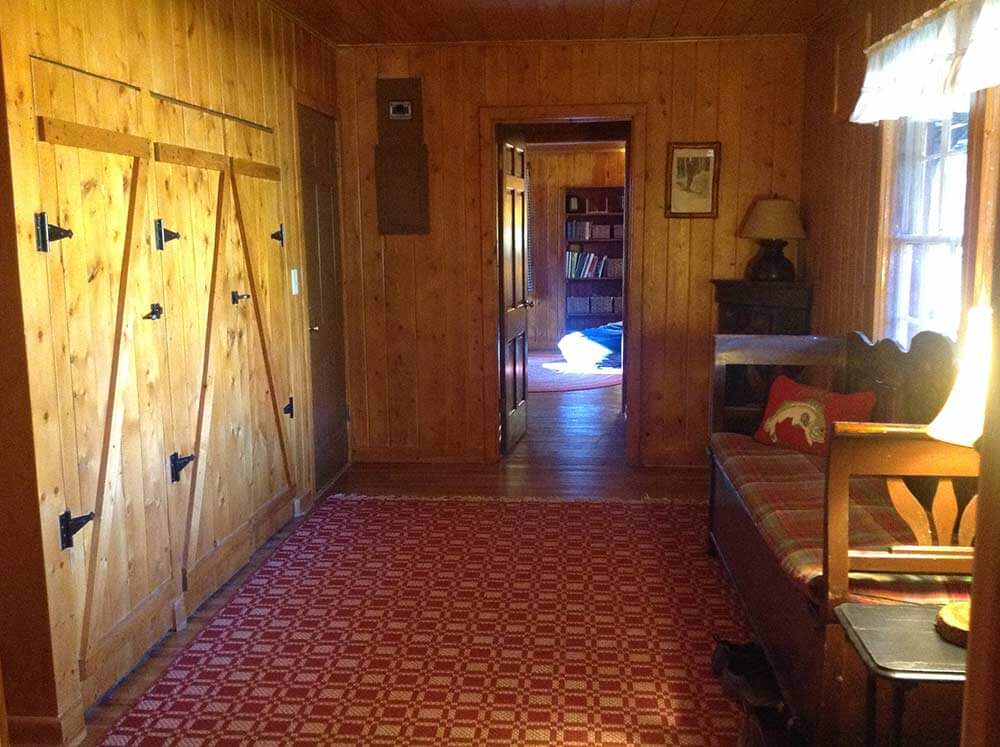
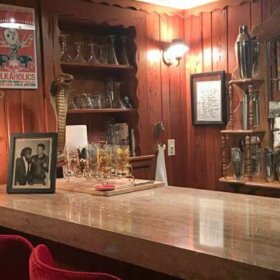
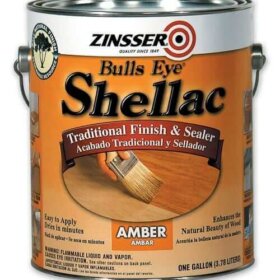
 Reader Alicia and her husband bought their 1955 mountain cabin just 12 hours after seeing it — even though they knew they had work to do. The cabin itself was in great shape, but the previous owners had painted nearly all of the original knotty pine walls, ceilings, woodwork, doors and windows white. Virtually every wall and ceiling surface of the 1,800 s.f. cabin was whitewashed — ouch! Undeterred, the knotty-pine-loving couple started up their sanders and broke out the amber shellac — restoring all the gorgeous, original knotty pine back to warm, woodsy and wonderful!
Alicia writes:
I just wanted to say Hi and thank you for such a great site! My family and I purchased a WONDERFUL 1955 cabin in the mountains of Montana. The cabin was built in 1955 on an old, very small ski mountain which closed for business in the 60’s. My husband and I saw the real estate listing for it about a year ago, and purchased it twelve hours later. Typically we do not make crazy decisions on impulse, but we knew we just had to buy it (of course, we hadn’t sold the current house we were living in, but that’s another story!)
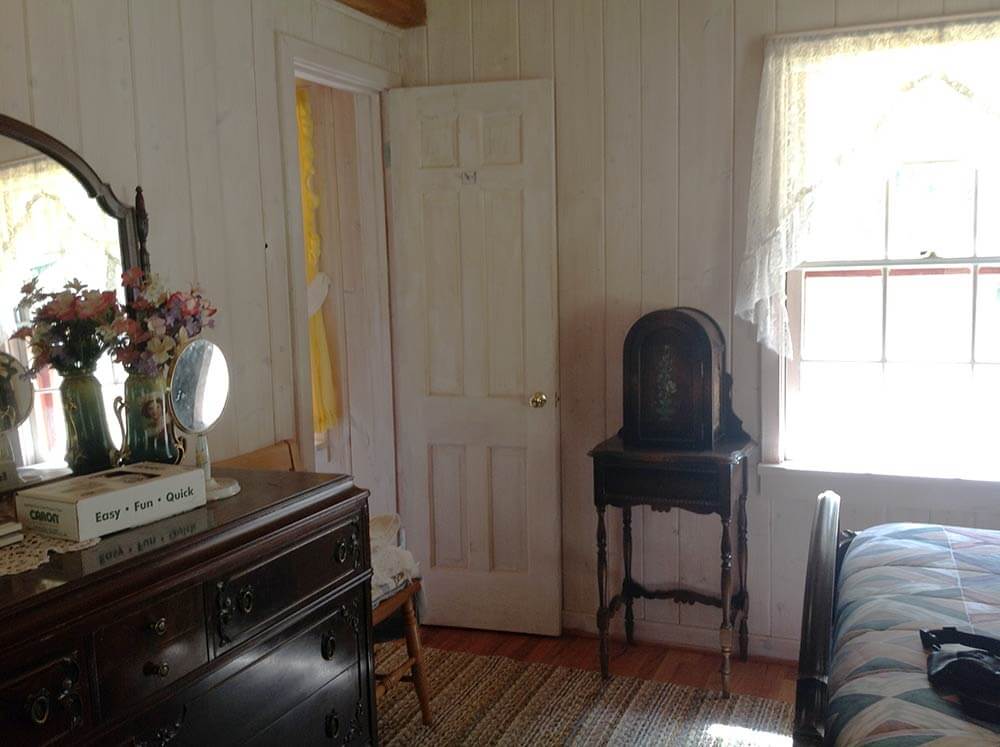
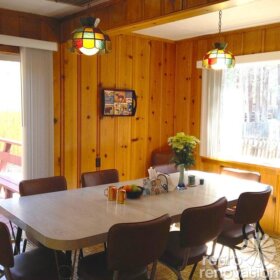
Many of its wonderful, original features were intact, but sadly many were “updated”. Every single wood surface, except the beams (which were thankfully left alone) was painted white over the original knotty pine interior….the ceiling, the windows, the doors, EVERYTHING!! I will add a pic of a “before” wall, just so you can see. My husband and I sanded down EVERY SINGLE SURFACE in the entire 1,800 sq. ft. cabin. We then used amber shellac to create an original feel…it came out so beautifully!!
Precautionary Pam jumps in here to remind: Remember, readers, that the surfaces and layers of the materials in our old houses may contain vintage nastiness like lead and asbestos. Be sure to consult with a properly licensed professional to assess/test what you have before getting out those sanders! Renovate Safe!
We worked SO HARD on the paneling and it is fun to share the results!
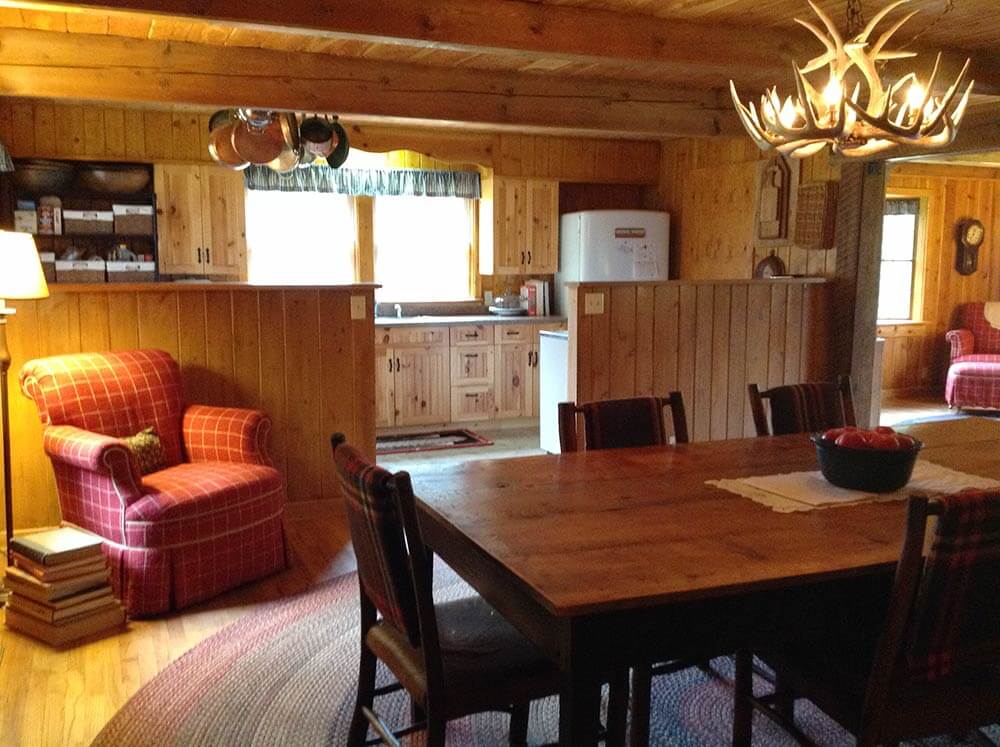
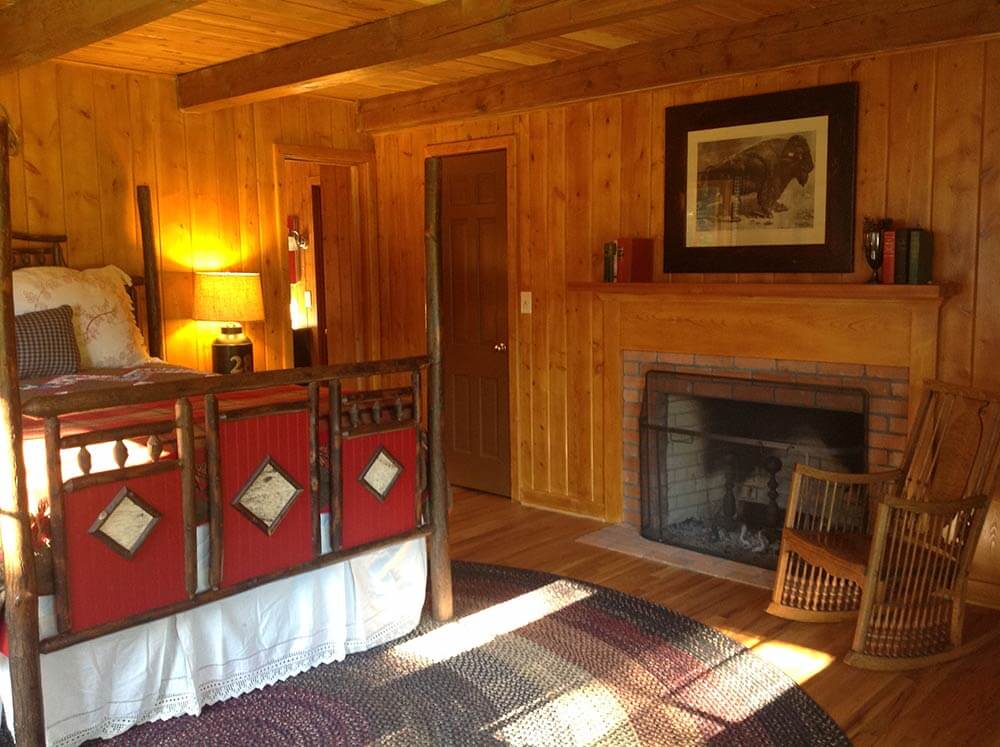
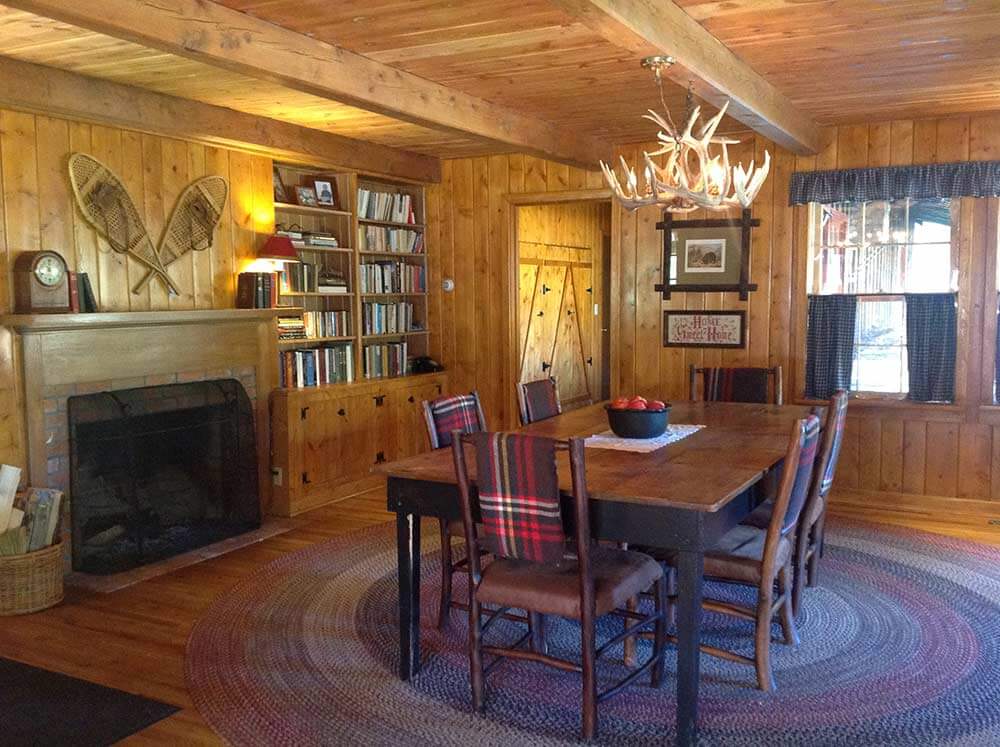
We have made only cosmetic restorations that we could complete ourselves because of a very limited budget. Our next project is to expand the kitchen and try to recreate a knotty pine kitchen. Eventually we plan to remodel the kitchen and expand it into the dining room a bit (the dining room is larger than it needs to be and the kitchen is super small). The kitchen still has half of its original white, metal cabinetry, and the original GE freezer ( which we now use as a refrigerator, thanks to a new thermostat to convert it). The hardwood floors are original throughout, as are the beams, windows, and fireplaces in the dining room and master bedroom.
We just love our cabin and are thankful that we could purchase it and restore it….most of the time in our area, old cabins like this are torn down to make room for a large “trophy house”.
I am just glad to share our labor of love with you….it is so nice to visit your site and see posts from others who appreciate pine paneling and don’t want to paint over it!
Alicia — what an inviting home!
I’ve never understood why people buy a house like this — which likely attracts them in the first place with its woodsy feel — and then completely neutralize it with paint. Isn’t the whole point of buying a cabin in the woods, to feel like you are in a cabin in the woods?
We can only imagine the hours of backbreaking work it must have taken to remove all of that white paint. The final results look amazing — so inspiring!


normadesmond says
sand all the paint off? you wouldn’t use paint stripper first? i just took 60 years of paint off my front doors & their corresponding wooden storm doors. sanding would’ve been insane; taken too long, used too much paper. i also have paint on my redwood sided house which i’d love to get off, but stripping a house is more than i can handle.
normadesmond says
nevertheless, featured house looks wonderful!
pam kueber says
my sense is that it was soaked in whitewash…. more like a stain than paint, really… not sure, though
John Barrett says
I grew up with knotty pine, in my childhood bedroom at home in Illinois and at the cottage in Wisconsin, both were early 50″s. I loved those places and love what you have done for your cabin. It’s a work of art! Good luck with the kitchen. Just wondering if you live there full time. I would be tempted to 🙂
John NYC
Janelle says
Wow! This cabin is so cute! The amount of work you guys put into restoring the original pine paneling must have felt endless and exhausting. However, your decision was totally worth it! Beautiful restoration! I can just picture sitting by the fire with hot cocoa and a good book. Awesome job you guys. Can’t wait to see your kitchen extension project next!
Dana Nash says
Absolutely gorgeous. Great job, you guys! So glad you rescued it.
Kristen says
My new office is in the den with unpainted paneling. As I make it a cozy office, everyone keeps asking me “are you going to paint it? You should paint it.” Thank you for the reinforcement that I should stick to my guns and leave it alone.
Joe Felice says
That’s a whole-lotta wood–too much for me, but I guess it works for a cabin (which is probably bigger than my condo). Yet and still, I cannot understand how anyone could paint over real wood. It has a natural beauty to be admired and enjoyed, IMO. Staining is permissible, but not painting. It says so right her on page 43 of my rule book. Oh, and I am still looking for some place to buy some knotty-wood paneling for my dining room.
Kit says
The ‘before’ was already very charming, but the after… WOW! Just so warm and inviting! I want to live there! It’s storybook homey!
Douglas Camin @ House on Rynkus Hill says
I’m a big proponent of using amber shellac instead of stain\polyurethane for wood finishes. I feel the coloring is much warmer and inviting – it’s easier to maintain and repair and easier to apply (no waiting days between coats, and it doesn’t have all the chemicals in polyurethane and doesn’t smell as bad.) I recently recoated all of the oak floors in my 1960 MCM with fresh coats of amber shellac and am really happy with the results.
Pam\Kate – I would suggest an article covering different wood finishes and comparing the qualities of each one. A lot of MCM houses before the early 1960s are shellacked instead of stained and polyurethaned. This makes a difference when you want to go back and restore or refinish. Most folks aren’t aware that old coatings may be different and they just walk into the nearest hardware store and see a wall of polyurethane and pick it up and run.
This project turned out great – congrats!
pam kueber says
Yay for bug poop! https://retrorenovation.com/2012/05/22/amber-shellac-the-classic-finish-for-knotty-pine/
pam kueber says
And this one: Uncle Atom used shellac: https://retrorenovation.com/2012/05/23/stripping-paint-from-kitchen-cabinets-and-returning-to-the-original-1950s-wood-some-therapy-but-great-results/
Douglas Camin @ House on Rynkus Hill says
Well there we go! 🙂
Amy in Sacramento says
Well done! Absolutely gorgeous!
June Cahill says
What a BEAUTIFUL job you did – this was ‘a true labor of love’ – What enjoyment to sit back, look at those gorgeous carmel wood walls and know you’ve brought back a piece of history. I bet the original owners (wherever they might be) are cheering!!!:)