


 Robert Dobrin, self-titled Chief Ding Dong at ElectraChime, has outdone us all this time — he has built a mini chime doorbell for my in-progress DIY 1955 Betsy McCall dollhouse. But where to hide the miniature ding-dong electronics? Robert also built a miniature stereo console — the cutest one you’ve ever seen!
We know Robert as the meticulous creator of long chime doorbell reproductions and original designs. As it turns out, he also has a fondness for miniatures. He’s made mini chime doorbells before, but he had never attempted to make dollhouse furniture. Holey moley — this sounded like it was going to be so cool!
A working doorbell system for the Betsy McCall dollhouse
Robert chronicled the project at every step. He writes:
Kate’s DIY Betsy McCall dollhouse project stirred my life-long love for miniatures. Since doorbells are pretty much my life, I anxiously volunteered to supply a miniature long bell door chime. A quick email exchange with the Dollhouse Owner/Builder (aka Kate) provided the green light so long as I didn’t spend too much on the project.
#1 — Make a miniature Rittenhouse Lyric doorbell
Trusting my own instinct I modeled the door chime itself after a popular 1950s model from Rittenhouse known as the Lyric. The Lyric, was originally designed by famed industrial designer Norman Bel Geddes.

The musical note badge came out of a scrap-booker’s bottle of glitter.
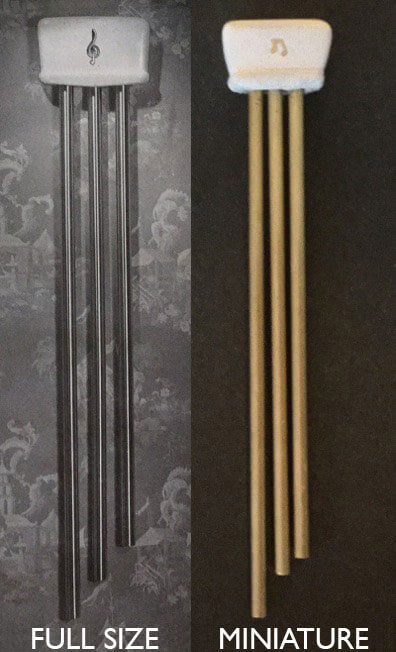
The dollhouse door chime in one inch scale is a a little over three and one half inches tall compared to almost four feet for the real thing.
While the scale chime provides the necessary sculptural element for the wall, it’s entirely lacking in the ding-dong department. So even if we could miniaturize the mechanism to strike the bells, the three inch bells would produce a note so high it wouldn’t even summon tinkerbell, much less the real and make believe people who will actually inhabit the dollhouse.
So what’s a doorbell guy to do? The dollhouse’s button could be hooked up to a real doorbell, but that would only confound the family dog who wouldn’t know whether to bark at door or the dollhouse. The answer is: a recorded doorbell. By way of disclosure, I generally find the use of electronics for doorbells an abomination. As far as I am concerned, proper doorbells derive their call from striking real metal bells. However since the ding-dong was sampled from an actual ElectraChime long chime doorbell, I will let practicality rule the day.
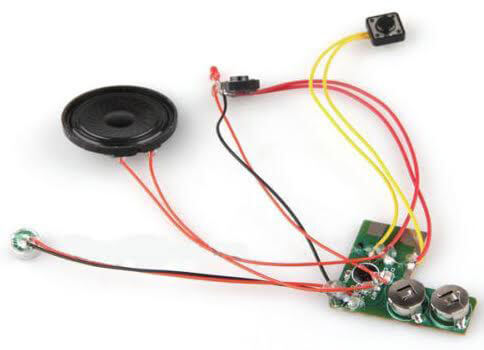
I was going to upcycle a recordable greeting card I had lying around, but it sounded truly terrible and lacked a proper button. Instead, I found this ten second recordable sound module on ebay for just under $2.00 which included batteries and shipping:
#2 — A reproduction Packard stereo console to hide the sound module
While waiting for the sound module, I wrapped my head around housing the electronics. The original strategy was to put the electronics under the house. Then inspiration hit me upside the head — why not hide the module in plain view inside a handsome mid-century Hi Fi console?! Another brief exchange with Kate, who was now acting as the Decorator-in-Chief, assured me a Hi Fi would have a place in her dollhouse extraordinaire.
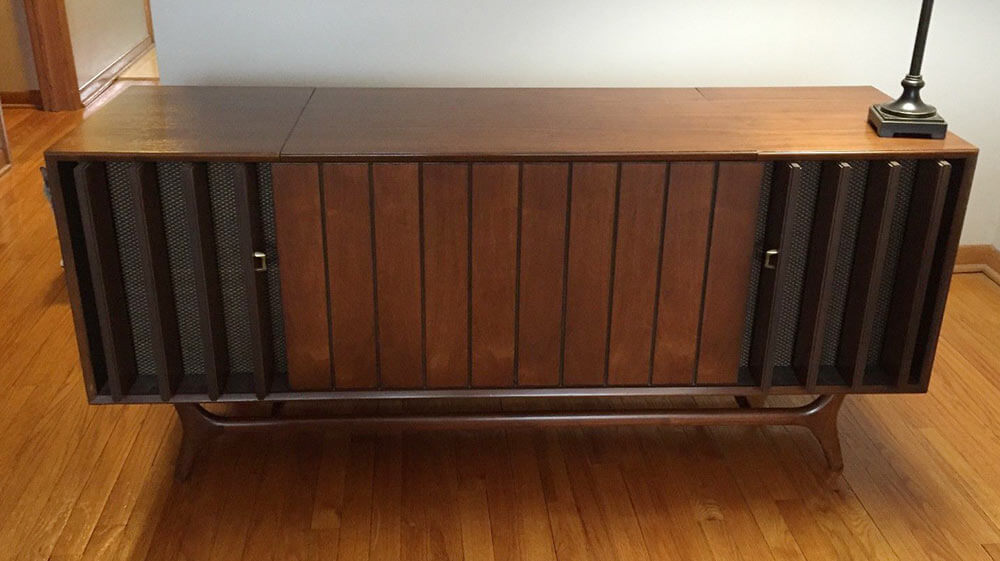
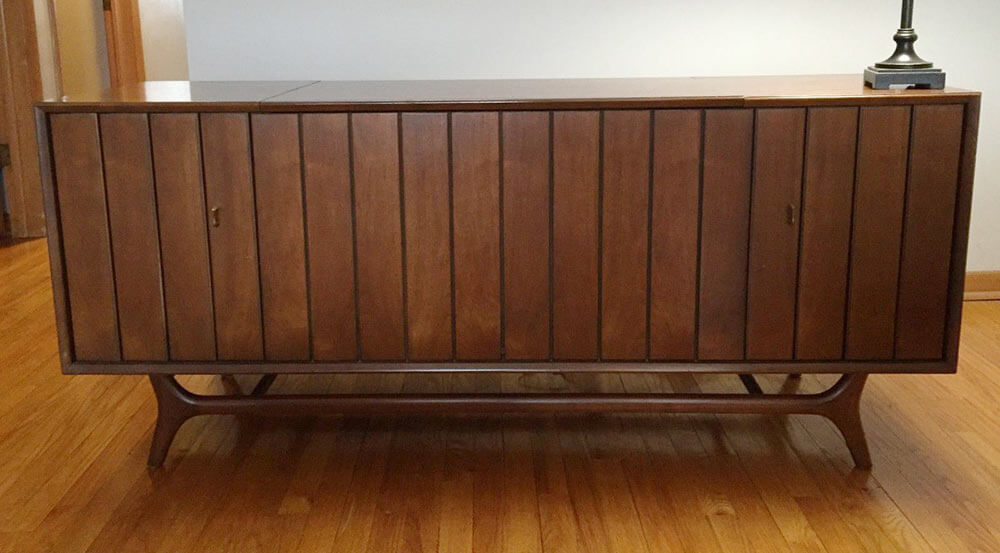 Above two photos of vintage Zenith Hi-Fi stereo cabinet courtesy of Ebay seller mbolzies.
We settled on one modeled after the Hi Fi I grew up with.
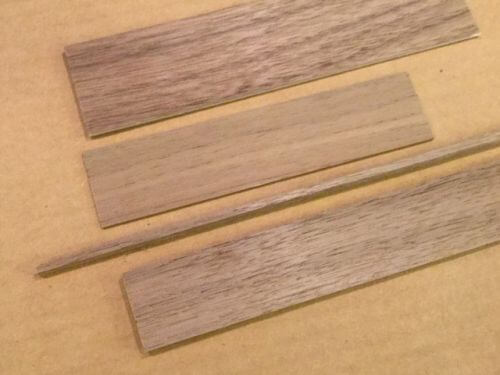
The first step was to mill some furniture grade dollhouse lumber. I used my table saw to rip a scrap piece of straight grained North American Black Walnut into some thin 1/8 inch thick boards for the cabinet, some 7/64 x 1/8 pieces for the legs and some 3/32 inch thick boards for the louvers. If you don’t have access to a table saw, you can find what you need by searching “scroll saw lumber” on eBay.
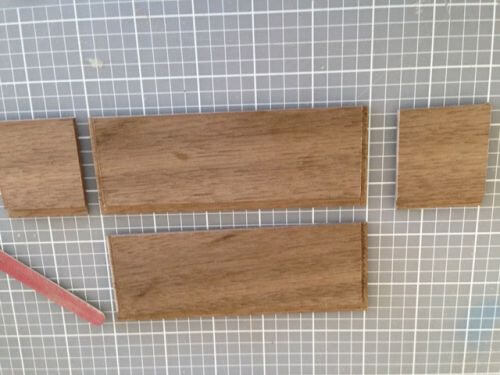
The next step was to cut some tiny rabbets to join the sides of the cabinet and a wider rabbet for the reveal on the front of the Hi Fi. The reveal was critical to keep the look of the cabinet in scale, and to provide a gluing surface for the louvers.
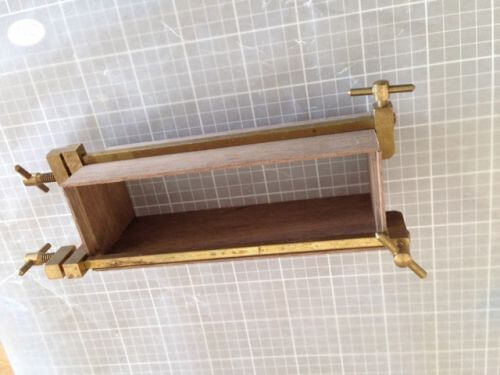
These tiny bar clamps came in handy. I knew there was a reason I picked them up at some garage sale years ago.
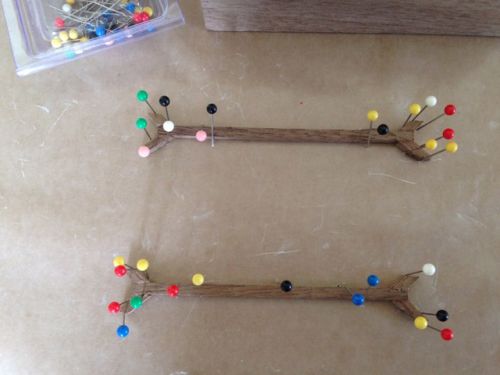
For the legs and undercarriage, I used an old modelers technique that uses pins as clamps through wax paper on top of cardboard.
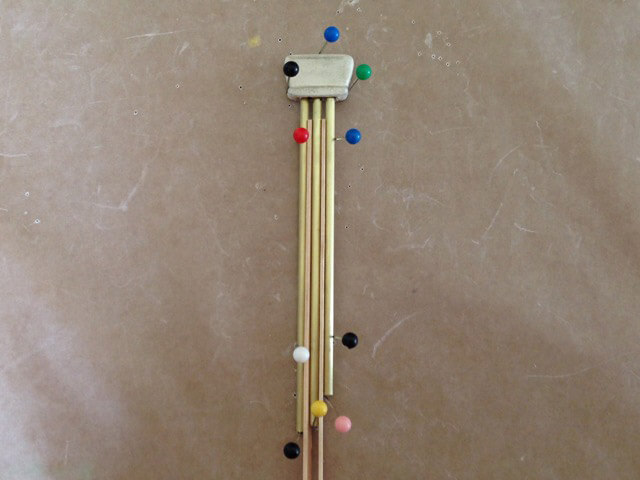
I used a similar tack-tic (pun and misspelling intended) to glue the thin brass tubing to the carved head of the door chime. Those are coffee stir stick spacers.
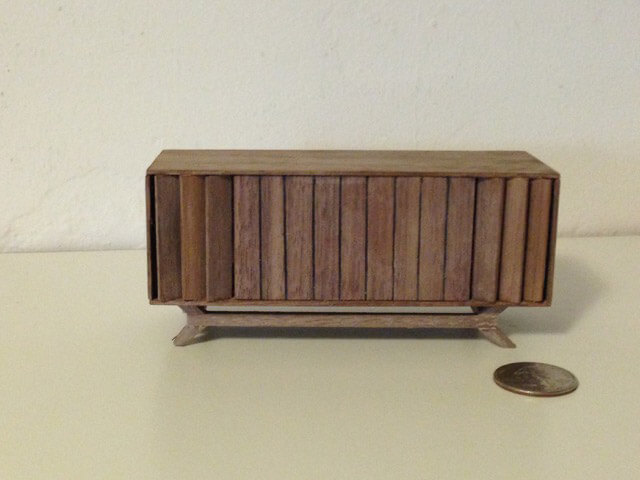
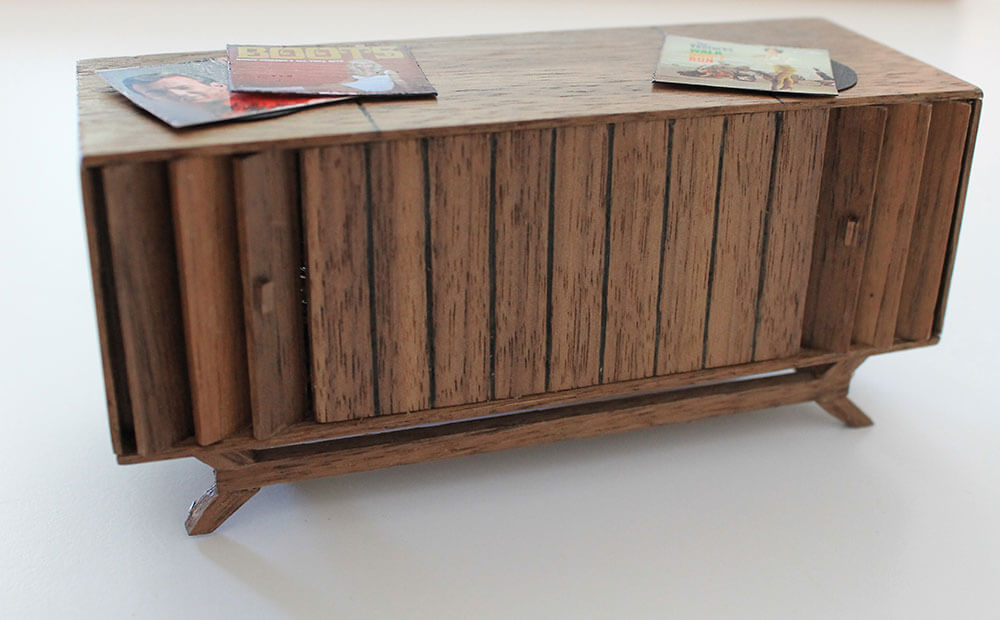
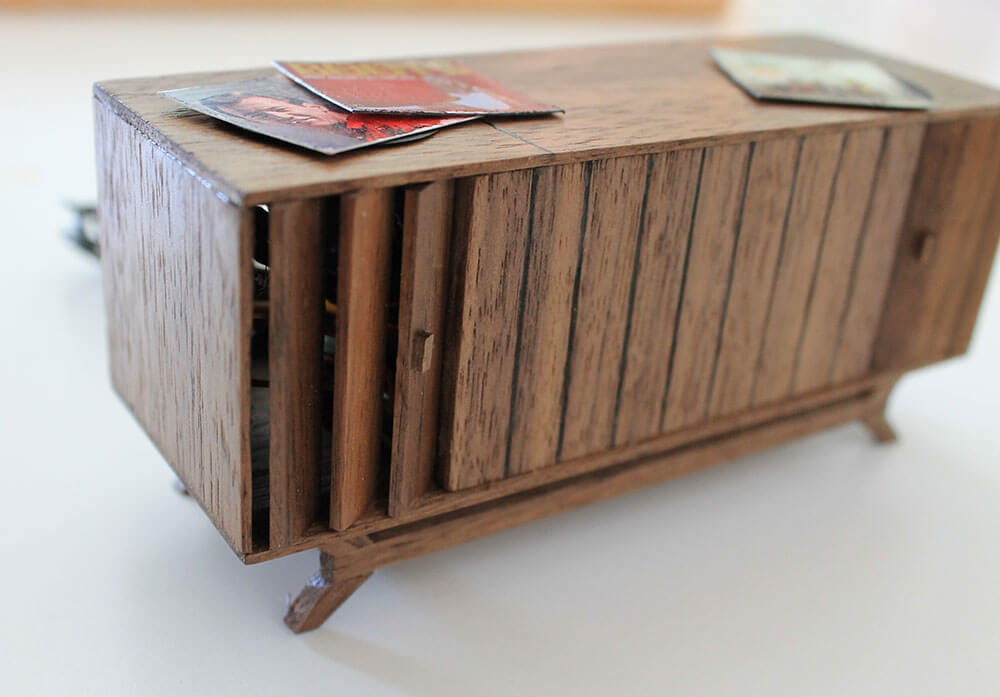
I’m not going to lie to you, attaching the side louvers to the cabinet was tedious. The fixed center slats are two joined pieces of the same walnut as the cabinet sides. I etched vertical grooves and blackened the lines with a pen. Here’s the cabinet ready for finishing.

Now for one of the more rewarding tasks: finishing. Here the HiFi console gets the first of three coats of satin urethane varnish.

#3 — Finish the sound module for the ding dong recording
Onto the electronics. The speaker that came with the sound module was a bit big and didn’t sound so hot. So I harvested the one inch speaker that used to be the speaker-phone from an old cordless phone. The speaker on the left came with the sound module. The speaker in the center is the one I used. It’s still not iMax quality sound, but it’s a whole lot better than where we started.

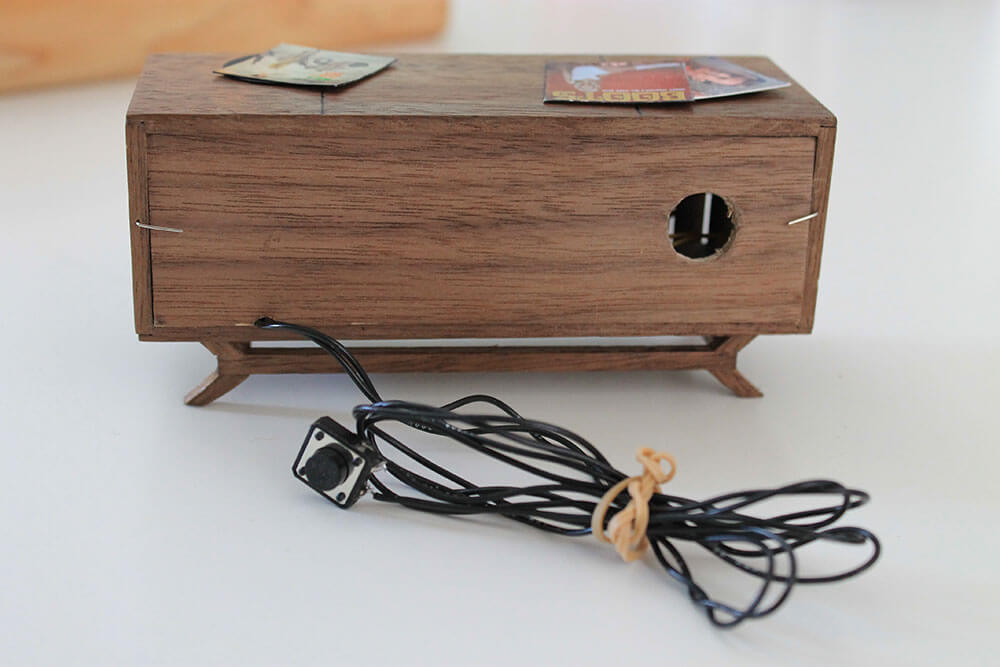
I soldered the new speaker leads to the module and added longer leads for the push button that will become the doorbell button. Speaking of speakers, I found that putting the speaker behind a one inch tube really amplified the sound. You can see the tube inside the cabinet on the left. The sound module is held in place with a bit of hook and loop fastener that allows for battery replacement.
#4 — Finishing touches aka These (teeny tiny) Boots are Made for Walking!
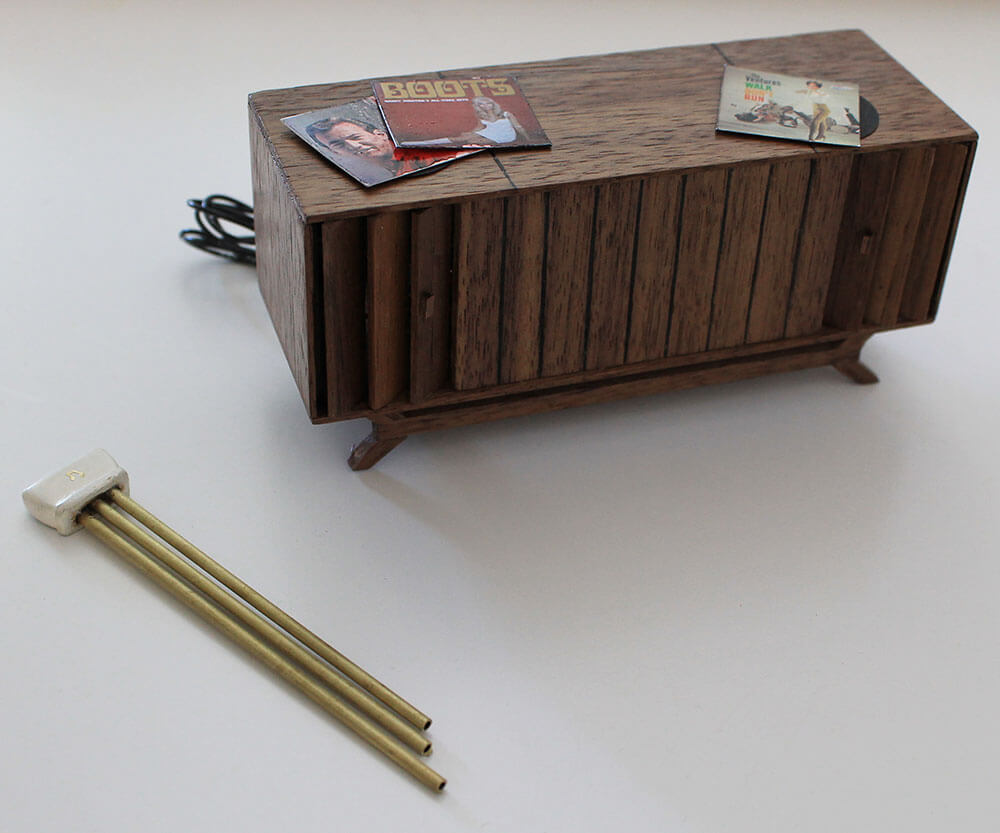
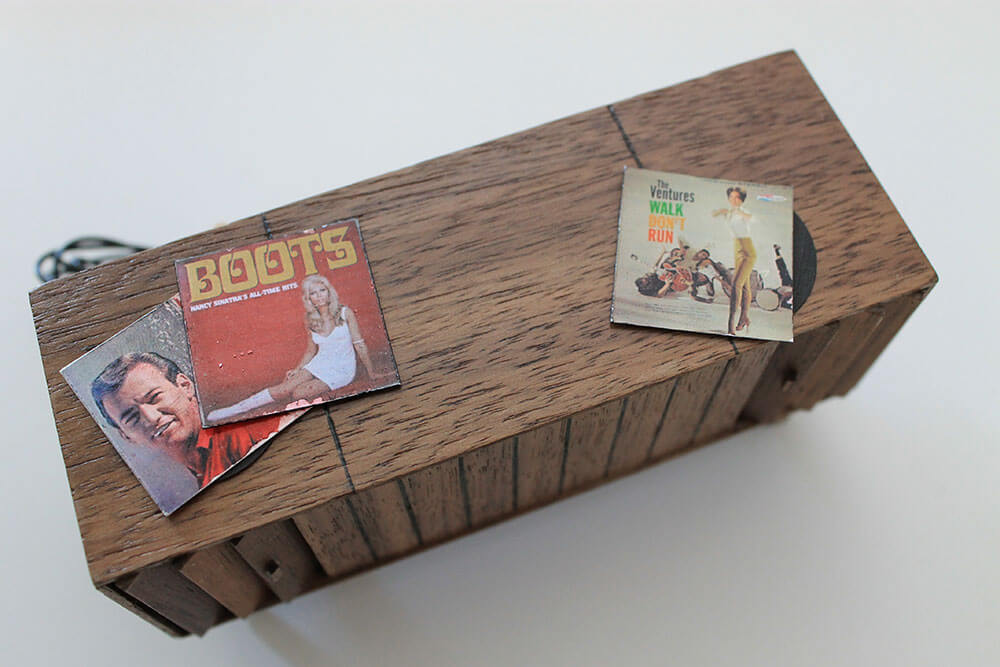
And here you have it. For grins, giggles and easier identification of this unit as a Hi Fi, I put a few swell records on top of the cabinet. Next time we’ll make an actual hood that opens to reveal the turntable.
I am in awe — those itty bitty records were a perfect final touch — you did a fantastic job, Robert!
Robert even sent along the leftover walnut wood scraps from building the Hi-Fi for me to use to make some of the other dollhouse furniture needed. Double thanks!
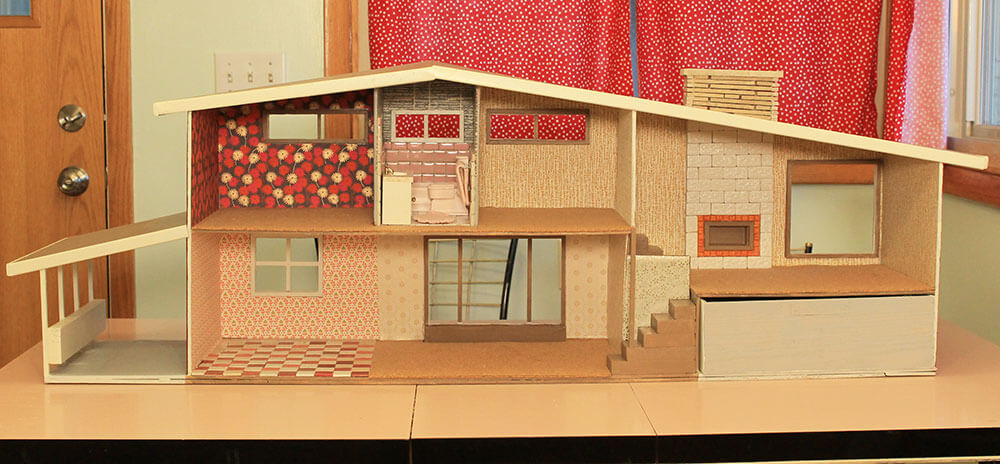
Where should I put the Hi-Fi?
Now I have to decide which of the two locations will be the future home of this amazing Hi-Fi doorbell cabinet:
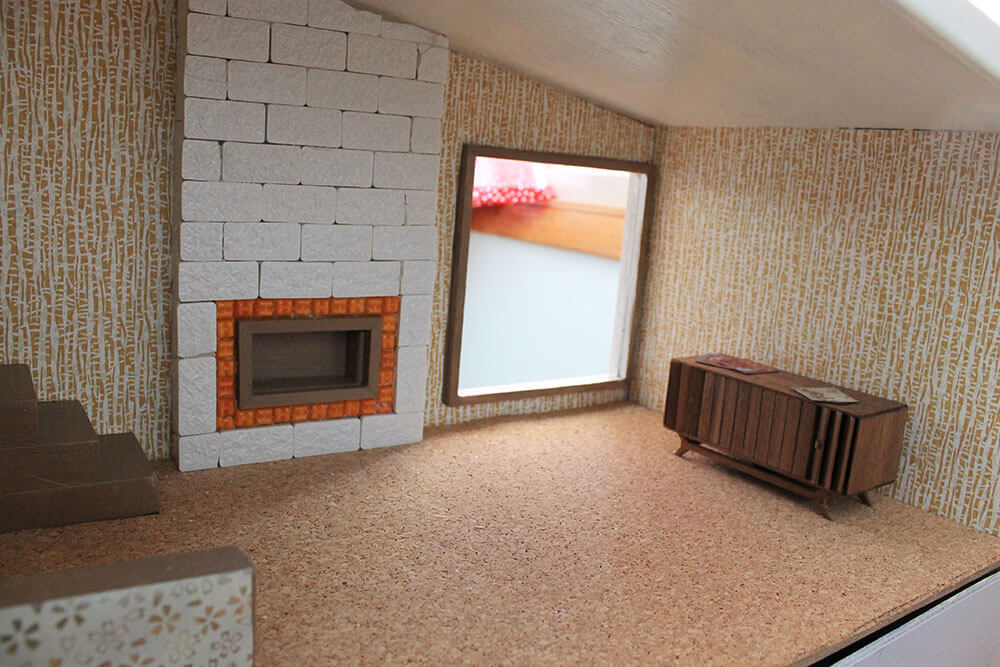 Either a) the far right wall in the living room (shown above) or…
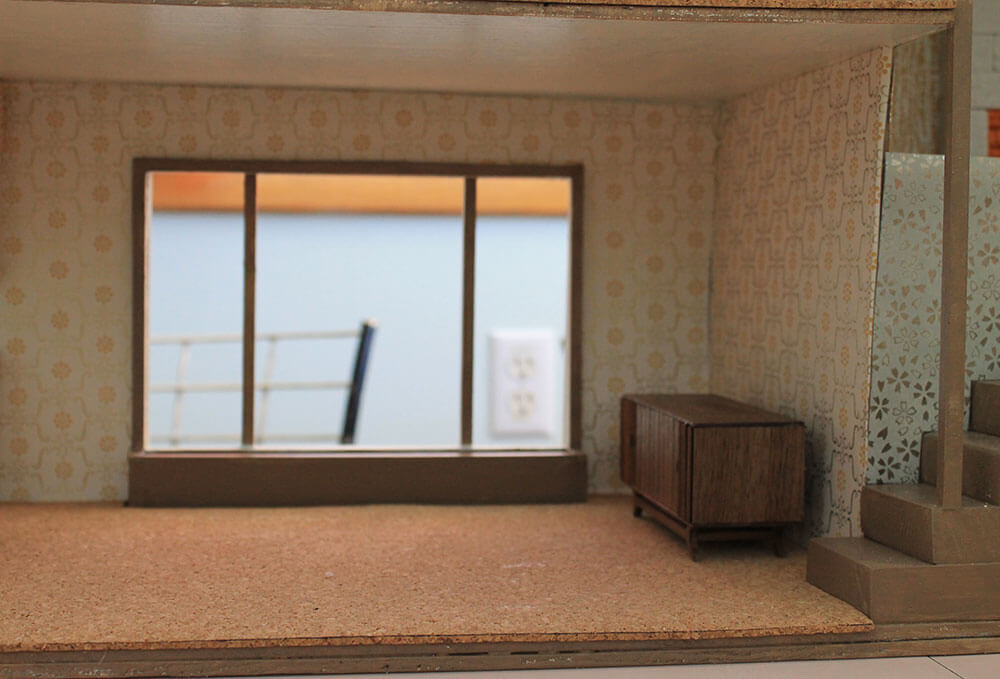

b) the far right wall in the dining room (shown above).
Where should the hi fi go, readers?
Golly, anyone with a dollhouse is certainly going to want one of these. I asked Robert if he thought he might eventually offer these for sale on his website — since he did such a fantastic job and really seemed to enjoy the project. He replied:
I’m not sure I have the inclination to get into the dollhouse furniture business, although I’d certainly change my mind in the face of overwhelming demand. I could make a more detailed sketch for download if anybody wanted to duplicate the project.
 Mega, mega thanks goes out to Robert for building such an amazing miniature doorbell system for the 1955 Betsy McCall Dollhouse project!
- Read more about dollhouse doorbells on Robert’s website, Doorbell Museum
- Read our story about the full size vintage long chime doorbells Robert sells through his company ElectraChime


Amarissa Parker says
LOVE that stereo!!!
Diane in CO says
Kate, you’ve met your match in the Dept. of Finicky Fabrication – lol! Robert’s miraculous mini is over-the-top. Where did the little LP covers come from? Awesome job!!
In the home I grew up in, we had a large blond hi-fi console, usually spinning a Nat King Cole record, in the Dining Room! Either location seems appropriate. Have fun!
Kate says
I’d bet Robert photographed or found photos of those records, shrunk them to scale, printed them in color and then cut them out. Am I right Robert?
ElectraChime says
Exactly. Just find your favorite album art. I imported jpegs into Powerpoint and reduced them to one inch square. Any word processor or graphics program will work. Then print the album covers on photo paper and trim with a sharp knife or scissors.
A life size LP is 12 inches so at one inch they are in perfect 1/12 scale. If you have black paper and a one inch hole punch you can make “records”.
Be sure to choose period authentic records! (Or not).
Mary Elizabeth says
You are so creative, Robert! I can’t believe the ways you used found materials–like the speaker in the old phone. Amazing. Also love the mini records albums.
As for the room for the stereo, you are short of wall space in your little house, especially in the living room, so I would say put the stereo cabinet in the dining room. The wee homeowners can do the sixties hi-fi thing and run speaker wires through their walls.
ElectraChime says
I vote for music with meals: the dining room!
Thanks for letting me be part of your project.
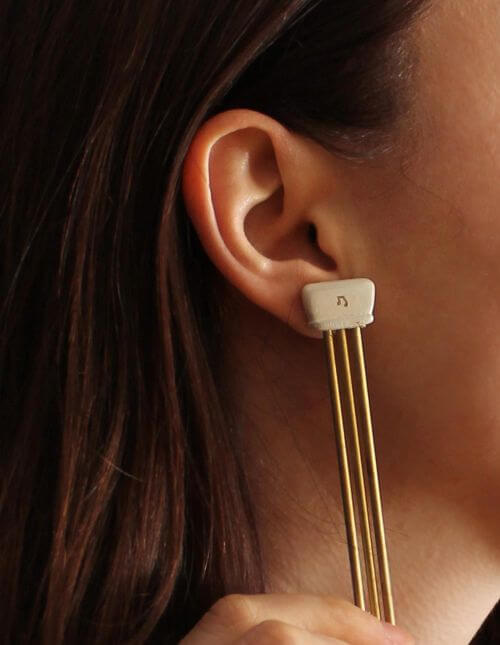
and I do recall tiny wind chime earrings.
Kate says
To me, the doorbell earrings thing is really funny…Pam asked me to take that shot for scale. The funny part is — I’m one of the few women who doesn’t have pierced ears OR wear earrings…ever! 🙂
pam kueber says
I want doorbell earrings!
Andi says
Oh my gosh! I am in awe of the incredibly meticulous work, creativity, and attention to detail that went in to making this wonderful door bell and hi-fi cabinet. The little album covers are adorable, too!
I also grew up with a hi-fi similar to that one, and my mother played records on it all day long. I vote for the living room, where it seems a perfect fit and complements/balances the fireplace in visual “weight.”
Kate’s amazing and fascinating doll house (which was wonderful before) just moved up several notches on the Fabulous Scale! WOW, all the way around.
Kate says
Thanks! Yes — I LOVE the Hi-Fi doorbell system. It was SO NICE of Robert to make it for the dollhouse! 🙂
Mike and Lindsey says
WOW
Melinda says
Words cannot express my love for this hi-fi door bell. This one little piece has given me a strong desire to start building a doll house.
I vote for living room placement.
Robin, NV says
Holy moly. The creativity and concern for detail for this dollhouse is off the hook!!
Put the hi-fi in the living room. It looks fabulous with the fireplace, wallpaper, and carpet already in there.
lynda says
Just fabulous. Maybe you can decide where to put it as more furniture is placed in the house. I can’t even imagine this kind of patience or knowledge to create this doorbell! How lucky for Kate and her new home to have something this special. I did like the way the cabinet looked with the fireplace.
Pat in PA says
The Living room!! I can imagine the great parties given in this room! 🙂