

 Robert Dobrin, self-titled Chief Ding-Dong Officer at ElectraChime has already donated his time, materials and brain power to make an adorable mini chime doorbell and stereo console — complete with sound — for my 1955 Betsy McCall DIY Dollhouse. Now, Robert has done it again — creating a miniature-mini ranch house shelf for my dollhouse, based on the mini ranch house shelves that I built back in 2011. As expected, this tiny dollhouse wall shelf is magnificent — and so darn cute I could just scream. Robert’s creativity and generosity inspired me to make another installment of the lives of Mini Kate, Mini Jim and Little Leo in their 1955 split-level home. Enjoy!
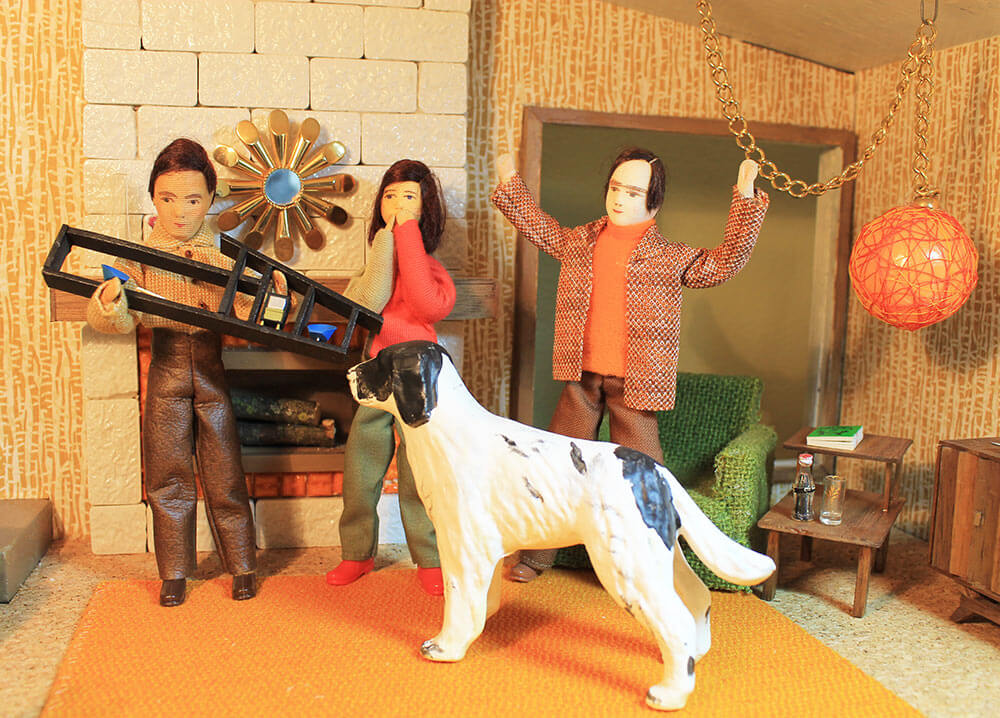
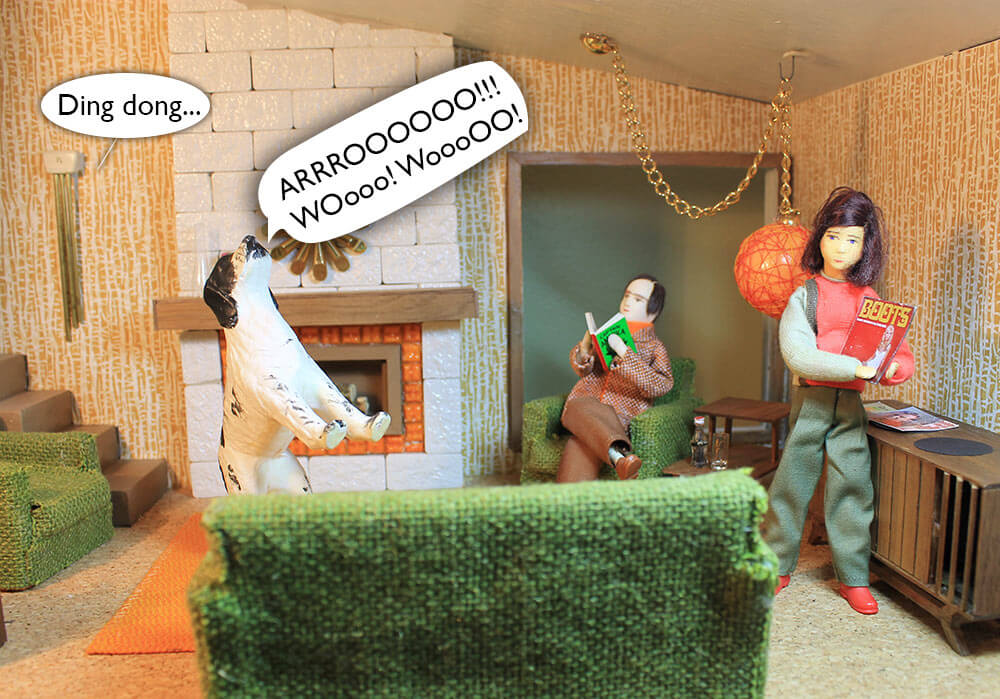 I think someone’s at the door…
 Oh, It’s Mini Robert Dobrin — Chief Ding-Dong Officer at ElectraChime Doorbells — the talented craftsman who made our doorbell and our Hi-Fi!
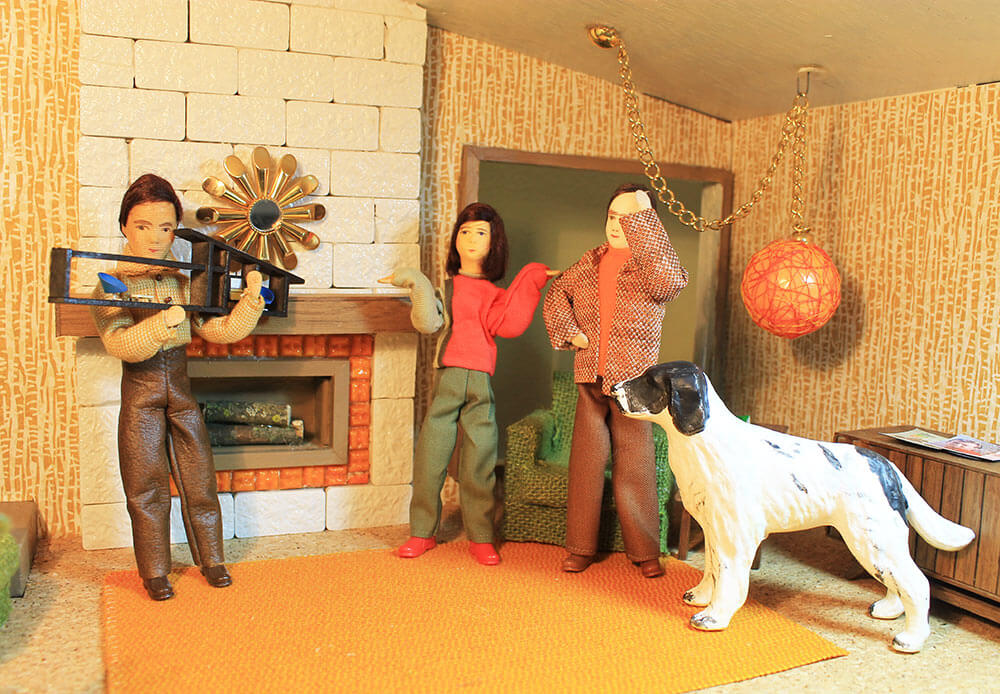
 Hello, Mini Robert!
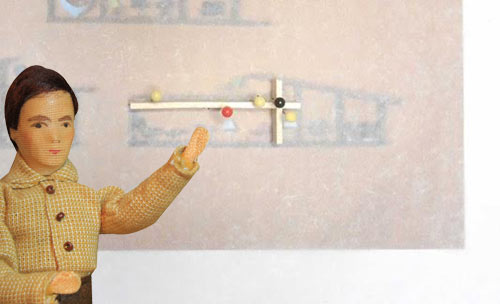
 Oh look, Mini Jim, Mini Robert made us a miniature-mini ranch house shelf, complete with furniture! Wow, we love it!
 But where should we hang it? Hmmmmm….
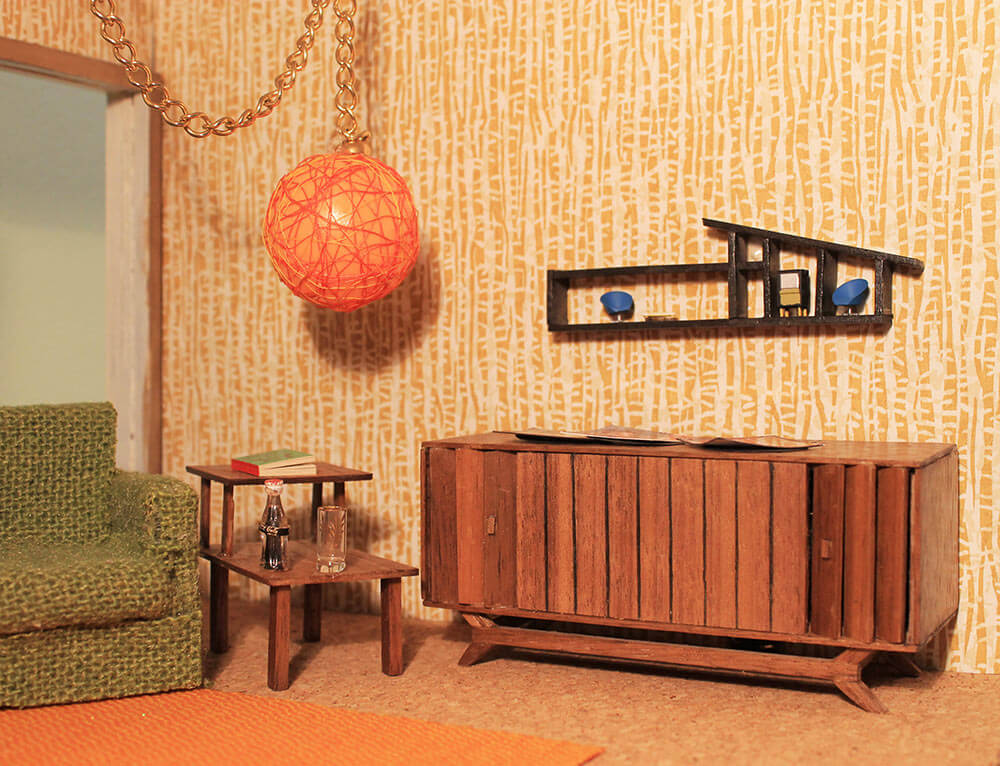
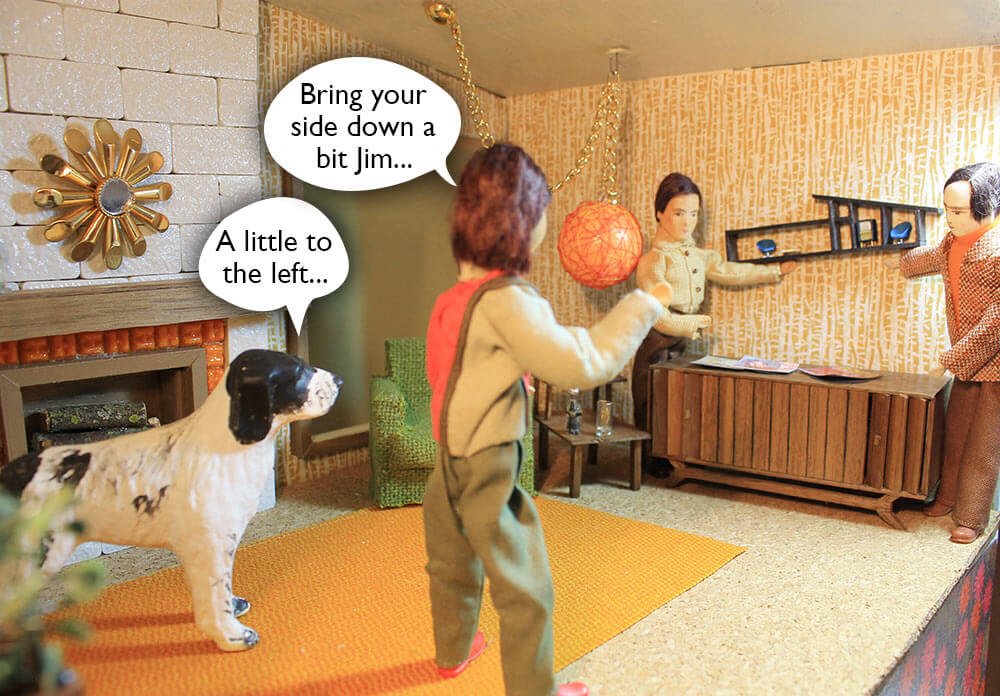 How about over the Hi-Fi that Mini Robert made for us as a housewarming gift?
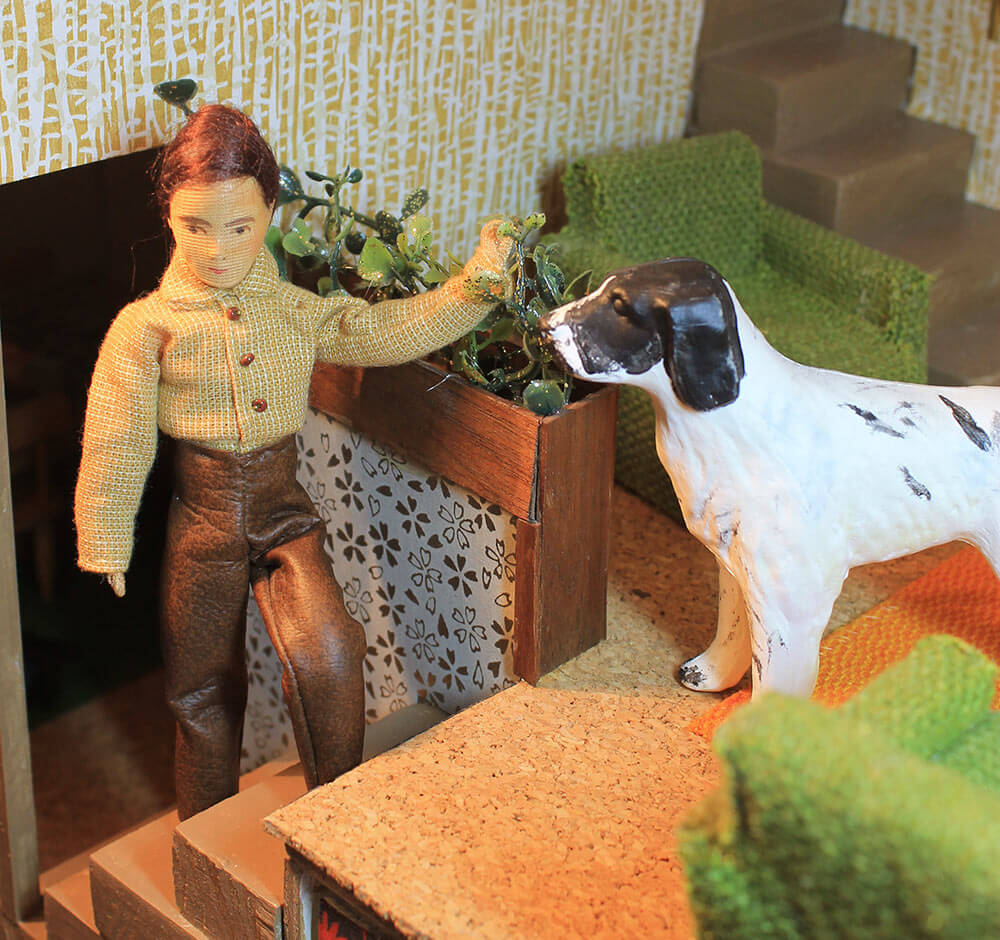
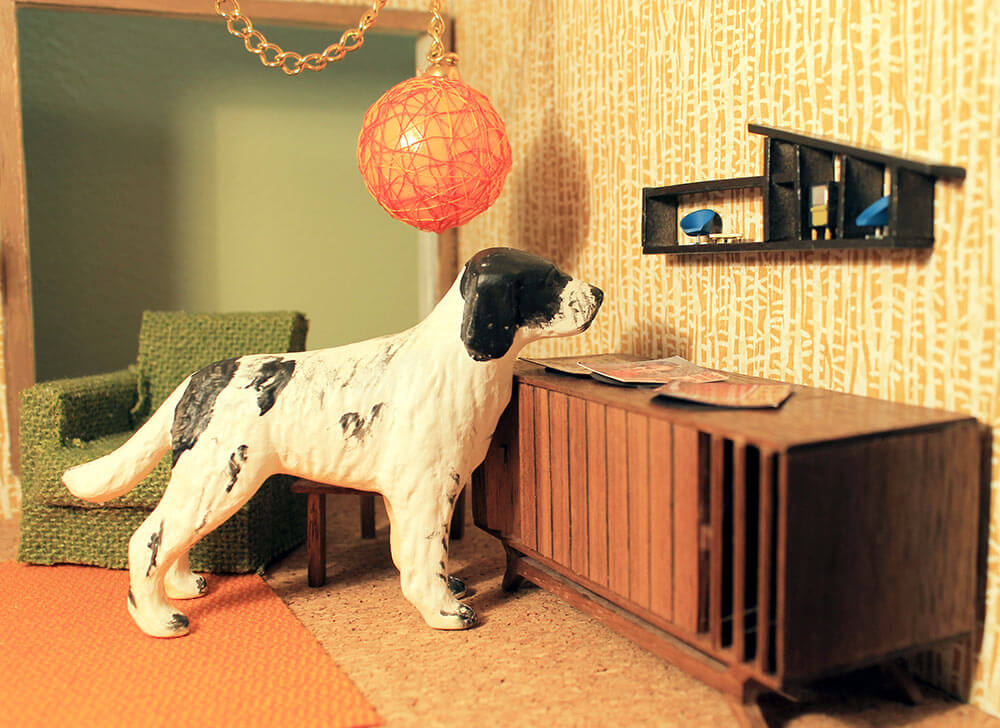 Smartly, after that incident with the gift wrap at Christmas, Mini Jim and Mini Kate made sure to keep their new decor out of Little Leo’s grasp…
And now, because Mini Robert is so kind, he’s sharing how he made the miniature-mini ranch house shelf!
Mini Robert says:
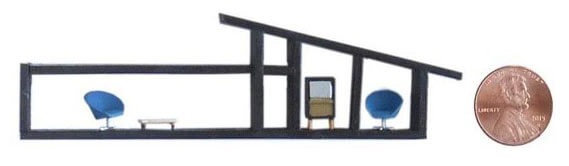
What do you do with a few hours on a rainy Saturday in Northern California? You build an extra-miniature mini ranch-style shelf for Kate’s Retro Renovation dollhouse.
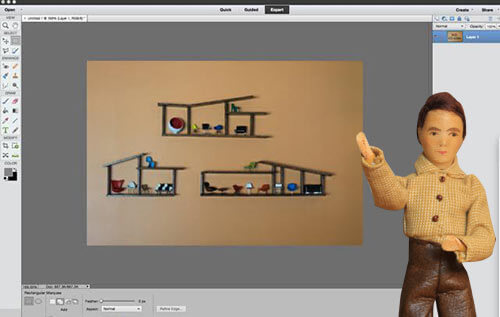
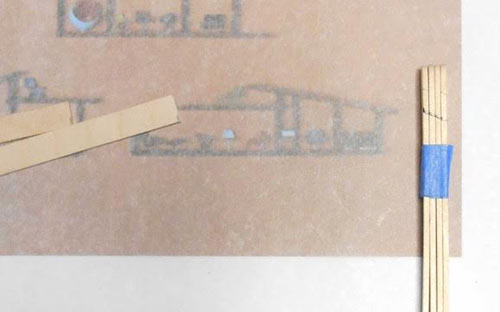
First, start by going to Kate’s Retro Ranch Revamp site and printing out a photo of her swell design. Copy the photo to just about any software program you have so you can scale the image. Powerpoint, Pages or even Word will work. Then scale the photo to the size you want to build the shelves. I used Photoshop Elements and printed the copied picture at 95%.
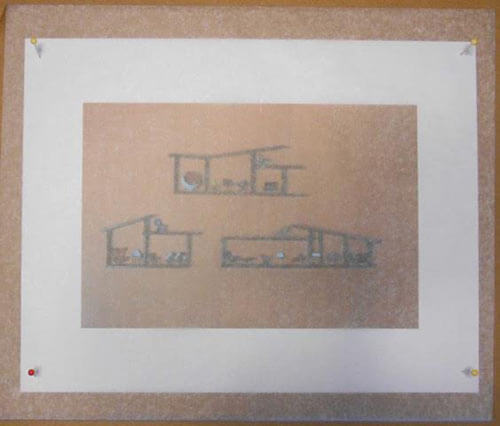
Next, pin your “plan” beneath a piece of wax paper over a piece of cardboard. You will work on this board. You’ll use the board to measure the correct lengths for popsicle sticks.
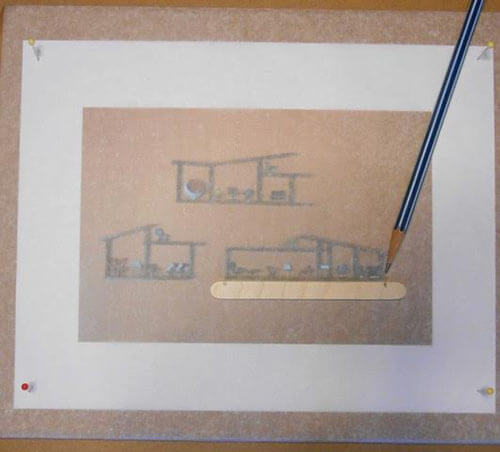
Cut the sticks to size with a mini miter box and mini-back saw. You can do this by hand, although a mini-miter box will enable you to get accurate, square cuts.
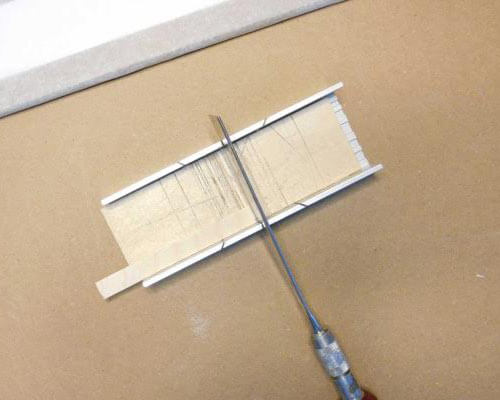
A mini-miter box and back saw will run you about $20.00 and will quickly be one of your best crafting friends ever. Find one at an artists supply store, ebay or Amazon (affiliate link).
The top of the interior walls where they meet the roof need to be beveled. Approximate the angle as best you can and then draw a line across the sticks. Cut on the mark with your mini-back saw. The 45 degree angle on your mini-miter box is probably too acute, so you will have to do this free-hand. Keep the pieces longer than necessary, you will cut and measure them later.
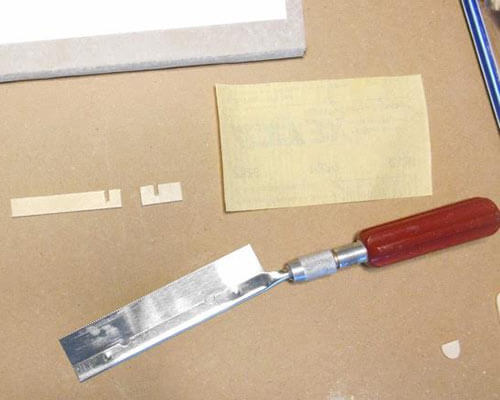
I made one interlocking shelf joint that would become a sturdy heart of the mini shelves. Probably not necessary, however I still remember my lessons from middle school wood-shop.
Glue the joint together and and pin the assembly in position to the plans. The remaining joints will in position on the plans.
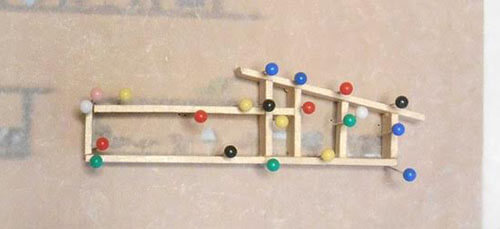
Measure, cut, glue and pin the remaining walls, roof and floor to the plan. I find it easiest to dip a tooth pick in a small puddle of wood glue and then apply it to the end of the piece you are joining. Use just enough glue for a good joint, and not so much that it makes sanding and painting difficult. Let everything dry and you are ready to paint.
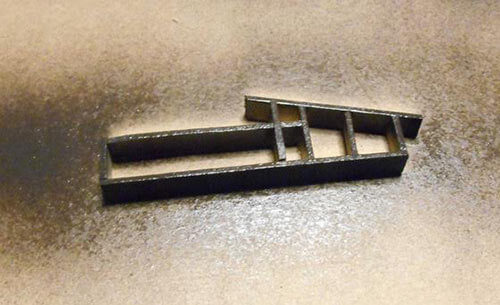
Remove the pins and go over everything with some light sandpaper or even an emery stick. Then hit it with several very light coats of spray paint. I used a can of satin walnut I had around.
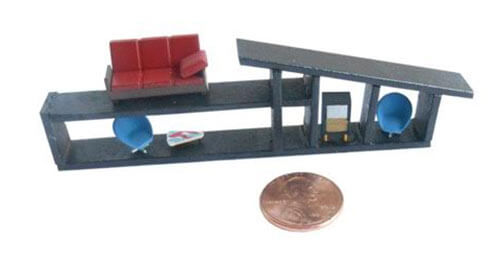
Now for the fun part, which may even be the most challenging part: decorating. I was inspired by some HO Scale furniture I found at a flea market that included some modern chairs and a really swanky coffee table. I dipped the tiny furniture legs in glue and then used tweezers to put them in place. You can find painted HO Scale furniture at Amazon, ebay or have some already designed, paintable furniture 3d printed and mailed from Shapeways. And if you have more patience and less chubby fingers than I, make some yourself.
Mega thanks goes out to Robert (and Mini Robert) for making yet another fabulous accessory for the 1955 Betsy McCall DIY Dollhouse!


tammyCA says
Gosh darn cute! We’re having our rare rainy days now & this sure makes me wanna get back to my dollhouses & make a mini shelf. Thank you Robert & Kate for making & mini-sizing your pattern & tutorial..I loved your full size shelf & now I can have a teeny one. 🙂
pam kueber says
I now have THREE dollhouses. Me, too, time to get at it!!!!
LuAnn says
So cute! I had been wondering if we would get to see more of the McCall kids soon. Thanks for the fun story! 🙂
Jay says
Well done! Thanks for a chuckle; nice way to end the week.
Full Size Robert says
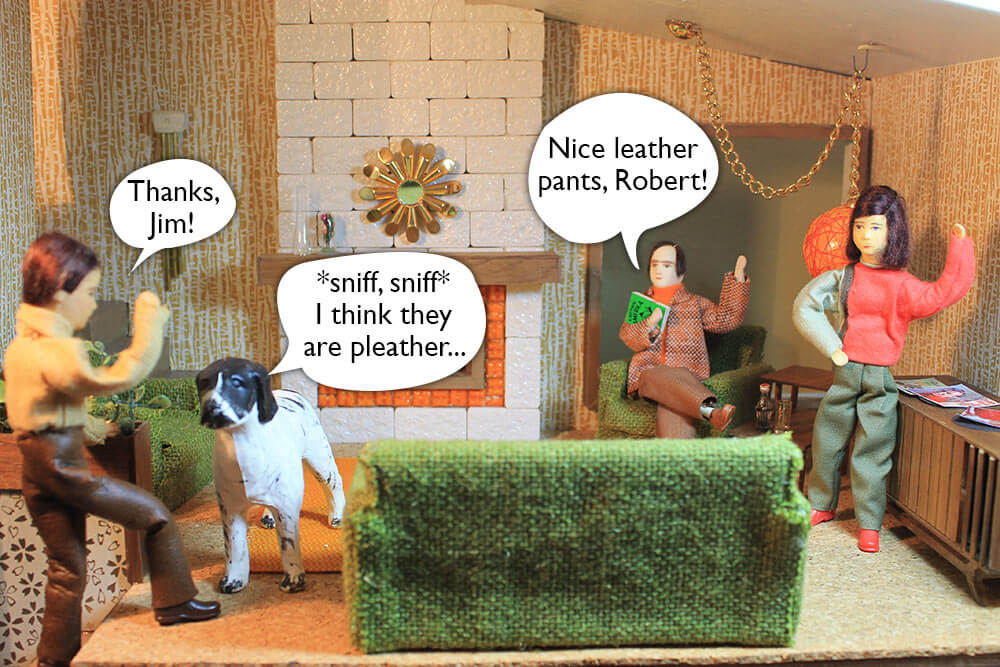
Always so much fun with Mini Kate, Leo and Jim’s. I Thought the pants were leather when I bought them at the mini thrift shop!
Kate says
hehehehe 🙂
Kristen says
I especially like the frame of the guys positioning the shelf on the wall and mini Kate saying higher/lower hehe!
Mary Elizabeth says
Yes, that was particularly well staged. Even little Leo is giving advice: “A little to the left.”
Melinda says
So cute! And the best part is it clued me in to the larger ones that I missed the first time around. Now I have a project waiting as soon as I get the time.
Jennifer says
Just….marvey!
Mary Elizabeth says
I observe that Little Leo howls when the doorbell rings. How like a dog!
Actually, I am glad Mini Robert went to check up on Mini Kate and Mini Jim. They haven’t been seen around the neighborhood since the Christmas lights came down, and we were beginning to suspect the worst–illness, foul play? Of course, the weather has not been conducive to getting out and about, and since they both obviously work at home, maybe we shouldn’t have worried.
Mini Robert’s pleather pants are the coolest. Not only is he a good carpenter, but he is also hip to the couture. Thanks for the information about mini tools, Robert!
Kate says
hehehe big Leo howls when the doorbell rings too! 🙂
Carolyn says
Ah, so this is a way to be able to have all those houses down in Texas – just have the silhouettes! Useful too!
These would be great as actual bookshelves and see how long it takes family and friends to realize what the shapes are.
lynda says
Cute, cuter, and cutest, Kate. Just fun for all of us to see!
Thanks for your patience and creativity. So nice to have such generous and talented readers of the blog–always amazed.