

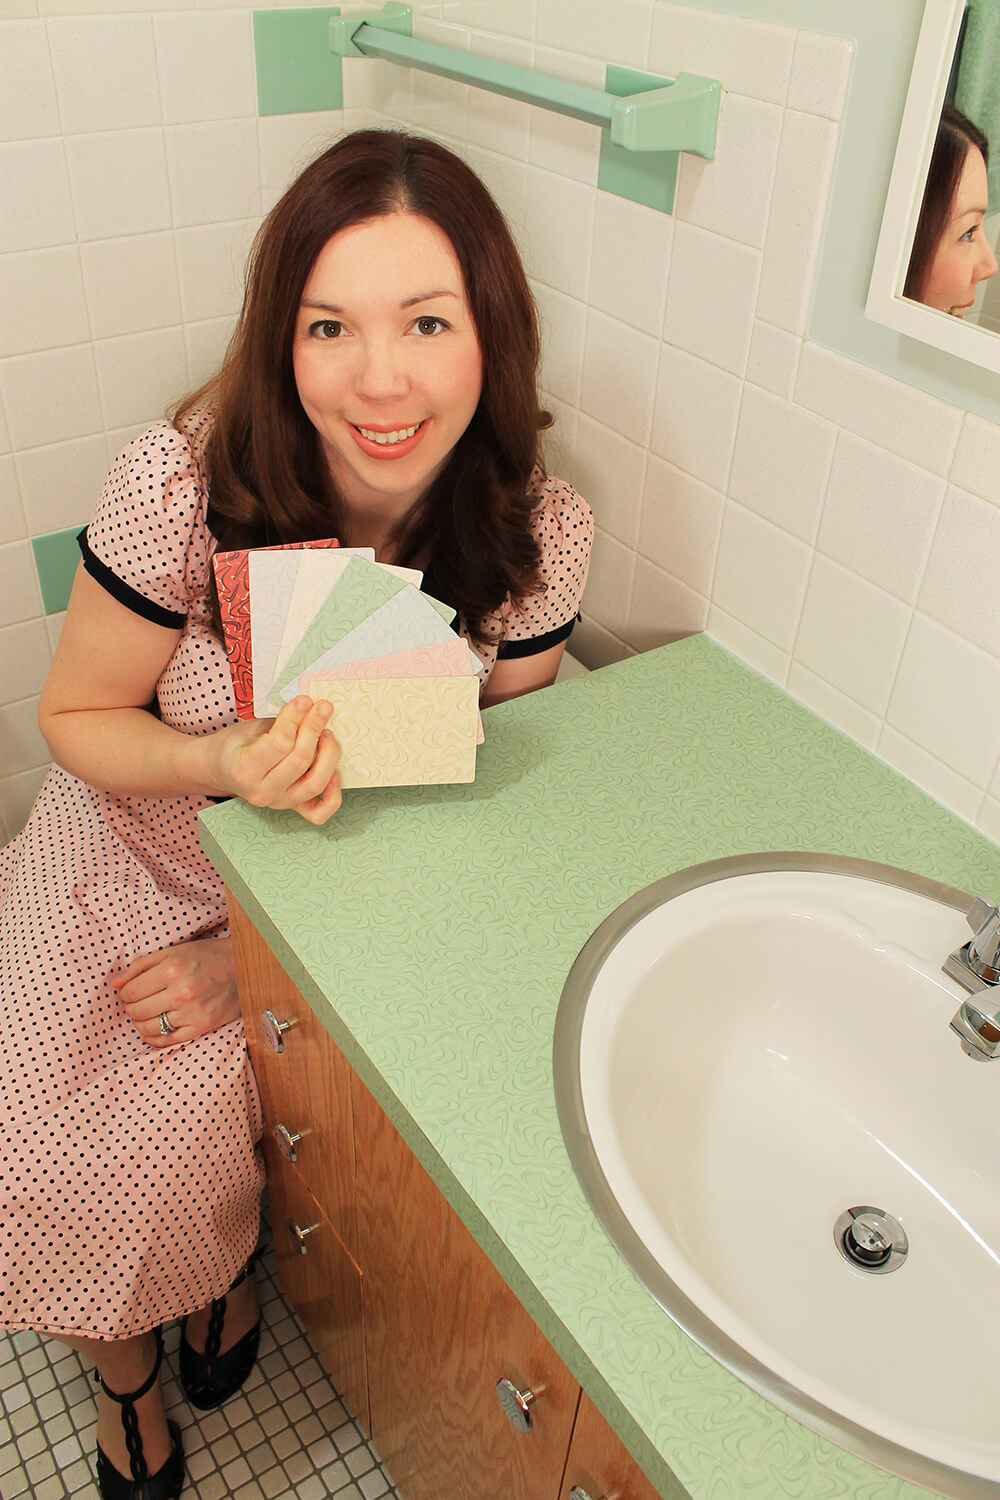
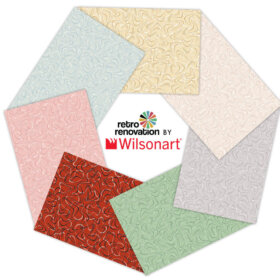
 I built a new vanity for my guest bathroom about about three months ago, but we held the story, because lookie: I was able to use one of our seven new Retro Renovation® by Wilsonart® boomerang laminates — the delicious “Retro Renovation® Delightful Jade” design. By the time I got going with this project, the colorway was locked in, so Wilsonart printed a sheet for me [disclosure: they provided it no charge as part of our collaboration]. I love all the colors in our boomerang laminate collection, but ‘Delightful Jade’ is one of my favorites, so I’m super excited that I found a place to use it in my home.
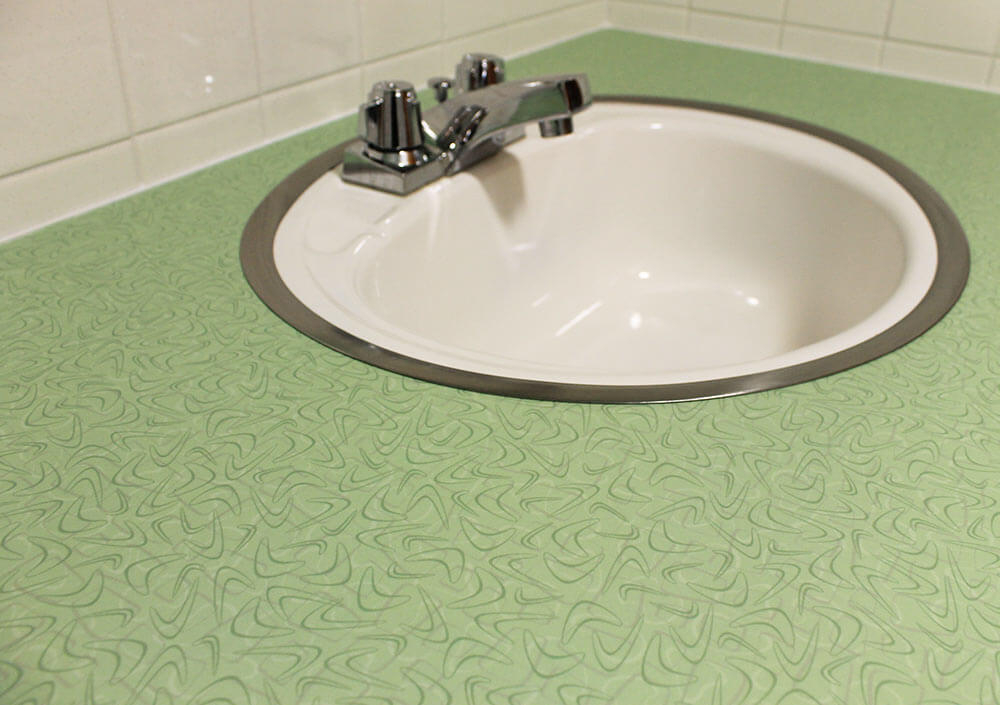
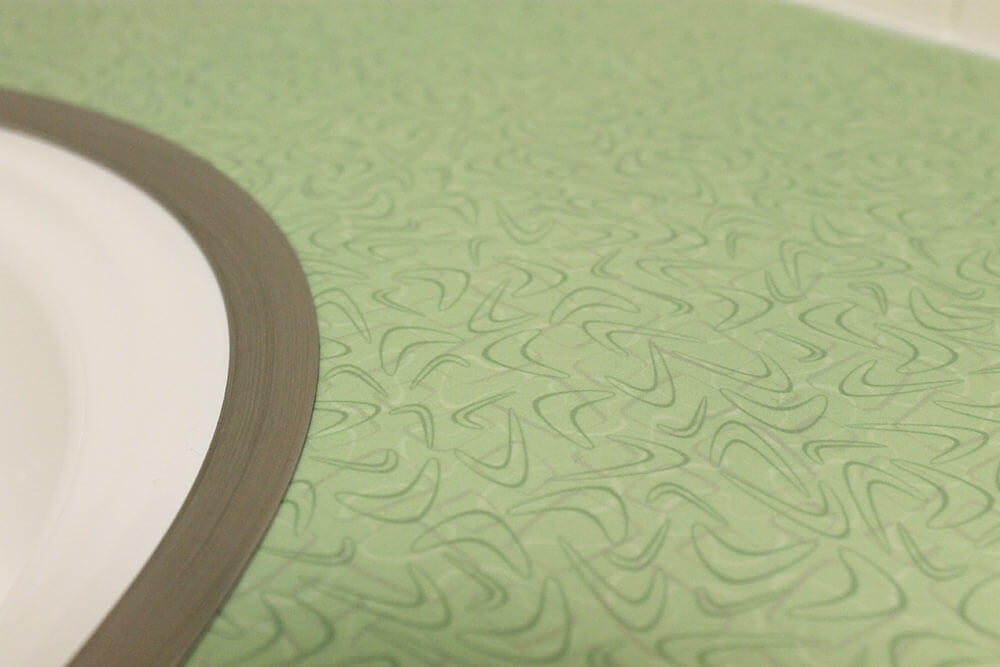 The color coordinates nicely with my circa-1962 original American Standard green bathtub and similar green wall tile accents.
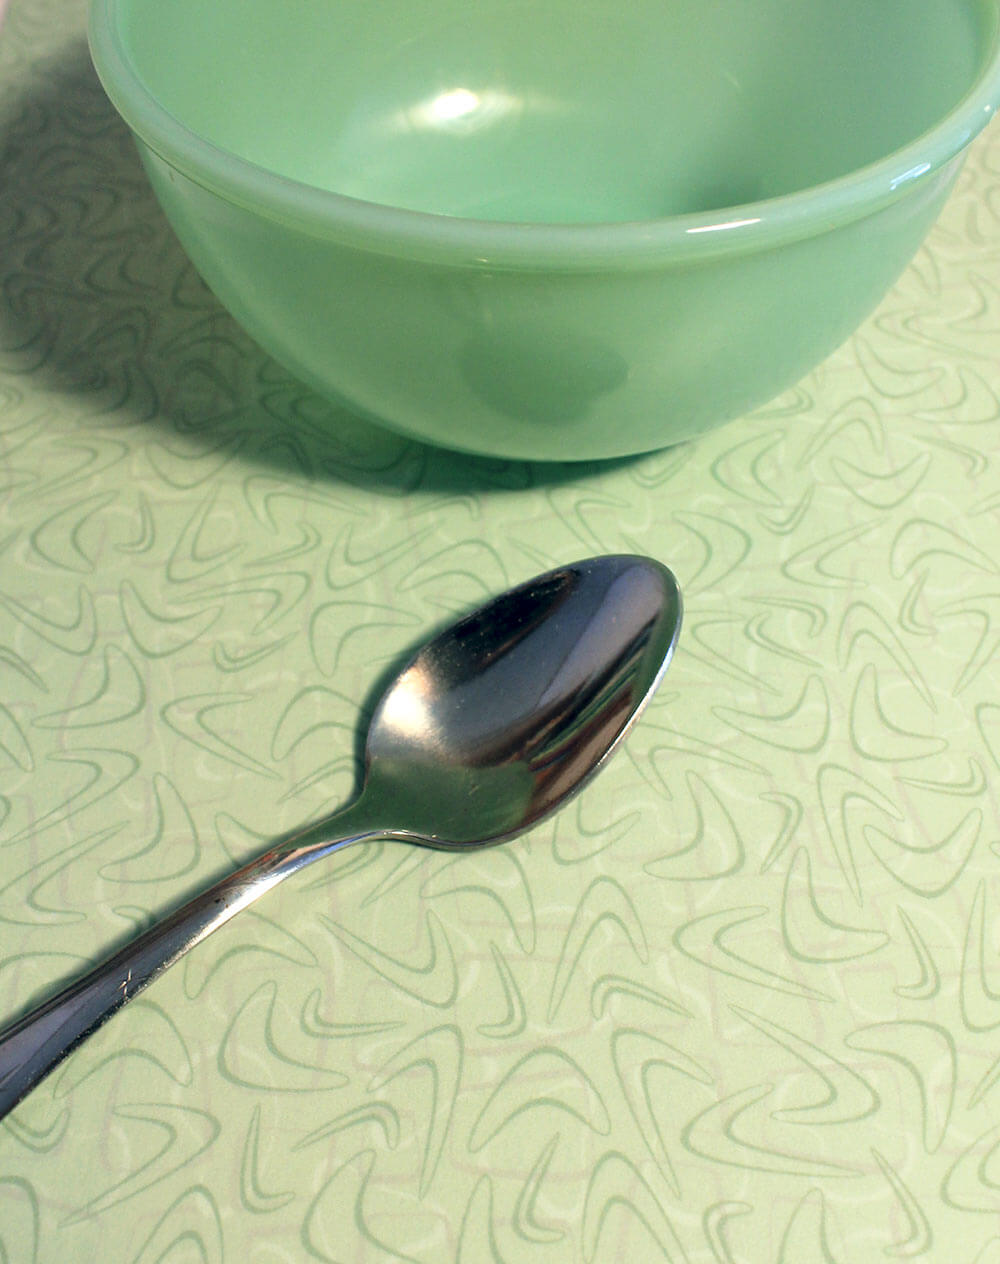 Pam and I think this color also will look great in kitchens and baths stretching back to the 1940s.
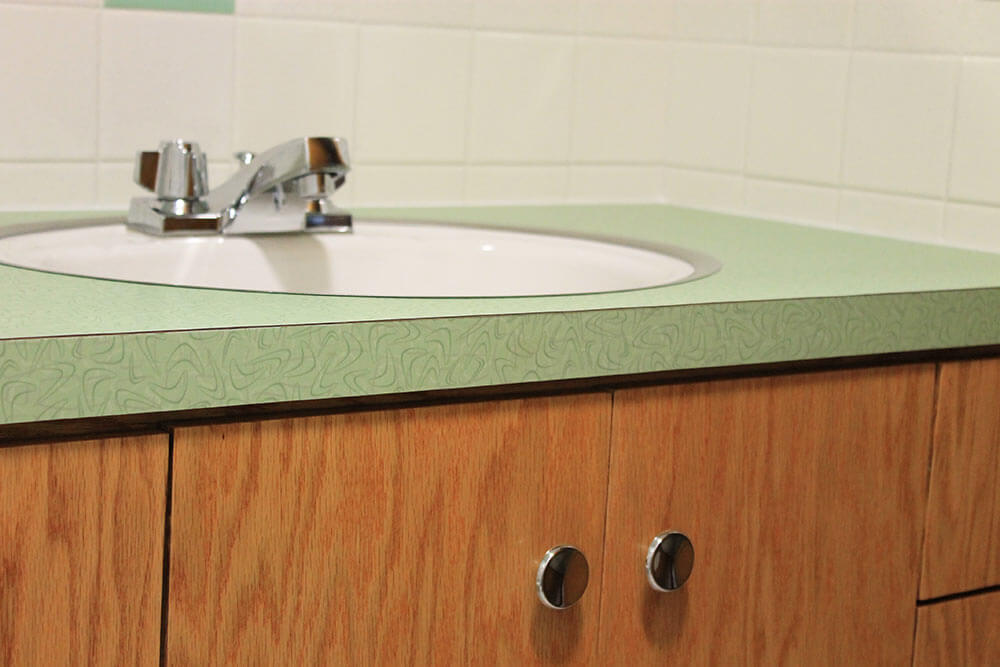
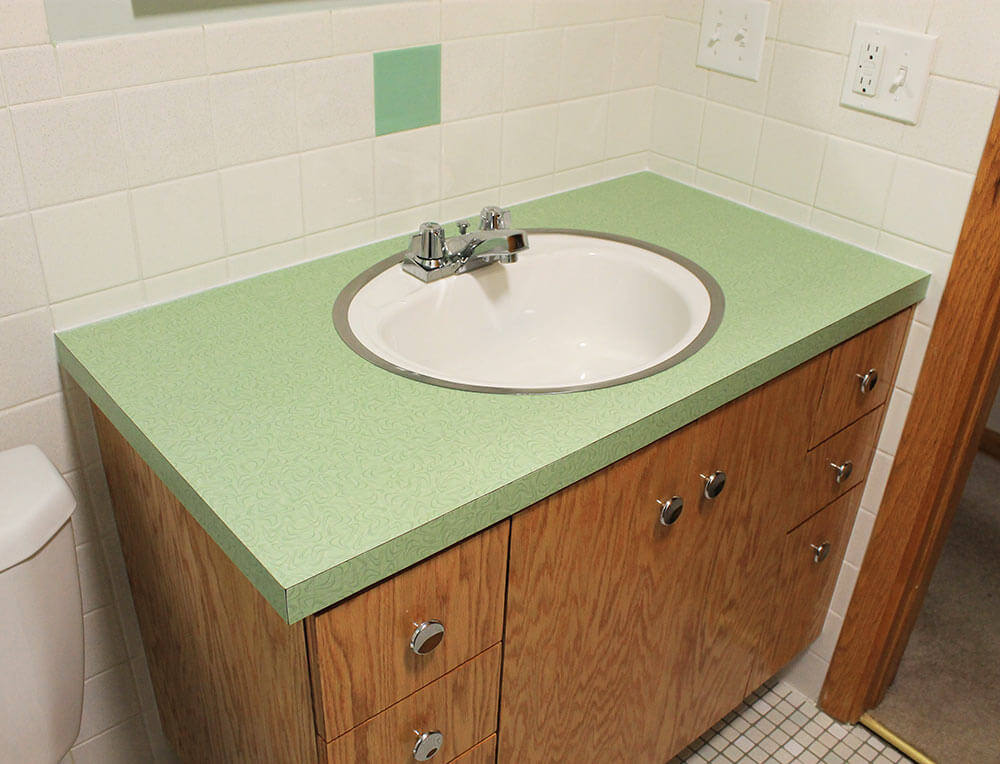 The verdict — I absolutely love it. Every guest I have had over to the house since I finished renovating the bathroom has remarked about how much they like the countertop — whether they are into retro decor or not. Plus, how many people can say they not only fabricated their bathroom countertop, but also helped to create the colorway?!
More info on all the work I did in this bathroom yet to come. In the wake of yesterday’s big huzzah, we wanted to show this new laminate off right away!
Disclosure: I want readers to know: I do not make money if you buy this laminate; “the deal” that I have with Wilsonart includes other elements of consideration. For example, on Feb. 1 they will launch an advertisement on the blog, for which Retro Renovation is compensated. So, I do not have any incremental financial reason to promote the laminates in this collection over other options — see all our research on countertop options to find the product that’s right for you! – Publisher Pam.


Lynette says
Kate, how well will this match with a Ming Green sink? I have an apron front Ming Green sink so I am probably going to have to fabricate the countertop. It will not have a Hudee. The original owner had it installed in a laminate counter without a hudee.
Pam Kueber says
Lynette, you can get fairly large samples direct from Wilsonart!
Susan says
Thank you so much for the research that you do, and the great examples, tips and help finding products. My home was built in 1900, but the bathroom and the kitchen were modernized sometime probably in the 1950’s or 1960’s. There are wooden kitchen cabinets with dark iron strap hinges and the wooden bathroom cabinets and the vanity are finished like the one above. The top of our vanity is a grey and white faux marble laminate which is cracked and getting stained. I’d like to replace the laminate to a style like the one above, but before I do, I wanted to check and see how Kate removed the sink and replaced the ring. I did not want to have to order a new Hudee ring if the old one is still good.
Also, I if it is necessary to caulk around the edge of the ring? Sometimes water seems to get below it and it makes the edge dirty and it’s kind of a pain the keep scrubbing the edge with a toothbrush and that just seems to make it worse…what do you do?
Finally, another question…I’ve seen a few examples of bathrooms with laminate walls. Ours are white with flecks of gold. They are in good condition, but the connectors seem to be plastic and they have yellowed with age. Are there other kinds of connectors for panels still available? I looked at your articles on edging for counter tops, but I don’t know what to look for and where do find it. I think chrome would look better than the plastic, but what else is there? If I cannot replace the connectors, what can I do to keep the walls looking nice without ripping all of that out (which is not an option in the near future)?
We love our old house and want to keep it in good condition without taking away it’s character. Thanks for the resources to help us do that.
pam kueber says
Hi Susan, on all these questions, I recommend that you ask the companies that still sell these products. Kohler has sinks with hudee rings… and there are many laminate companies that may be able to tell you where to get connectors. Also remember to be aware of potential hazards in products and layers, for more info see our Be Safe/Renovate Safe page https://retrorenovation.com/renovate-safe
David Couch says
Kate, great site and great reno.
I have been combing retroreno and google for resources on how to properly install a sink with a Hudee ring.
Our home was built in 1962. I’m doing some updates to our yellow bathroom and have just removed the old laminate top and sink from the existing vanity. When I did so the Hudee ring came free of the sink as well.
So now that I’ve cut the new top to fit and the hole for the sink, I realize I need to clean all the old (i’m guessing) putty off of the ring and sink. At least this is what I’ve surmised from sink installation videos and articles I’ve read regarding re-installation of old sinks.
I cannot find a clear how-to on the installation of the ring and sink though. I’m not sure if I should take the counter top back off and install the ring with putty into it and then the sink with putty into the ring followed by the clamps. Or if I need to Adhere the ring to the sink with caulk, and then install the ringed sink into the counter-top with putty as if it were now a self-rimmed sink. And then attach the clips.
Any counsel is much appreciated. Thanks again!
pam kueber says
Hi David,
The company that makes hudee rings still exists, you could contact them for info: https://retrorenovation.com/2011/06/28/a-short-history-of-hudee-rings-from-the-president-of-vance-industries-including-sex-sells/ and https://retrorenovation.com/2011/03/03/18-sizes-of-metal-rims-for-kitchen-and-bathroom-sinks-hudee-ring-supplier/
Another option: Check Kohler’s Tahoe sink — they make one with a hudee ring — and they might have these installation instructions online (assuming the issues are the same). https://retrorenovation.com/2006/01/30/bathroom-sinks-that-fit-that-50s-groove/
Good luck.