

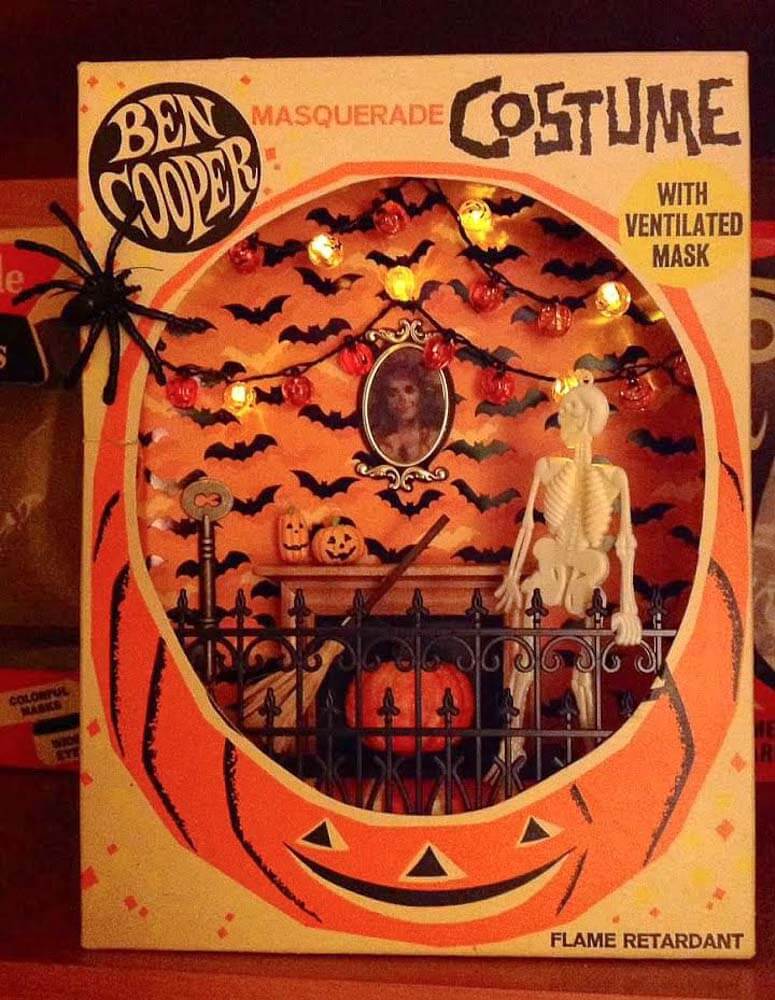
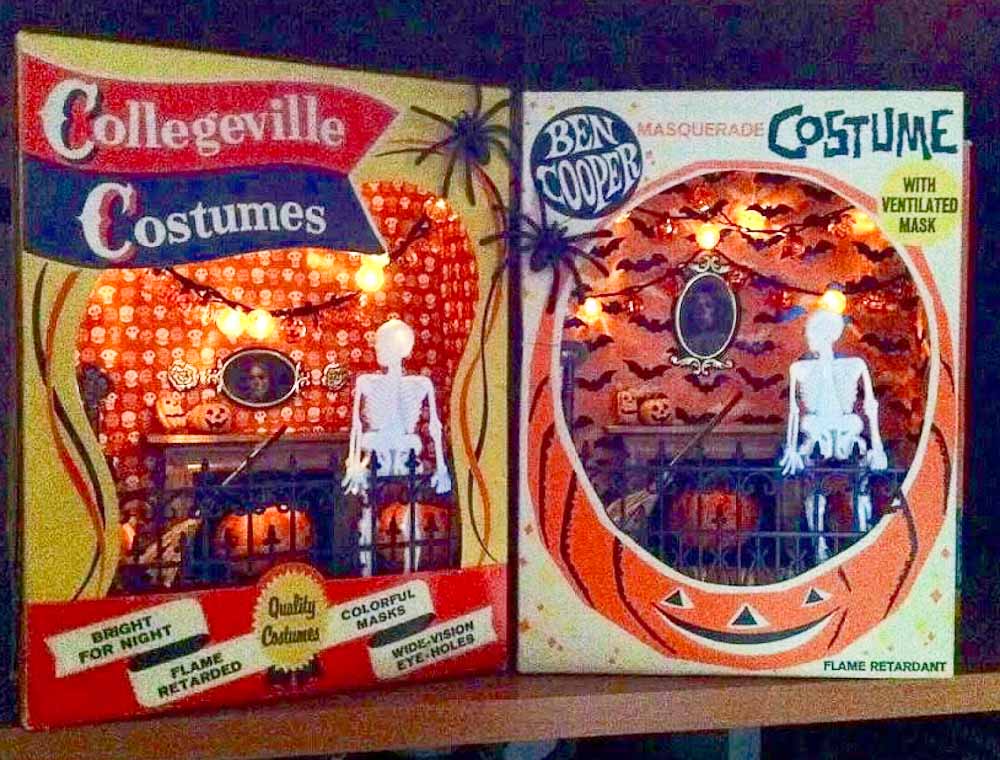
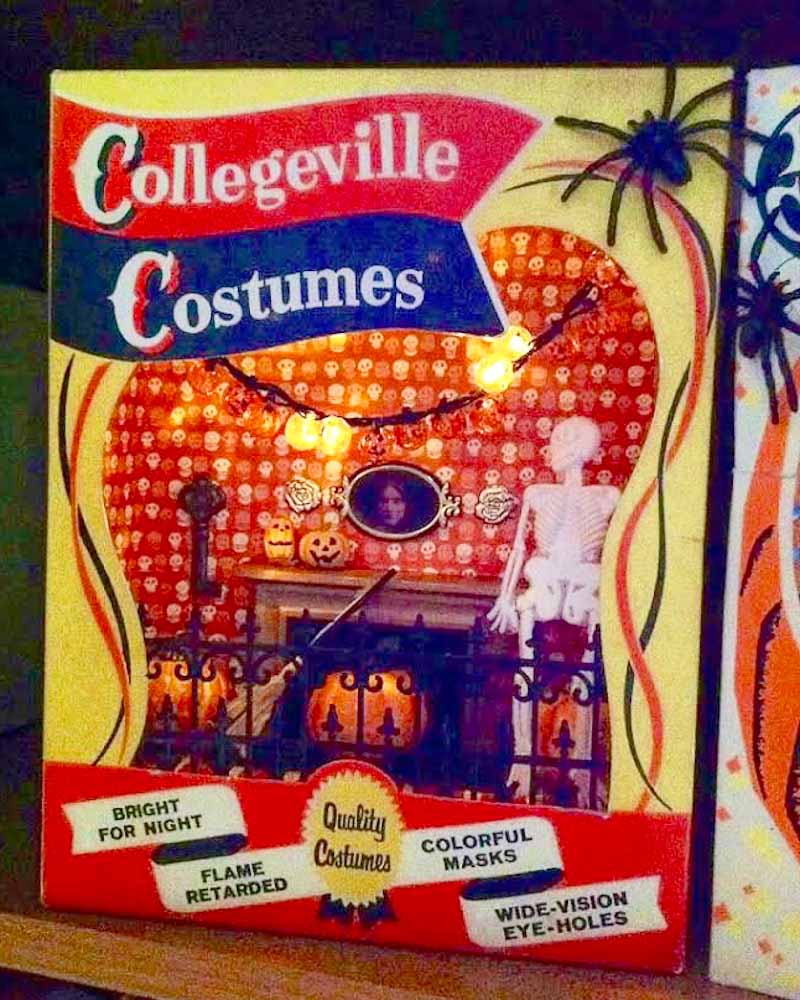
 Get your crafty hands on a vintage Halloween costume box …. add spooky mini bits …. you can even string some lights … and like reader Sue — who sent this idea — you can make the most adorable retro Halloween shadow box diorama. And hey, Sue’s method didn’t even require a glue gun! Halloween’s around the corner — time to get started!
 Sue wrote:
Hi Pam,
I have been a huge fan of your website for years, and so admire the crafts you and Kate have created. I’m definitely not a crafty person, but I tried my hand at an idea I had for making a Halloween shadowbox craft last fall. It is held together by glue dots and tape, as I don’t own a glue gun, but it kind of adds to the primitive charm of the craft.
My sister encouraged me to share it with you, figuring your creative readers might enjoy making their own spooky shadowboxes.
I am happy to share what items I used and where I bought them. I’m sure there are much less expensive and easier ways to do this kind of a project, but it was my first time making these two gifts for my mother and sister.
All the items in the photos are my leftover supplies from last year’s projects. There are just a couple of things missing from my pictures: The rolls of various sizes of glue dots and the two empty boxes of Irish Spring soap I used for the platform. Using my trusty glue dots, I butted the ends of those boxes together and then wrapped them in themed paper. They fit well enough inside the box to provide a sturdy floor and spot to build the scene on.
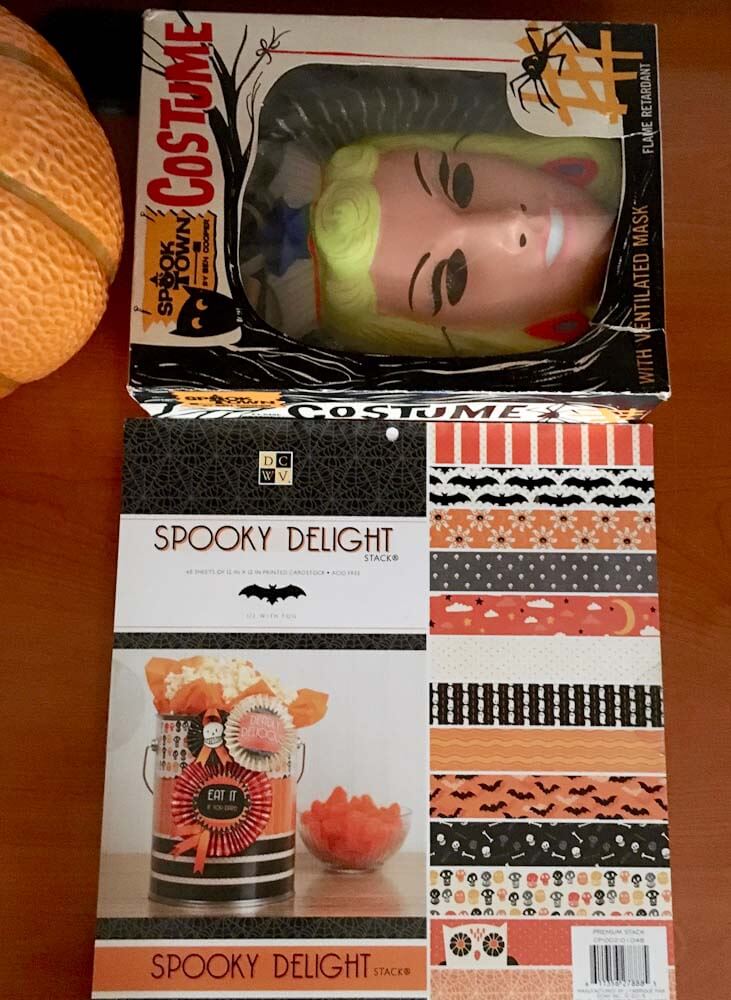
The first photo (above) shows the next costume box I’m going to use in a future project and a pad of paper that contains various spooky prints and patterns. I buy most of the costume boxes on ebay and pay no more than $10, as they can get pricey once S&H is added in. Most of the boxes I receive are in good condition for their age. I usually “glue-dot” a black spider over any tears, rips or other little imperfections the box has and discard the cellophane window. I’m saving the masks and costumes to use in future projects.
Pam interjects: Click here to see what for sale on ebay right now(affiliate link). Tip: Look for boxes with big prosceniums — that is, big windows you can work inside of.
I found the Spooky Delight pad of Halloween themed paper at Michael’s craft store. Many of the prints inside the pad are perfect for the shadowbox’s wallpaper, but it is rather thick to manipulate along the inside of the box.
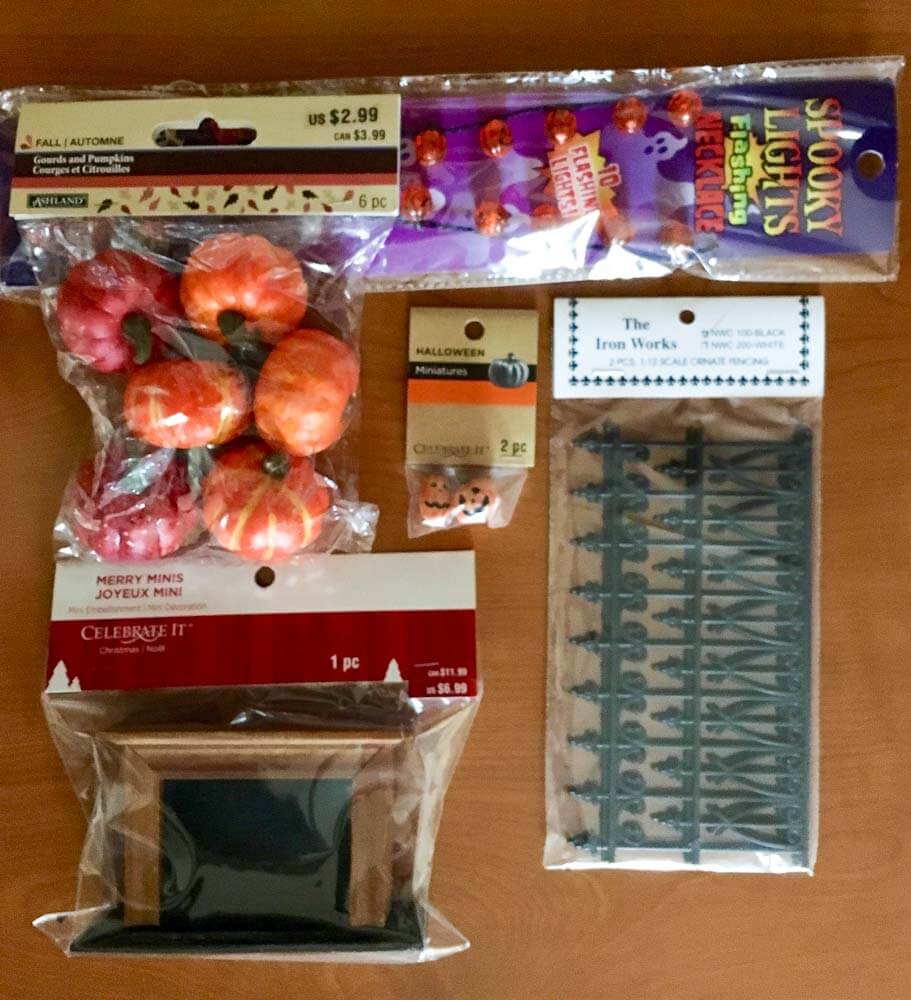
The second photo contains the light-up pumpkin necklace that I glued to the walls. I have found these necklaces at Walgreen’s, Jo-Ann Fabrics and Lowes. The bag of pumpkins, the 2 tiny Jack-o-lanterns and fireplace were all found at Michael’s craft store. I bought the plastic wrought iron type of fence on Amazon.
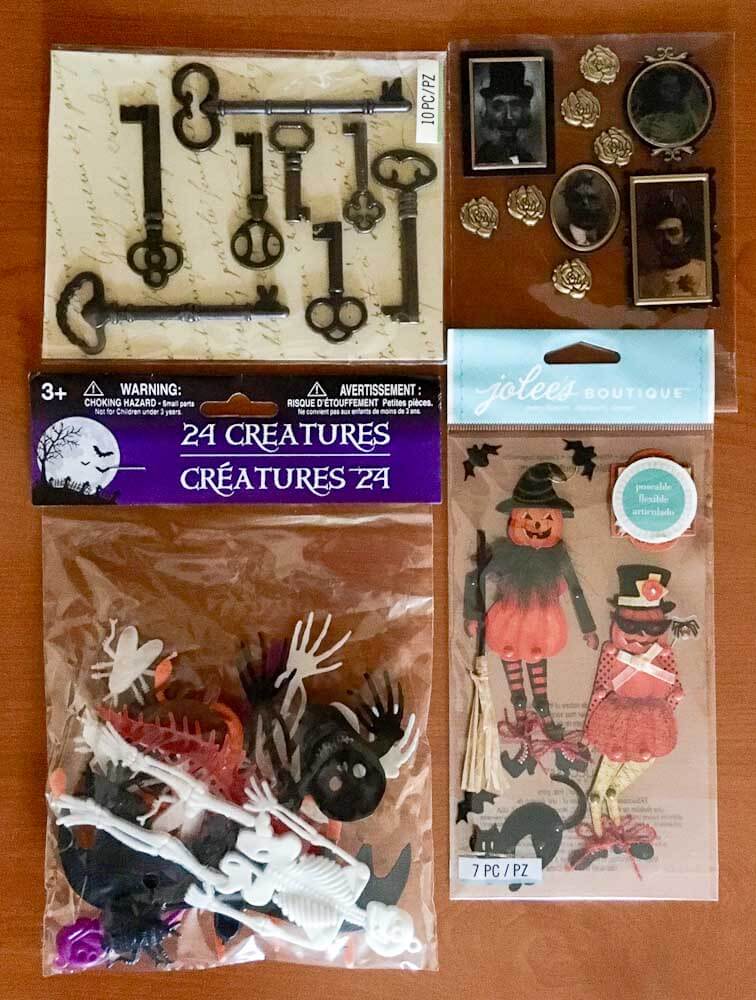
The third photo contains self-adhesive hologram skeleton portraits and self stick, half-round skeleton keys, which easily stick to the walls. I used the paper broom from the package of Jolee’s Boutique stickers and will use the leftover stickers in another project. The package of 24 creatures was purchased at the dollar store. I snipped the tiny plastic loop off the top of the skeleton’s head. I glue-dotted the skeleton directly onto the plastic fence.
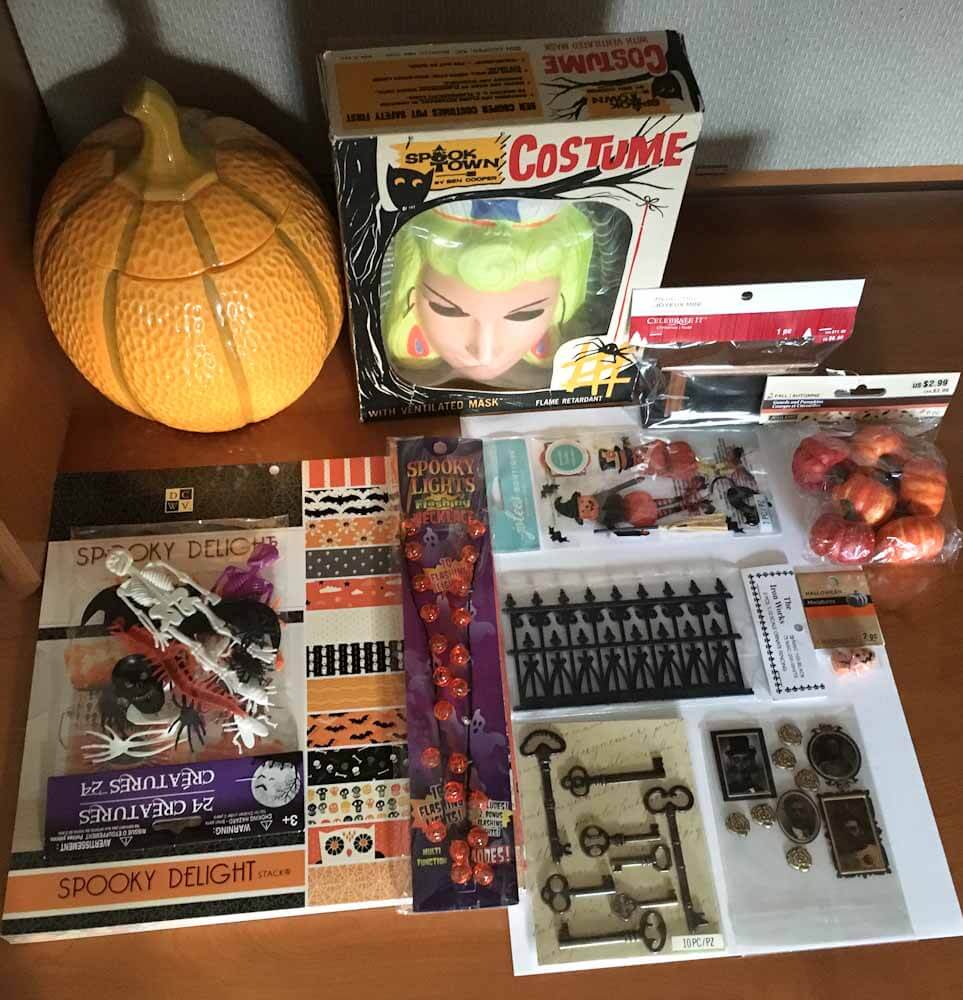
The last photo shows all the supplies together.Going forward, I’m going to try out the glue gun that my son gave me last Christmas, though I’m a bit of a pro with the foolproof glue dots.
Next to wallpapering the interior, stringing the necklace lights was very challenging. It was probably due to using glue dots, as the lights were a little heavy for them. It took a bit of trial and error to string them just right so that I could still pull the battery pack outside the box once I closed it. That way, when it’s displayed, one only has to reach around the back of the box to click the lights on. Those necklaces also have to option to blink or stay solidly lit.While I was attaching the photos to send to you, I was already thinking of ways to embellish them further without cluttering up the scenes. I will be sure to keep the items light in my future boxes, as there is only so much weight the old cardboard can hold. I can’t wait to create more of them!If you have any questions or would like more information, I’ll be happy to answer! Thanks, again, for creating your wonderful blog and website. You and Kate have brought so many of us so much happiness!Thanks, Sue
Sue told me that she bought the empty boxes on ebay and indeed, I see them on there — but they don’t appear to be super common, and they are not what I’d call ‘cheap’. I seem them on Etsy, too. So, here’s another thing to watch out for at estate sales if you want to start off at a real bargain price! I also wonder: Is anyone making new Halloween costumes placed into retro-style boxes? That might be another place to look, especially if you can grab them half-price or 75% off after the holiday. Anyone seen these anywhere?
Nicely done, Sue — very inspiring! — and thanks so much for sharing all this great information. Clearly, I need to up my Halloween game — I love this holiday! I’ll start decorating on Oct. 1!
Almost time to gear up fo Christmas shadow box dioramas, too?

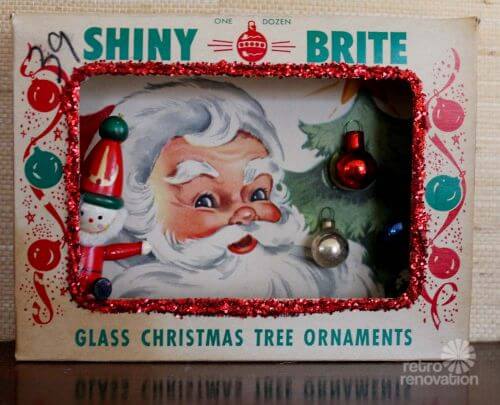
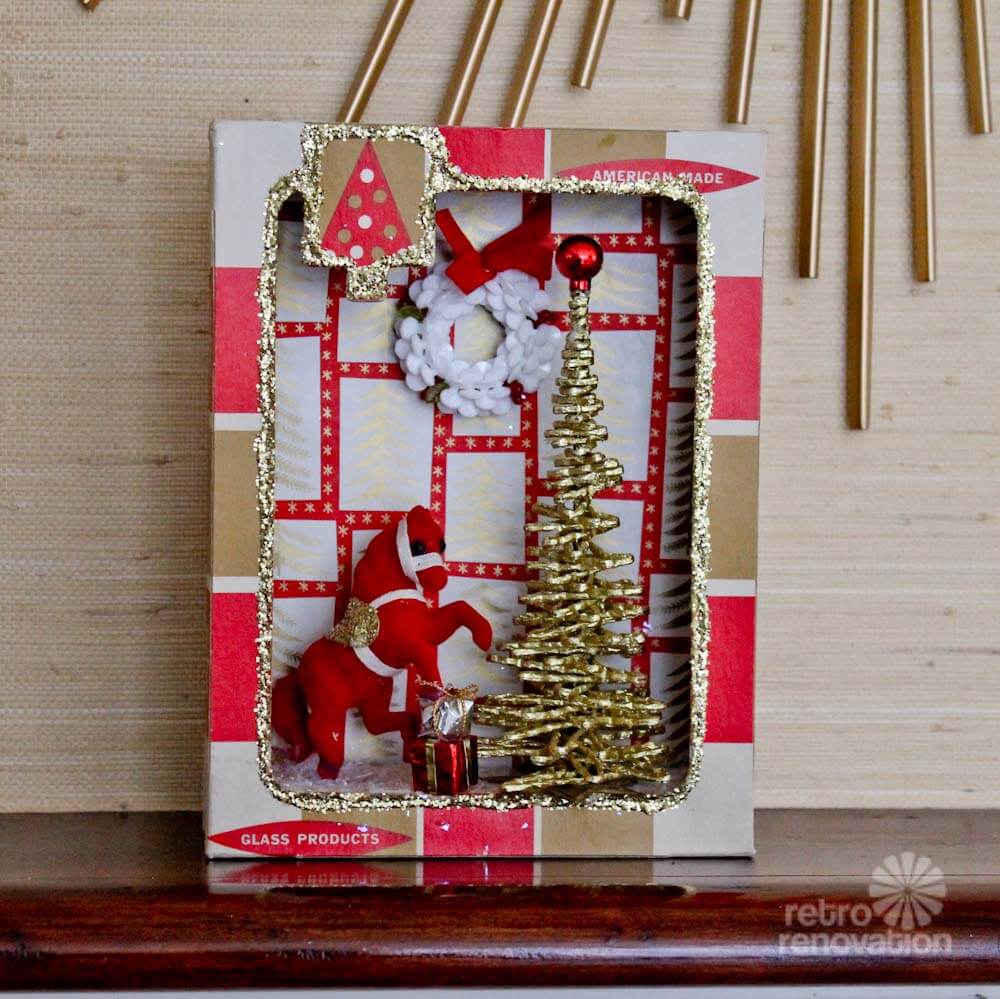
- Note, these are very much like the shadow box dioramas I made with empty vintage Christmas ornament boxes <<–read this story for more instructions and ideas (e.g. I like glitter,too!).


Dirk Harrison says
Hi, love these! Are they for sale?
pam kueber says
Not that I know of. However, I’d recommend you check on etsy.com.
sarah says
So Cool – Best IDEA ever. I don’t own a glue gun either!
Betsy in Michigan says
As a miniaturist, I have been thinking about making a seasonal Halloween diorama. This is a fabulous idea – very cute! Regarding missing cellophane: It’s not that hard to find replacement plastic from something else you buy. Cut it to size and glue to the inside of the lid.
pam kueber says
Yes… but on the dioramas I make, I actually take the cellophone out. I like to see right into the box. Of course, you could do it either way, according to your preference.
Eartha Kitsch says
These are really fantastic, Sue! 🙂
margaret rooks says
BEST. HALLOWEEN. IDEA. EVER!
I have made a christmas ornament box diorama, so now it’s time to try a Ben Cooper box diorama. As for new costumes in retro boxes-the Ben Cooper company has recently been revived by the original family, and they are murmuring about new product releases coming very soon. Check them out on instagram and facebook under the name bencoopercostumes. Additionally, Carta Bella makes some lovely vintage-style scrapbook paper and ephemera. I have no affiliation with them . . . just a fan!
pam kueber says
Thanks for the info, margaret — I will check out bencoopercostumes!
Sue says
Thanks for sharing my shadowboxes and for your good advice, Pam! Before I build my next soapbox stage, I’ll make sure the “proscenium” is big enough. I learn something new here every time I visit! It will be fun to see the spooky dioramas that your readers come up with. Thank you, too, for the nice comments, tammyCA, Debbie, Carolyn and Trudi!
Trudi says
Just adorable! I wish I was as “not crafty” as you Sue!
Carolyn says
Way to take it to the next level Sue!
Oh, man! I feel like such a dope for always passing on the ShinyBrite boxes with no cellophane thinking the ornaments would always be falling out. Well, duh, re-purpose the boxes! And now I’ll rarely see them again, make a bet!
Is there an uploader in our future? (After Thanksgiving tho’.)
Debbie in Portland says
I scavenged some vintage Shiny Brite boxes out of a “free” pile at my neighbor’s house this summer. The cellophane was broken and there were only a few original ornaments left, but they’ll be perfect for shadow boxes. These Halloween dioramas are fabulous!!
tammyCA says
Cute idea! I’m Halloween crafting now..making my funny little creatures. I’ve been wanting to make a diorama scene out of a carvable foam pumpkin..(see a cute Linus in pumpkin patch on Pinterest) as those pumpkins are on sale now.