Creating a 1936 bathroom from scratch — Graham and Monika tackle another remodel
Pam Kueber - Updated: February 4, 2019
Retro Renovation stopped publishing in 2021; these stories remain for historical information, as potential continued resources, and for archival purposes.
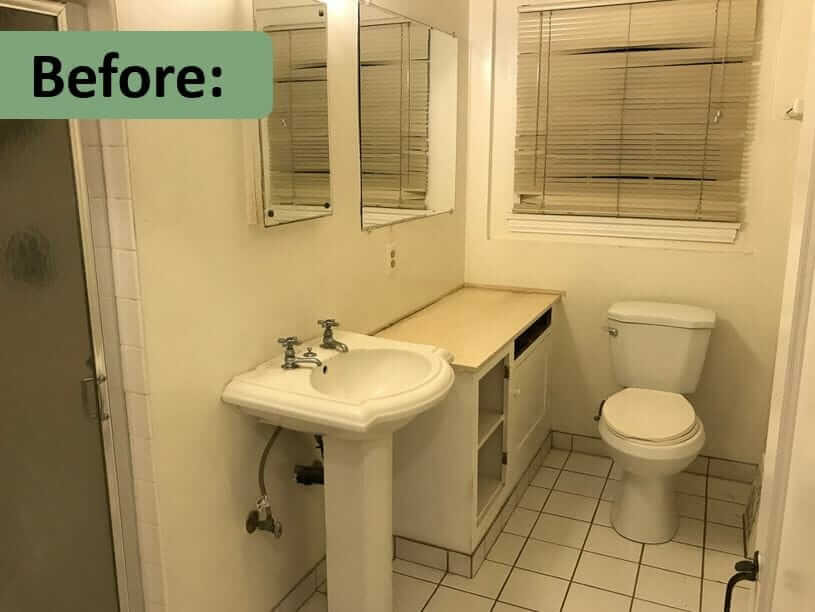
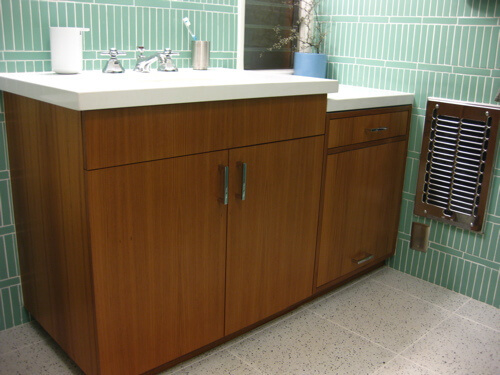
It’s kind of thrilling to see a “before” photo like the one above, don’t you agree? Because you know: A Retro Renovation reader has been hard at work, and we’re about to see an amazing transformation. Indeed: Graham and Monika are back for a second time on the blog, with this lovely remodel. I first featured their handiwork eight years ago, when they Retro-Renovated a small apartment bathroom — cool tile work!. They are now in a 1936 house, and they tackled the bathroom renovation accordingly, with help from B&W Tile. Let’s get to the big reveal >>
Graham tells the story (lightly edited for flow):
Hi Pam,
I’m the Graham from Long Beach… About 5 years ago we had the condo where did 1″X6″ BW Tiles and Terrazzo tile floors and you featured our remodel.
Pam looks, then breaks the news: That was in 2010, Graham — eight years ago! — time flies when we’re having fun, doesn’t it!
He continues:
The story on our new bathroom is we bought our house in April of last year. It was built in 1936 and is traditional in style, but the layout is very much ranch. The house is U shaped and surrounds a central courtyard. It feels like an early Cliff May ranch without all the windows, but this would have been almost 20 years prior to that so it’s very interesting.
It was a rental for a few years so they did some very minor renovations to update include paint everything white and install very cheap tile in the bathroom and kitchen. The main bathroom was my least favorite room in the house so it became our first priority to renovate. As you can see we stayed with the basic format of the room, we didn’t have to move any of the plumbing which was nice and helped our budget.
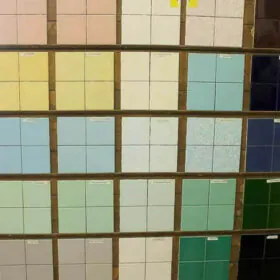
We live in Long Beach so we are lucky to be close to B&W Tile in Gardena as all the tile is from there, and I was able to pick it up.
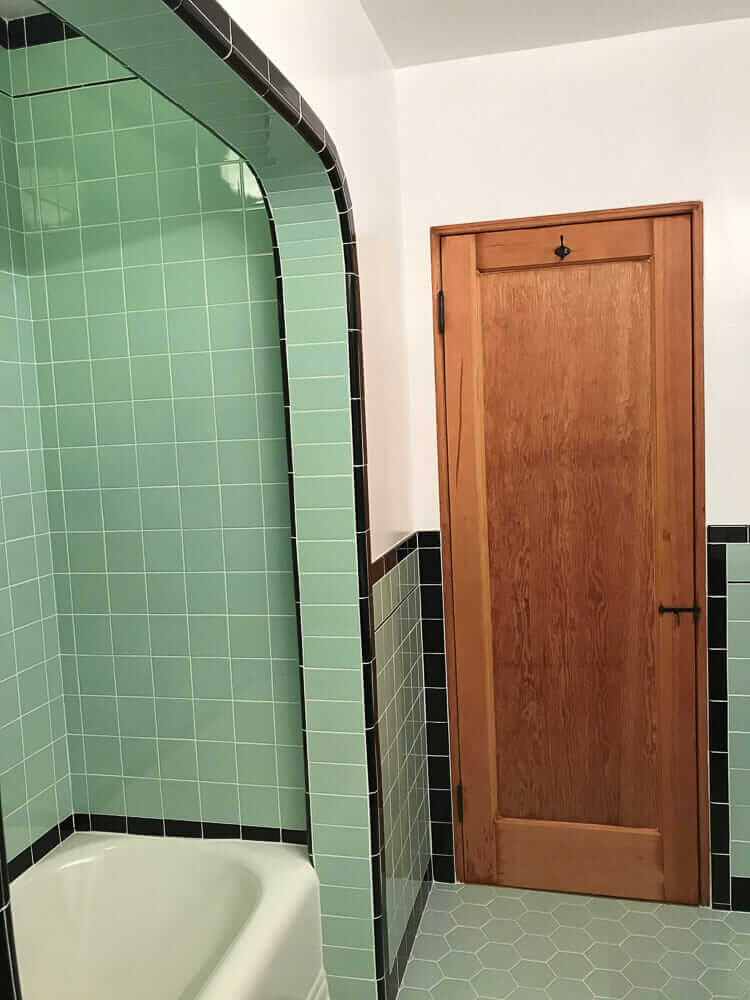
The arch above the bathtub is original so we followed that design cue and created an arch for the shower as well.
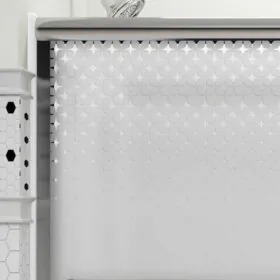
The tiles shapes and sizes run the gamut, 4X4 for the majority, 3X6’s for the arches, bull nose topping the wainscoting, hex for the floor and shower floor, pencil line 1/4″ decorative tile, cap tiles for the edges of the arches, and finally 3/4″ rounds for the shampoo box and arches.
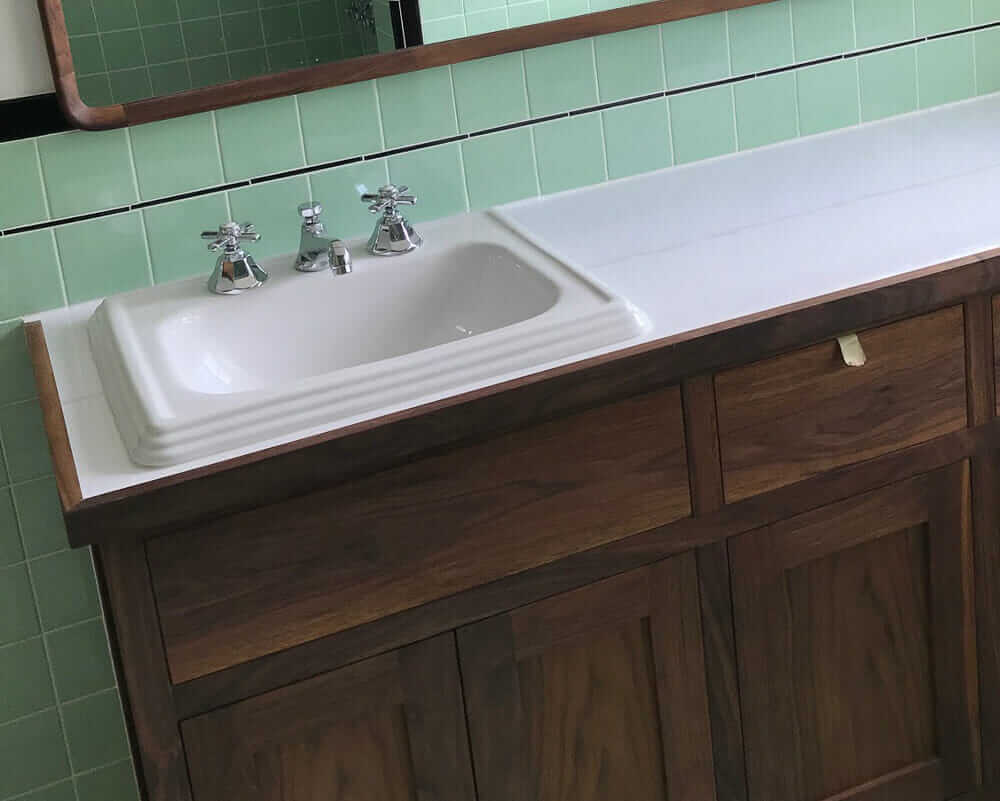
The cabinetry, mirror frame, and edging for the cabinetry is all walnut, and the countertop is a white Formica.
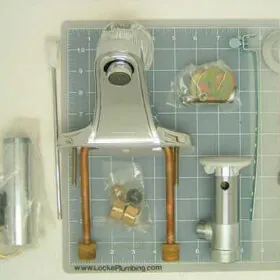
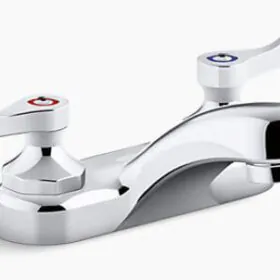
Solid Walnut for the mirror and edging and veneer for the cabinet face. The toilet is the Kohler Highline, the fixtures for the tub, shower, sink are Strom Plumbing Mississippi Series, [affiliate link – earns RR a wee commission if ya click and buy] and the sink is a Toto.
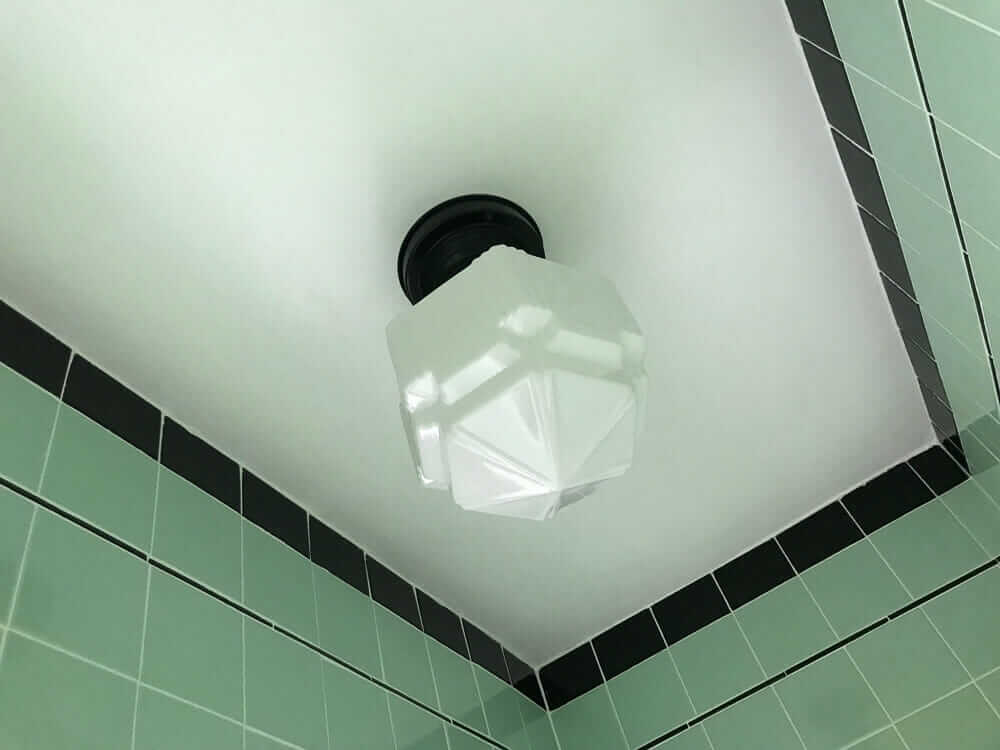
What’s nice about our house being built in the 30’s is we felt like we could get away with mixing architectural periods, during that transitional period people were using Art Deco, traditional, and some early modern fixtures. We still have several of the original light fixtures in the house and there isn’t a set style. So for the lighting above the bathroom we chose an Art Deco style reproduction light from Rejuvenation and a very basic Hollywood Vanity light fixture that we got cheap from Home Depot.
One of my favorite aspects of our house is that they kept all the original double hung wood frame douglas fir windows and douglas fir doors. They painted over everything, but they’re still there and in really good shape. I have been refinishing all the doors, windows, and trim in the whole house this room included. Surprisingly, they never changed out the original door hardware so there aren’t any door knobs for the interior doors it’s all the latch type hardware you see on this door which we kept in the bathroom as well as the rest of the house.
The whole remodel took about a month and a half mostly due to how much tile needed to be set, luckily we have another bathroom to use in the house. We’re extremely happy with how good it all turned out and functions. As with before I used your site to do research and find appropriate materials and fixtures. Thanks as always. We are doing a sensitive renovation to our entire house, and I try to post as many pictures of the progress as possible on my Instagram account so if you readers are interested my handle name is gannogram.
Thanks, Graham
Thank you, Graham and Monika. Lovely bathroom — nicely done!
Great job. Note to anyone doing a retro bathroom (or kitchen) renovation: when installing tile, consider using a mortar bed tile installation, floating or non-floating. It makes a perfectly flat tiled surface and lifts the tile away from the wall slightly for a more authentic vintage look.
ANNA ZADEREJsays
WHERE DID THEY GET THE TILES TO DO THAT BULLNOSE ON THE ARCH. WE HAVE A VINTAGE PROJECT GOING ON RIGHT NOW AND OUR TILE PERSON SAYS THESE CAN NO LONGER BE PURCHASED! WHAT COMPANY WAS USED IN THE VINTAGE RE-DO. GREATLY APPRECIATE ANY HELP WITH THIS. THANK YOU.
I have a 1936 cottage house that is in the works to be renovated!
My question is, my husband & I are not spring chickens anymore.
Can I redo the bathroom in B&W tiles and make it wheelchair accessible with out it looking stupid?
Pam Kuebersays
Hi Susan,
I am not a spring chicken anymore LOL. If you are aiming to design a bathroom that is wheelchair accessible I advise getting with a professional bathroom designer who is trained to design such spaces. Good luck.
I love the tile work. I am always so disappointed when I go to buy sinks somewhere and they have similar tile work and plan to remove it, Why!
valeriesays
its simply beautiful.
KarenfromPhillysays
Fabulous job Graham and Monika! Love the color combo’s. I have the same type of tub as you have with the three accent lines and I love how your sink mimics those lines. Can you provide the information on your sink?
Grahamsays
Hi Karen,
Thanks for the kind words. The sink is the Toto “Promenade” Drop in Sink.
Graham
KarenfromPhillysays
Thank you so very much for the information Graham! Best wishes on your future retro renovations! Can’t wait to see more pics!
Jeanniesays
Great job, I love 1930’s style. Can we see more pics of the rest of the house?
Cydsays
Love! We don’t know what decade my family’s 1900 home had the yellow and green tile installed and the pink fixtures. Meanwhile, another home has 1950’s yellow and black with the sliding shower door. Would love inexpensive suggestions to keep water where it belongs if we remove the door and its track.


 It’s kind of thrilling to see a “before” photo like the one above, don’t you agree? Because you know: A Retro Renovation reader has been hard at work, and we’re about to see an amazing transformation. Indeed: Graham and Monika are back for a second time on the blog, with this lovely remodel. I first featured their handiwork eight years ago, when they Retro-Renovated a small apartment bathroom — cool tile work!. They are now in a 1936 house, and they tackled the bathroom renovation accordingly, with help from B&W Tile. Let’s get to the big reveal >>
 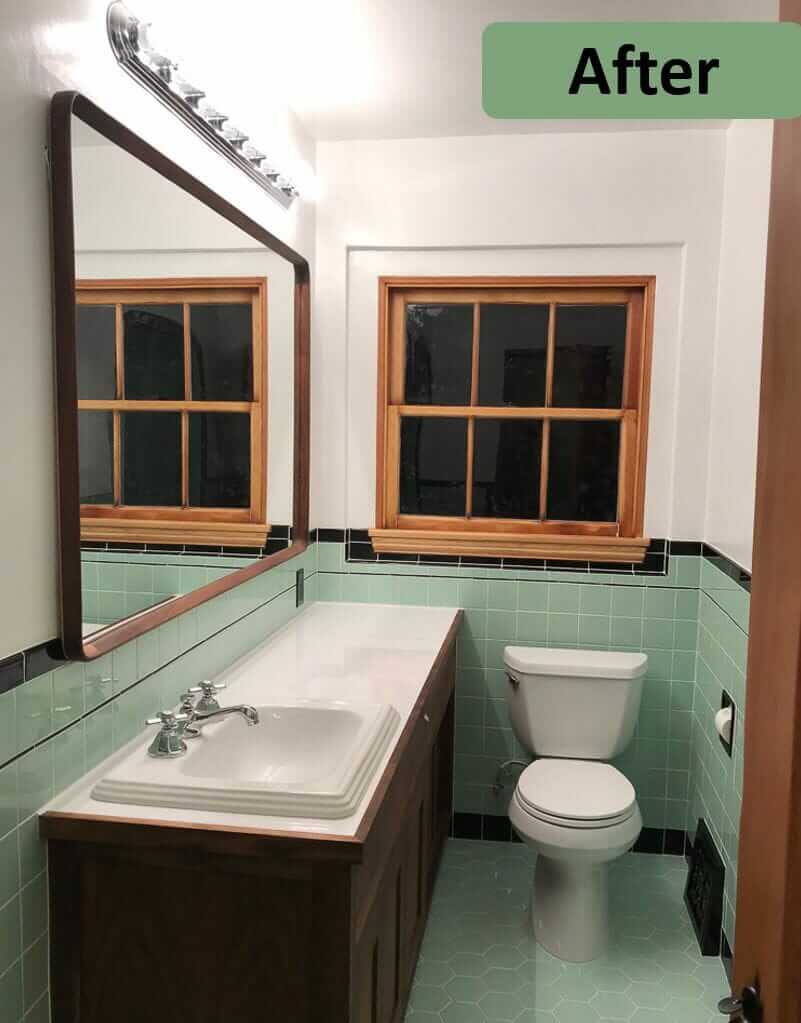 Graham tells the story (lightly edited for flow):
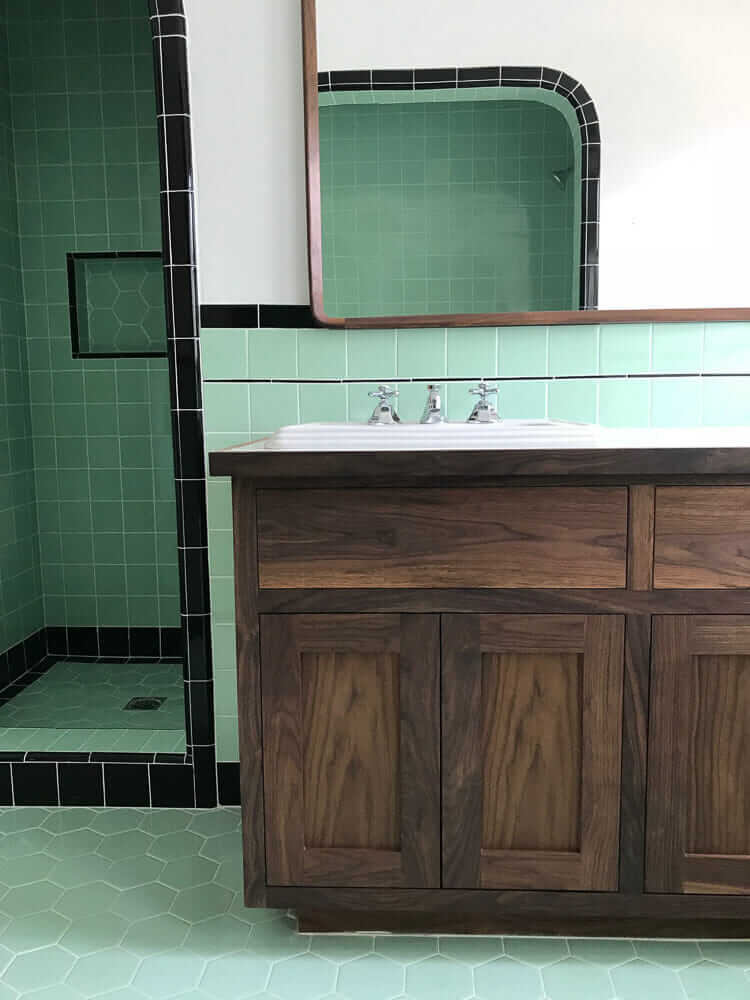


Joel says
Great job. Note to anyone doing a retro bathroom (or kitchen) renovation: when installing tile, consider using a mortar bed tile installation, floating or non-floating. It makes a perfectly flat tiled surface and lifts the tile away from the wall slightly for a more authentic vintage look.
ANNA ZADEREJ says
WHERE DID THEY GET THE TILES TO DO THAT BULLNOSE ON THE ARCH. WE HAVE A VINTAGE PROJECT GOING ON RIGHT NOW AND OUR TILE PERSON SAYS THESE CAN NO LONGER BE PURCHASED! WHAT COMPANY WAS USED IN THE VINTAGE RE-DO. GREATLY APPRECIATE ANY HELP WITH THIS. THANK YOU.
Pam Kueber says
That’s B&W Tile, the story says. See: https://retrorenovation.com/2019/01/22/12-places-to-find-4-x-4-ceramic-bathroom-tile-in-vintage-colors/
Susan Conley says
I have a 1936 cottage house that is in the works to be renovated!
My question is, my husband & I are not spring chickens anymore.
Can I redo the bathroom in B&W tiles and make it wheelchair accessible with out it looking stupid?
Pam Kueber says
Hi Susan,
I am not a spring chicken anymore LOL. If you are aiming to design a bathroom that is wheelchair accessible I advise getting with a professional bathroom designer who is trained to design such spaces. Good luck.
Pat - In My Wheele House says
Ohhh. Very nice! That before pic was truly underwhelming. It has so much character now. Great job.
ken says
I love the tile work. I am always so disappointed when I go to buy sinks somewhere and they have similar tile work and plan to remove it, Why!
valerie says
its simply beautiful.
KarenfromPhilly says
Fabulous job Graham and Monika! Love the color combo’s. I have the same type of tub as you have with the three accent lines and I love how your sink mimics those lines. Can you provide the information on your sink?
Graham says
Hi Karen,
Thanks for the kind words. The sink is the Toto “Promenade” Drop in Sink.
Graham
KarenfromPhilly says
Thank you so very much for the information Graham! Best wishes on your future retro renovations! Can’t wait to see more pics!
Jeannie says
Great job, I love 1930’s style. Can we see more pics of the rest of the house?
Cyd says
Love! We don’t know what decade my family’s 1900 home had the yellow and green tile installed and the pink fixtures. Meanwhile, another home has 1950’s yellow and black with the sliding shower door. Would love inexpensive suggestions to keep water where it belongs if we remove the door and its track.