

 Sarah loved the vintage charm of the original kitchen in her 1950 mid century modest home, but after years of service it was looking tired and worn. An avid cook and writer of the food blog Undercover Caterer, she wanted to maintain the charm — but add function and freshness. too. Starting with vintage cabinets found at her Re-Use Store, she was able to create a well organized, new-old kitchen that looks like it’s always been there and which will last another 50 years. Yummy “after” photos — including the one above — by Chantel Elder of Eleakis & Elder Photography.
 Sarah writes:
Hi Pam and Kate!
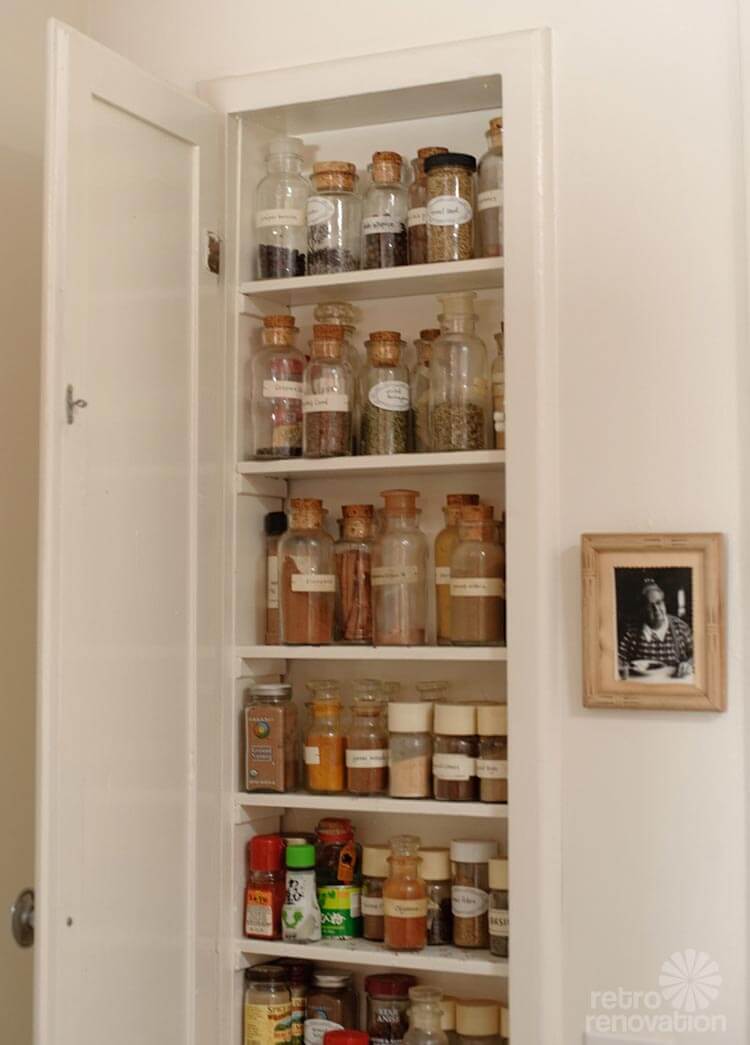
We re-did our kitchen about 1 1/2 years ago. My house was built in 1950 and is a classic mid-century modest home. When we came to tour this house, I knew it was ‘the one’ when I saw the original details in the living room, the pink powder room and the coral laminate counter tops. After living here for nearly 10 years, I knew what had to be done in the kitchen. There just wasn’t enough storage or work space! Luckily I stumbled upon a giant cache of cabinets at the local Re-Use Store and I snapped several truckloads of them up. All for $200. I was able to use most in the kitchen, some in the pantry, and I have a few more that will be used in the bathroom when that eventually gets its makeover. Everything else was done super economically, but without sparing attention to detail.
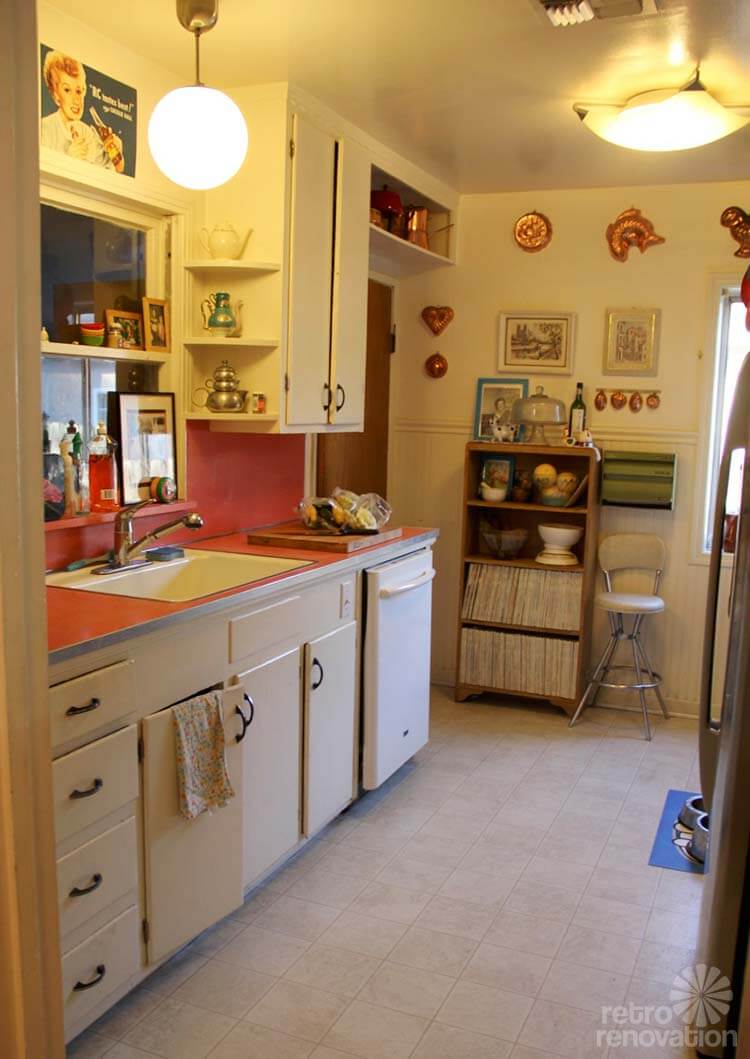
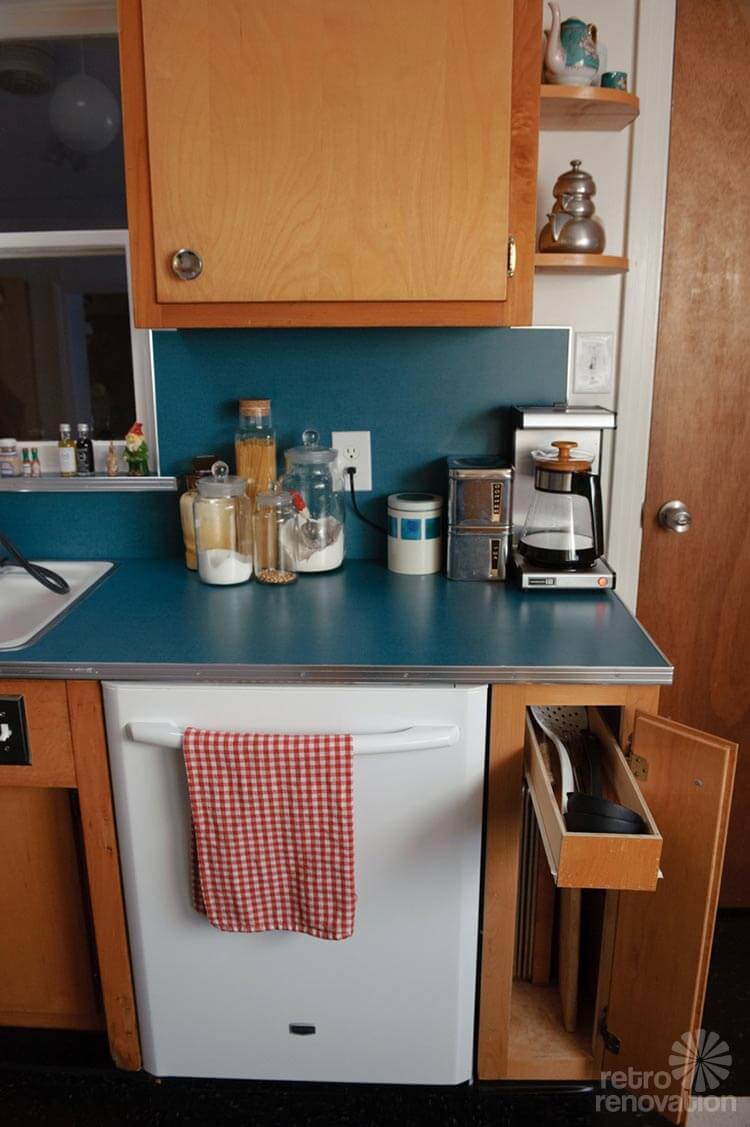
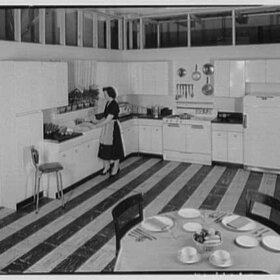
Before:
Cute, but aging badly. Not enough workspace — we had to use restaurant shelving, but it always looked so cluttered! As you can see, none of the cabinets doors would stay shut either. Excellent coral squiggle laminate, that sadly, was too far gone.
Also: NO EXHAUST FAN. So gross. Everything got greasy, then dusty, no matter how much I cleaned.
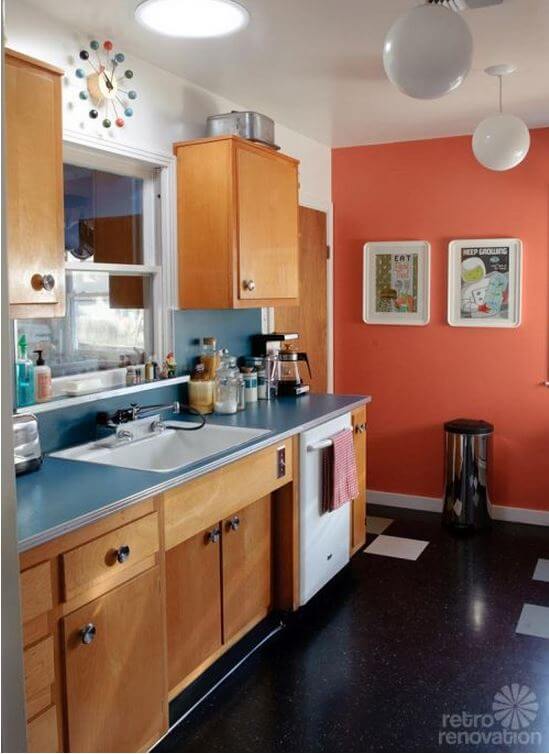
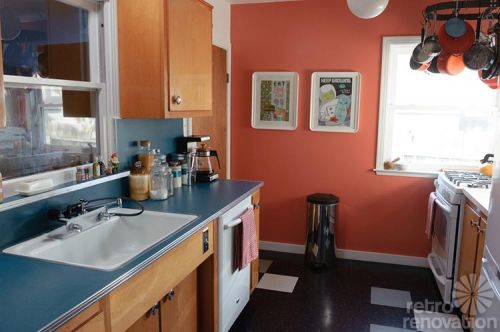
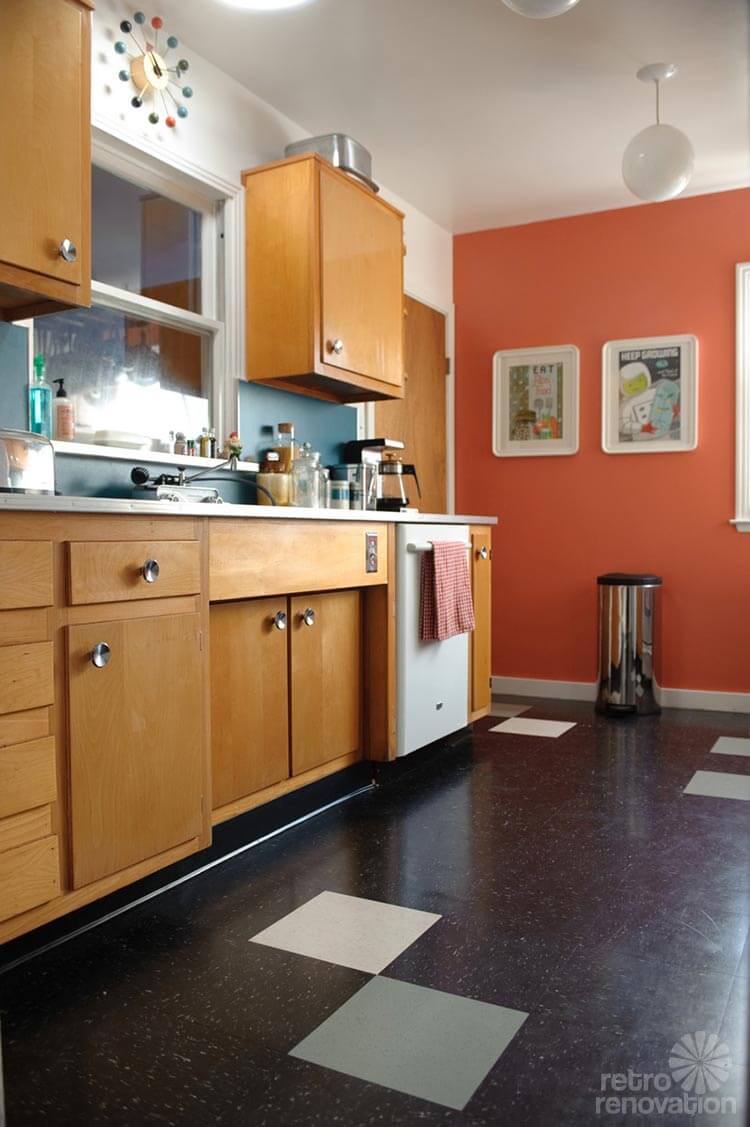
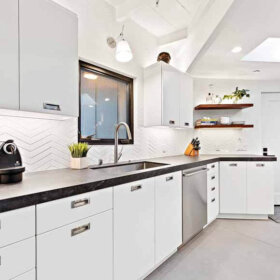
After:
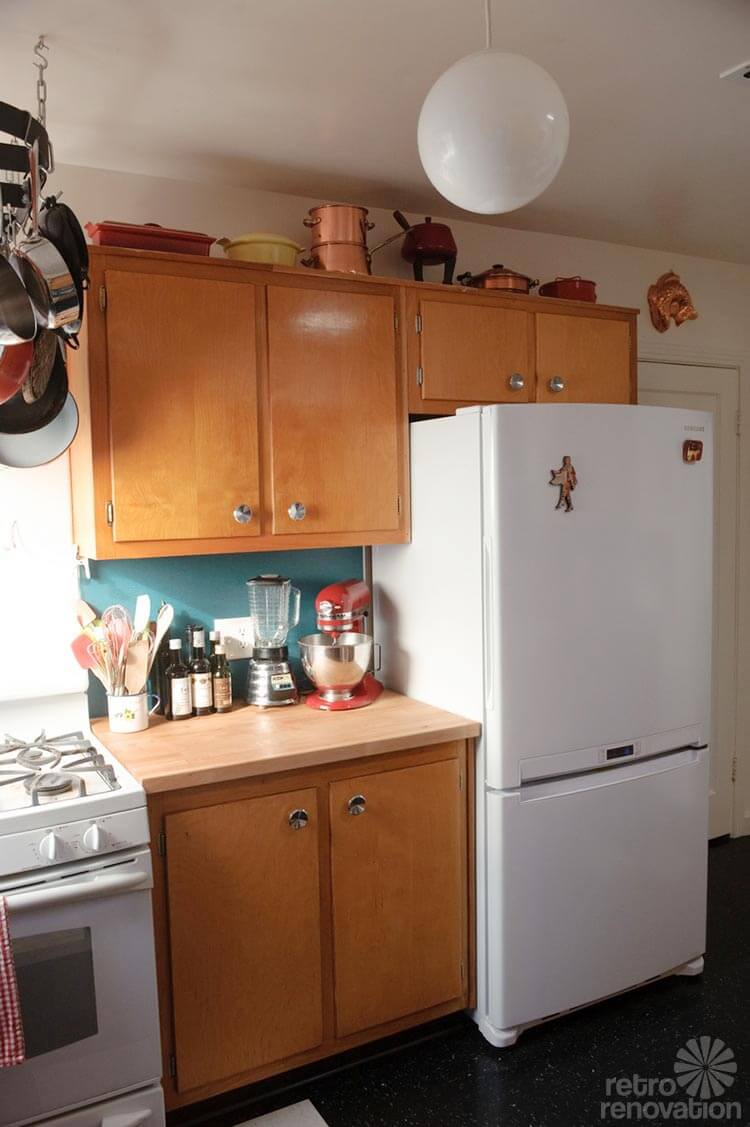
Dream kitchen! New-to-me cupboards, courtesy of the Re-Use Store. They were taken out of Beale Air Force Base housing, so there were A LOT — I got to choose how many I wanted. On the other side of the window/wall there is another bank of cabinets and a counter that I use for prep and pantry. Great for parties too when people are gathered around the bar and hi-fi.
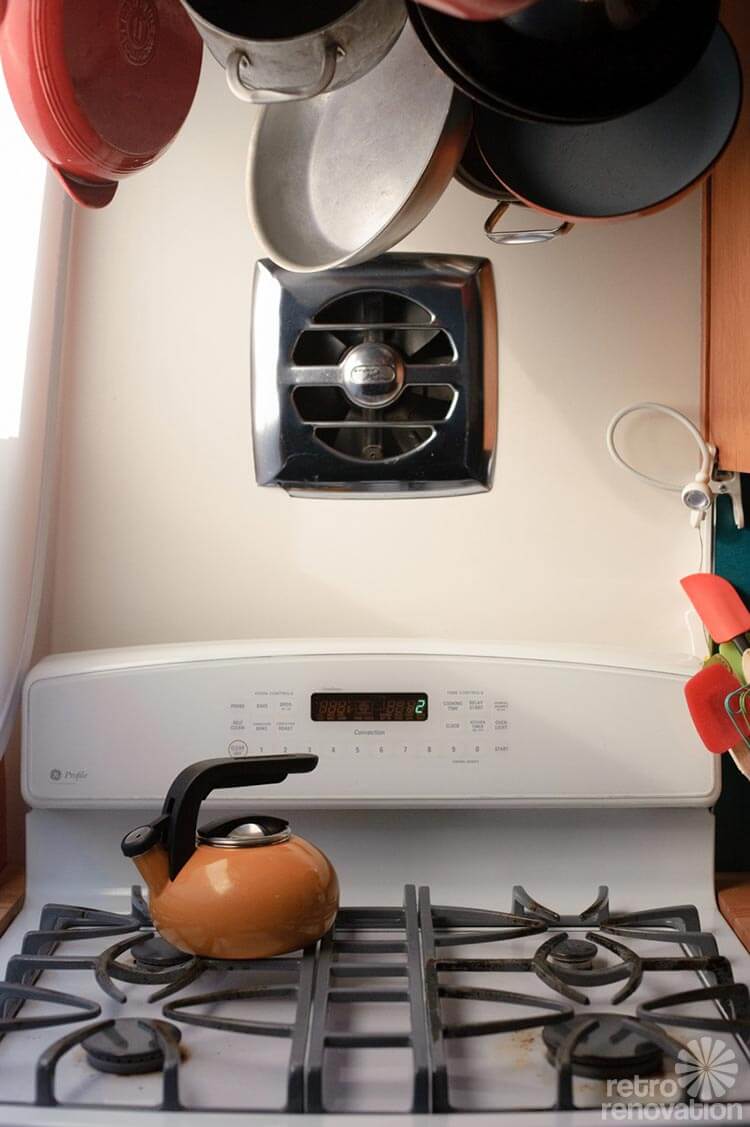
I also found wall-mount exhaust fan at Re-Use Store–what a difference that makes.
The paint color is the exact color of my old laminate counter top. Since I could no longer get the coral boomerang, I transferred the color to the wall (I took a chip to Home Depot and they matched it for me). Cheery!
The fridge is a counter-depth from Samsung. Much less expensive than the Fisher Paykel, and it has an ice maker (the FP did not). We like it a lot.
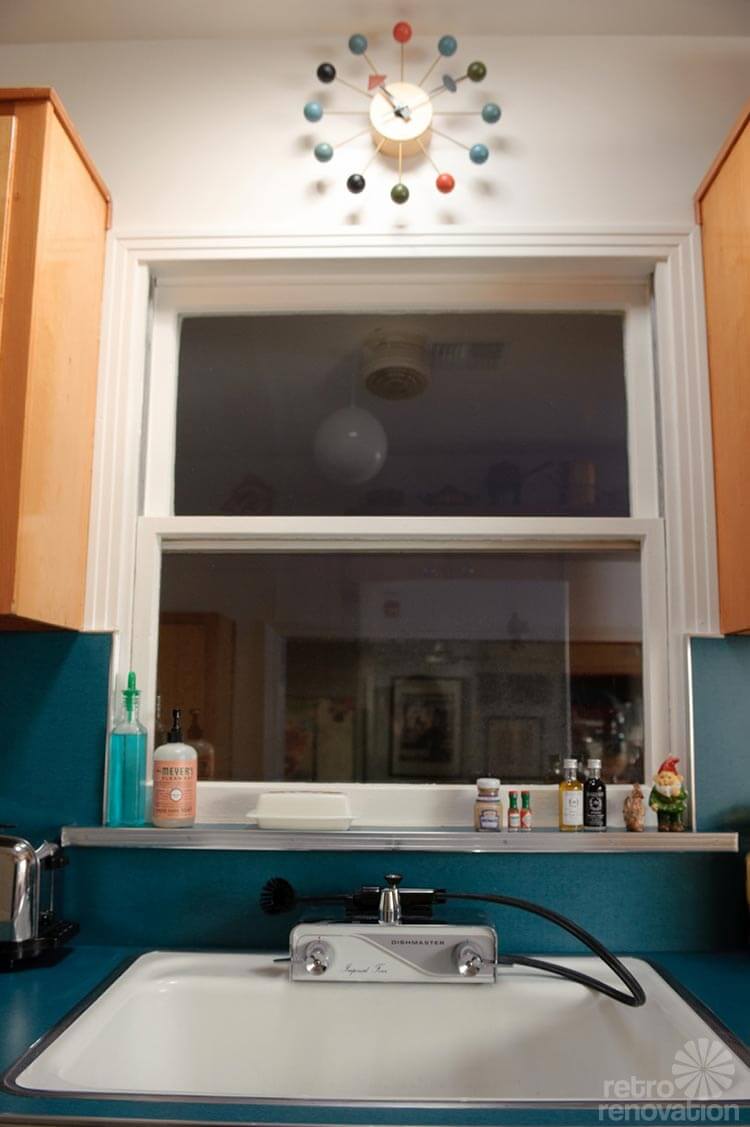
We kept the sink and hudee ring we already had, but added a Dishmaster — and later I was able to get one of the vintage faceplates after they were featured on RR. If you are wondering what that bright circle on the ceiling is, it’s a solar tube. I put in two. They let in a lot of natural light we were missing since the previous owners built the rec room onto the back of the house. There is only one small window on the far end of the kitchen. There are lights inside of them too, in case we need extra light for something.
I have been writing a food blog since 2008, and have written about food for a couple of local publications, so obviously my kitchen is USED.
It is so much more functional now, I did write a blog post about the kitchen: My kitchen, unveiled. Finally.
Anyway, I hope you like it–I just love it!
(Pink bathroom make-over to come! I’ve already found the Venetian pink toilet and sink that match my tiles!)


Sarah’s resource list for her retro kitchen remodel
- Cabinets: Found vintage at the Re-Use Store.
- Round dish cabinet pulls: Original on the vintage Re-Use Store cabinets. Lucky!
- Laminate for counter tops: Wilsonart Blue Agave.
- Aluminum trim: Sarah is not sure, she says the counter tops with edging were fabricated by Bob-Leon Plastics.
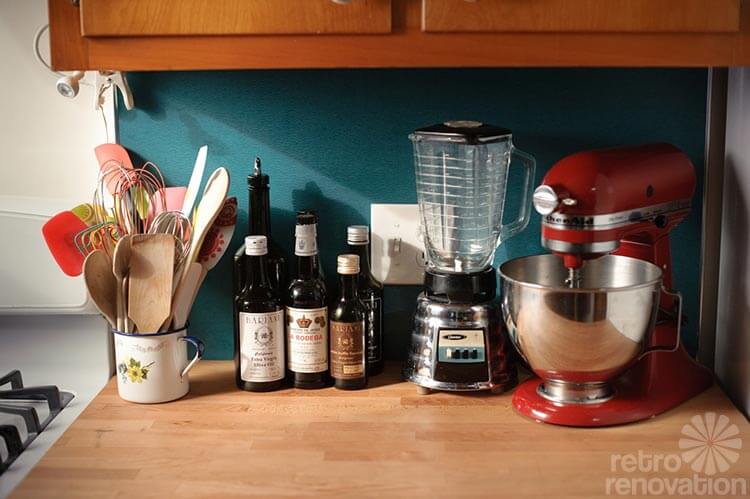
- Butcher block next to stove: Ikea.
- Faucet: Dishmaster.
- Flooring: Armstrong Classic Black VCT tile, white accent is also Armstrong white, right off the shelf at Home Depot. Turquoise accent floor tiles were from the Re-Use Store.
- Refrigerator: Counter-depth Samsung. “Much less expensive than the Fisher Paykel,” Sarah said, “and it has an ice maker (the FP did not). We like it a lot.”
- Orb pendant lights: Process lighting from Home Depot (only $60, Sarah said.)
Sarah, you did a fabulous job sourcing and reusing vintage materials and maintaining the kitchen’s vintage appeal, while at the same time enhancing the function of the space. Bravo. I’m in love with the color palette — coral, teal, white and warm wood are just gorgeous together — and the dark flooring really makes the whole thing pop. Kudos to you on a job well done, and thank you so much for sharing your remodeling story with all of us! We can’t wait to see how your bathroom turns out.
- Sarah’s blog, Undercover Caterer
- Photographer: Chantel Elder of Eleakis & Elder Photography


AH says
Did the electrician vent the fan or did you have to hire some other kind of craftsman? I am soooo ready for an exhaust fan, but I’m not sure how to get one installed.
Sarah says
My contractor, John Foster, did everything except the solar tubes and some exterior plaster work. He just vented it through the garage, which is on the other side and out the wall.
Jonny says
This is the kind of stuff I like to see. Nicely done without having to spend a fortune to do it all. Too bad those old countertops weren’t saveable, but the new ones look great.
I will get a Dishmaster some day!
Sarah says
Love it. Great idea to move the coral from your much loved but worn out countertops to the walls. The new aqua is so fun and fresh. Beautiful job all around.
Nancy says
We had those exact cabinets in our 1950’s rental house we rented a few years ago. One of the things I loved about the house.
We are looking at buying a MCM house when we move next. The idea of finding sets of the vintage maple cabinets like these to re-do the kitchen if needed was my first thought rather than new.
Does anyone have any tips on cleaning or freshening up these kind of cabinets? I noticed some look a bit dull, like the clear coat had aged but worried sanding them down and re-coating would mess up the original look.
Chris says
You should have the clearcoat tested. Some of the older finishes are much easier to freshen up than some of the newer polyurethanes. Depending on the finish, you may not have to strip them to refinish them. Mine have a shellac finish which melts somewhat when a new coat is applied, making it easy to make look like new. My dining room table had a laquer finish which only needed a little laquer thinner to smooth out some pretty hefty scratches. Be sure to be safe as these chemicals can be hazardous.
pam kueber says
I agree — I am no DIY expert on this subject, but I do recall having an original oak (?) counter top in my 1912 house. The finish was all scratched up and icky. One of the people on the painters team knew about fine woodworking and as you suggest, he only put something noxious (beware!) on a cloth, wiped the old original stain and whatever clearcoat was there around and voila — it looked great for the next 6+ years that we lived there. No refinishing, no new clearcoat required. I think that this may be the concept of Howard’s Restore-a-Finish that other readers have mentioned before??? Again — I am not an expert — consult with a bona-fide expert, peoples! I’m just commenting because as Chris says, I do think there are proven ways to revive without complete stripping etc.
vegebrarian says
Beautiful! I love the coral paint and the cabinet pulls are so dreamy!
And the lights are giving me ideas about replacing the obnoxious fixture in my kitchen. To Home Depot I go!
Sarah says
I had to purchase the globe lights online–I am not sure if they have them in-store.
Tania says
Love it! Especially in combination with the floor and wall color.
Mark Hyde says
Great Job. The before pictures look like a kitchen from late 1940’s or 1950’s (which is okay). Your renovation looks so much more MCM and gives it a wonderful new look! I agree with another post, that it looks original instead of a remodel.
Sarah says
Thank you! That is the highest compliment as that was exactly what I was going for.
Sandra says
I LOVE Solatubes! The quality of light is lovely. Note that the photography for this otherwise dark kitchen is done with the regular light fixtures turned off in the “after” photos, and that in the “before” photos, even though it’s daytime, the lighting fixtures have to be turned on.
I also like the way the circles mimic the original globe light fixtures.
I’ll bet, too, that the light coming in the Solatubes is natural sunlight, and not the bulbs. I have one of each in each of my bathrooms, over the sinks, and the light is fabulous. Even though they are not original to my 1956 house, they look totally modern and appropriate.
I am considering putting one in my living room, too, as it is long and the windows face north with a porch overhang. They’re more energy efficient (less heat loss) than adding windows, and cut down on the need for daytime lighting.
cellen says
Love this! The color combination is perfection. Looks to be an early “The Hard Way” candidate for 2014.
Hunter says
I liked the before and the after….. great job. Its great that you fond them at the re-store…. so many now take a sledgehammer to their cabinets instead of simply taking them down and offering them to someone who would use them. I can barely watch HGTV and DIY when they destroy old kitchens and baths…..
Kathy Merchant says
Oh, I totally agree, Hunter! I can’t believe it when they say things like, “This outdated ’90’s kitchen was badly in need of remodeling.” Really? You’ve seen my original 1959 GE yellow kitchen here on RR and while I want to make a few “repairs” or “renewals” like in this story above, I can’t relate to newspaper, magazine, and tv stories that knock well built older homes with real charm or character and act like it’s so fun to take a sledge hammer to them. Some things may be beyond repair, but many could use a little TLC and be great. Thank goodness we have RR to help!