


Popular Posts
Readers arrive here for tips like my go-to mid century modern paint collection and then, it’s down the rabbit hole: Perhaps you will end up learning the history of hudee rings, too!


This site was started in 2008 to research and share products and inspiration to remodel, renovate, and decorate your house in authentic mid century style. I stopped blogging in 2021 — but have kept this up as a resource. Dig in!

I’m Pam Kueber, home enthusiast, journalist, and midcentury material culture buff. I started this site after 5 years of research to remodel my 1951 kitchen. Enjoy the archive of 13 years of stories!
AS FEATURED IN


PEOPLE & THEIR PASSION– PAM’S FAVORITES
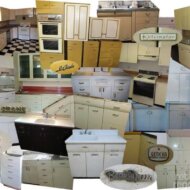
I love to uncover fascinating — but nearly forgotten — stories about material culture in mid century America. 100 brands of vintage steel kitchen cabinets — who knew!


READERS & THEIR KITCHENS
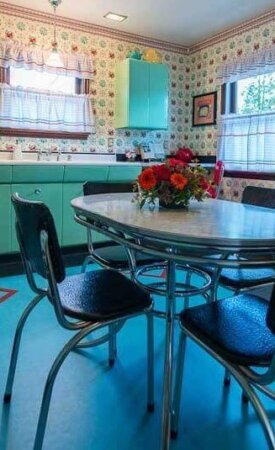
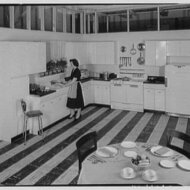
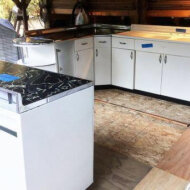
Wren & Willow’s little bit of perfection 1940s house remodel: Let’s start with the kitchen
This is exactly the kind of story I was hoping to ultimately see lots of, when I started this blog nine years ago: Contractors ……
READERS & THEIR BATHROOMS

Nanette & Jim’s Mamie pink bathroom — built from scratch — to look like it’s always been there
Nanette and Jim won our 2013 The Hard Way Award for their blue bathroom remodel. Now, this dynamic duo is at it again — this…
LATEST POSTS
On the lookout for products to help you restore, remodel, and decorate your mid century or vintage home.
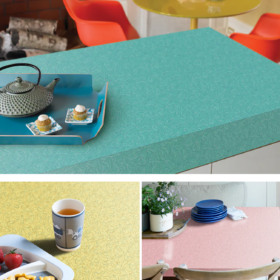
Formica boomerang now for sale in 3 limited edition colors
Update: Alas, seems to now be discontinued — “limited time” is up… On the hunt? Check my other stories on…
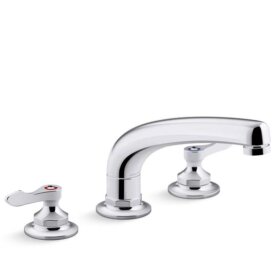
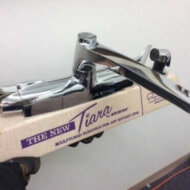
Retro Kohler Triton Bowe kitchen sink faucet – love the look
Kohler Triton Bowe kitchen faucet (various configurations available) Here’s a retro kitchen faucet that may be just the thing for…
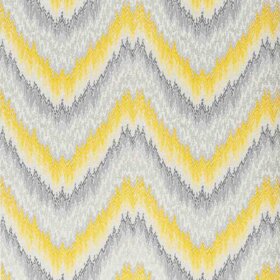
5 authentic 1970s wallpaper designs from Schumacher — still available today
If you want to add 1970s design flair to your home, no need to reinvent history when iconic designs –…

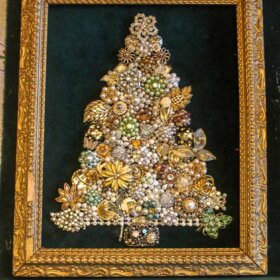
39 Christmas ornament wreaths sparkling with ideas to make your own
The first piece of advice if you’re planning to make a Christmas ornament wreath: Study other wreaths for tips, tricks,…
