

 There hasn’t been much talk of my bathroom remodel since I posted some of my finalized design decisions in February. But I have been hard at work! Believe it or not, the remodel has been in full swing since mid May — when my husband and I suffered through three days of difficult demo.
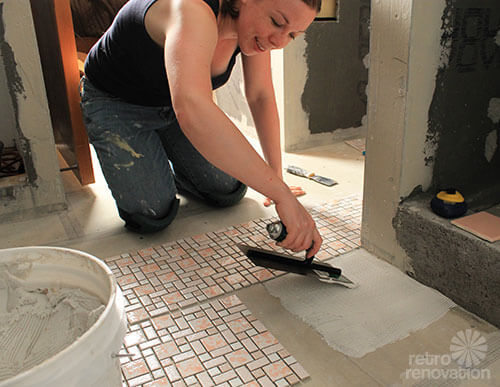
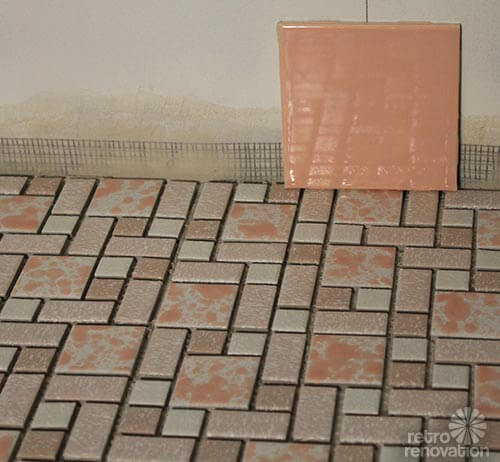
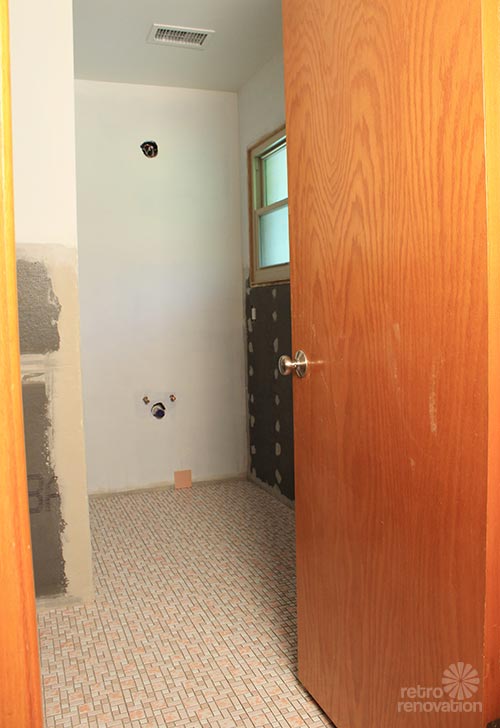
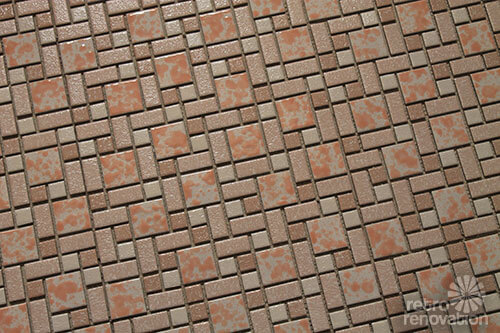 Yes, we did a gut remodel, and I spent June putting in drywall, concrete board, getting the wiring done, etc. All of that hard work on what I like to call the “unpretty parts” has been worth it, because now it is time for the exciting part — installing pink tiles. With tile, trowel and mortar in hand, and knee pads on (a must) the installation of my Merola University pink mosaic ceramic floor tile has begun. As you will recall, we discovered and profiled this tile pattern — which is available in several color ways — because it’s been around since at least the 1970s — made in the same factory — and is easily accessible at Home Depot — and relatively affordable, currently at $9.26/s.f.
This post will not give you how-to or DIY instructions — that is for the experts (I did my own, extensive research). What follows are the highlights of my floor tiling experience thus far — along with a few things you may want to consider if you are going to be installing a mosaic ceramic tile floor of your own.
 Installing mosaic tile is not for the faint of heart. A few tips on getting started:
- Make sure you figure out the best tile arrangement for your room. There are plenty of places to read about how to do this, but basically, you need to find the center of your room and work from there.
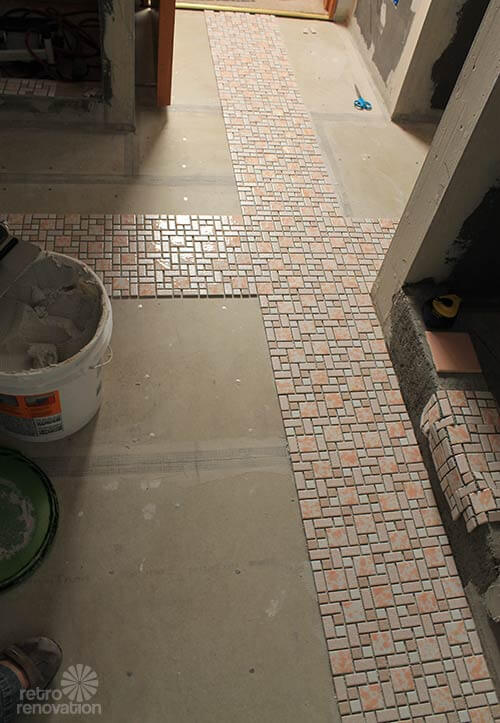
- Take into account the possibility that your walls might not be totally square… and where you want your tile cuts to be. My goal was to have no tile cuts along the outside structure of the shower, since that area is most visible upon entering the bathroom. This took a little figuring, not only because it was difficult to find the center of my room, due to all of the jutting walls, closet and shower — but also because my initial center lines had to be adjusted to make sure tile cuts fell where I intended.
- It was much easier to figure out the tile layout inside the shower itself since it was a smaller rectangle shaped area.
- Once the first row was installed in each direction, putting down the rest of the floor went fairly quickly.
- Make sure your mortar is not applied too thick. You don’t want to fill the space between tiles where the grout will go — because then you will have to scrape it out — a pain, especially for random tile patterns. To minimize this problem, trowel mortar at a 45 degree angle to get the proper thickness, then knock the ridges back down with the other side of the trowel. That way the ridges of mortar don’t fill in the grout lines when you press the tiles into place.
- Make sure to lay your tile out in the direction you will be installing it to assure it goes in the right way. Somehow I ended up with two sheets of tile that are backwards. They are hard to spot, but I know where they are — which is one of the hazards of DIY renovations.
 Then came the fun part. Cuts. Lots. Of. Cuts. Cuts were not fun for the following reasons:
- After a while, the tile nippers kill your hands.
- When you nip tiles, they sometimes explode everywhere (safety glasses are a MUST).
- Figuring out the pattern — which color/shape of tile goes where — took a lot of concentration.
- It took me just as long to make the cuts and install the cut pieces as it did to put down the main bathroom floor (once the layout was established).
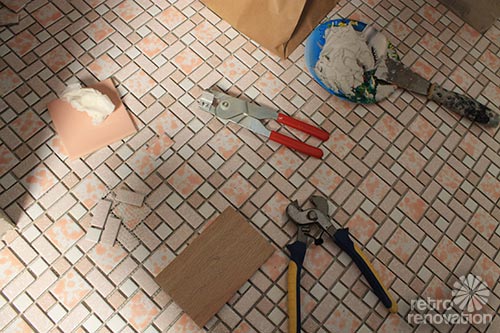
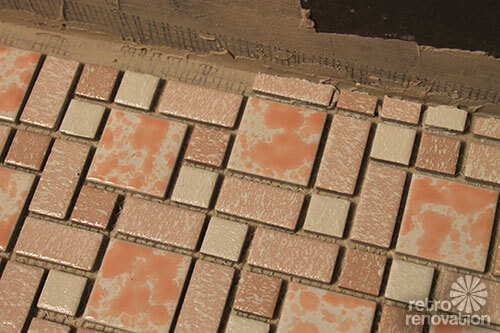 Here’s a close-up of some of my tile cutting and piecing fun. The worst tiles to cut were the 1 inch x 2 inch tiles that needed to be cut lengthwise. I used a scoring tool to score the tile lengthwise — not an easy task with the textured glaze — and then silently prayed while trying to snap it. One out of every five tiles was cut as intended. The other four exploded. Not fun at all.
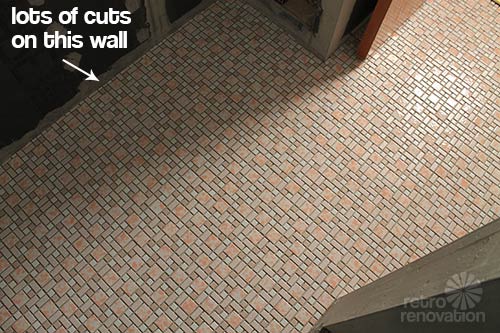 The outside wall of the bathroom had a lot of cuts. It took forever. Before starting this batch of cuts, I asked my adorable husband Jim to remind me exactly how much this tile makes me happy every time he heard me complain about cuts taking forever, tiles exploding and how badly my eyes were crossing from figuring out the pattern. By my estimate — he had to remind me about 342 times throughout the day.
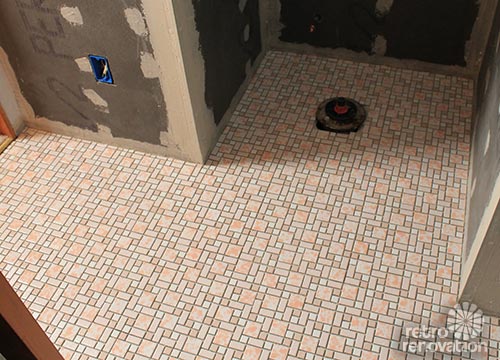
 In the end, the tile floor turned out amazing. I love it so much it isn’t even funny. It makes me giddy and I find myself going to “peek” at it several times a day to make sure that it is really in my bathroom.
 There is still some serious grouting to do. (Right now I’m debating between using SpectraLock Epoxy grout or traditional grout and it is stressing me out.) So this floor is far from finished, but so far, it is pure love.
 Of course there is plenty more to tile — like the 800 pound pallet of pink B&W tiles that are sitting in my garage waiting to be installed — but for now, basking in the joy of a pretty pink floor is making me happy. Stay tuned, there’s much more pink in progress.


Doug janaszek says
Where did you get the pink mosaic floor tile? I’m trying to match a 50’s pink and gray bathroom. Thanks.
Pam Kueber says
Doug, the link to the tile she used is in the story — the brite blue text are hotlinks. https://retrorenovation.com/2012/11/01/bathroom-floor-tile-in-production-since-the-1970s-merola-university-random-mosaic/
These are other options too >> https://retrorenovation.com/2015/02/25/15-mosaic-floor-tile-retro-vintage/