


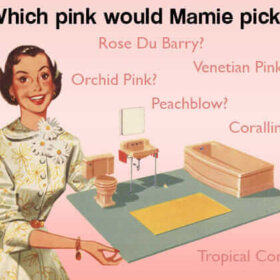
 Nanette and Jim won our 2013 The Hard Way Award for their blue bathroom remodel. Now, this dynamic duo is at it again — this time, with a gut-remodel that transformed their upstairs bathroom from 1980s builder-grade bleck into 1950s Mamie Pink Magnificent. Every bathroom remodel is gonna be epic — at least 84 decisions/details to consider. But aim to do it retro, and you dial up the degree of difficulty exponentially. Buckle up, in our story today, Nanette shows us how It Is Done, in blow-by-blow, do you have what it takes detail.
 Nanette writes:
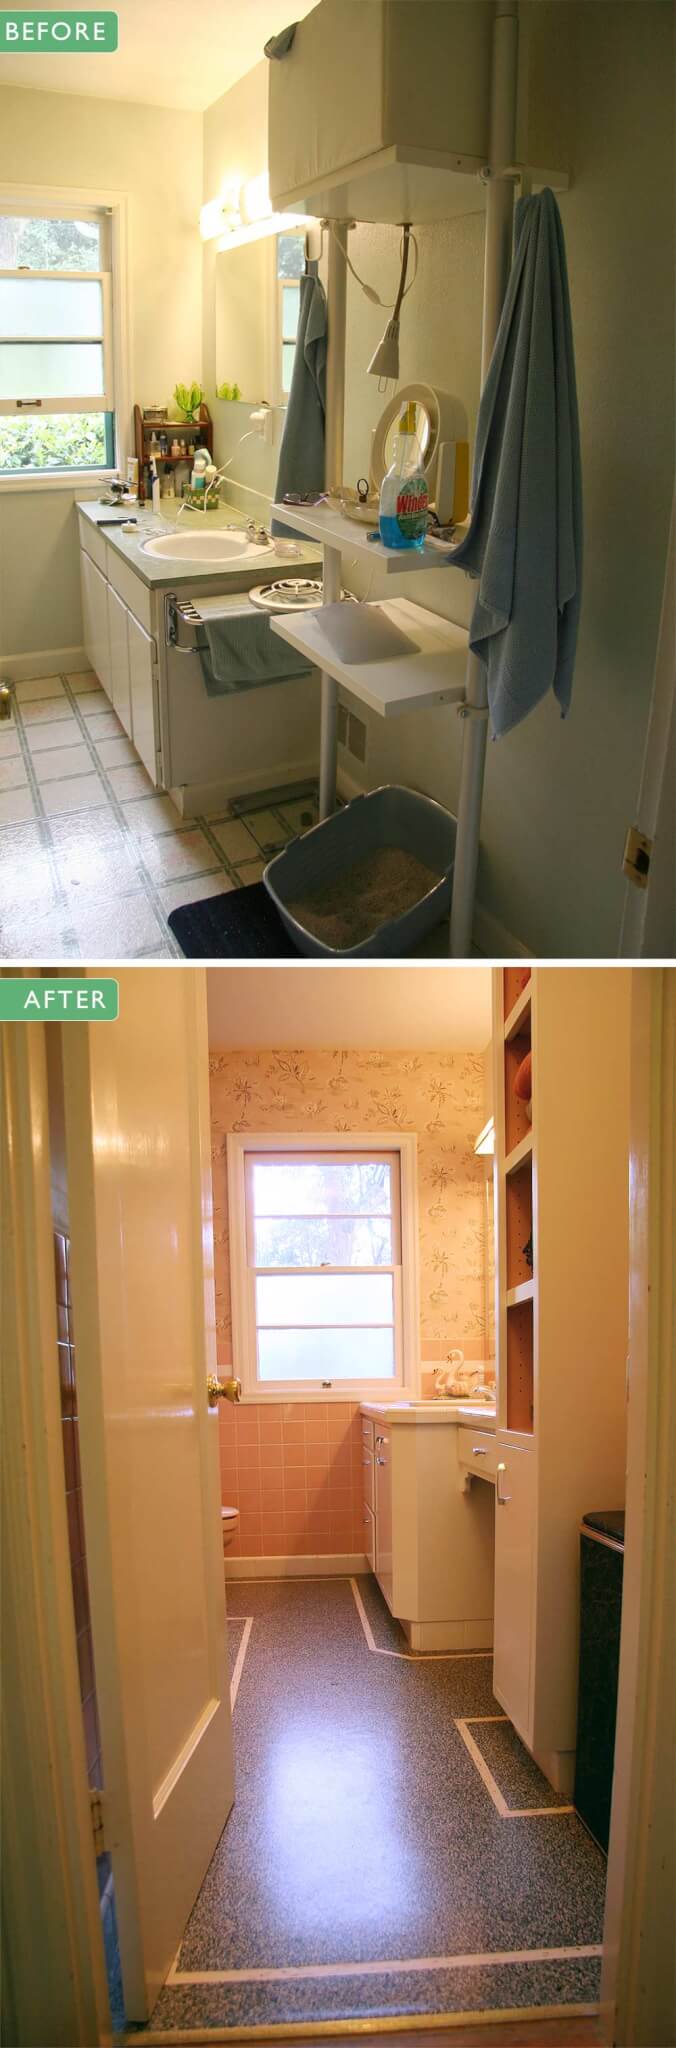
This bathroom was a total mess, we’ve wanted to remodel it since we first moved in many years ago. The entire bathroom was remodeled DIY style right before we bought the house and done so poorly.
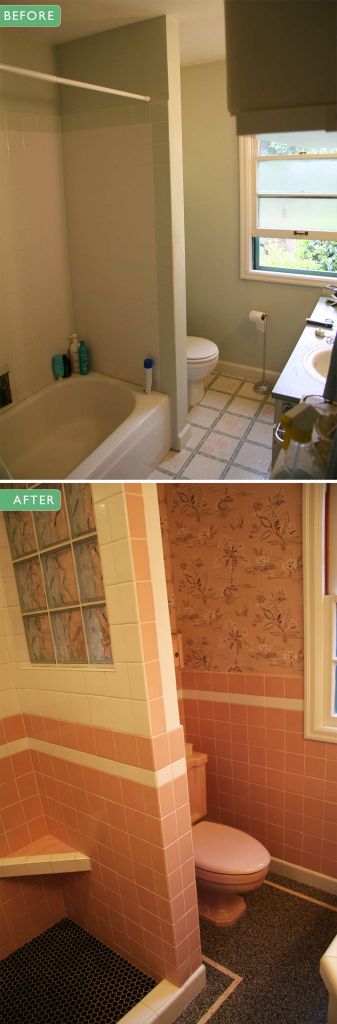
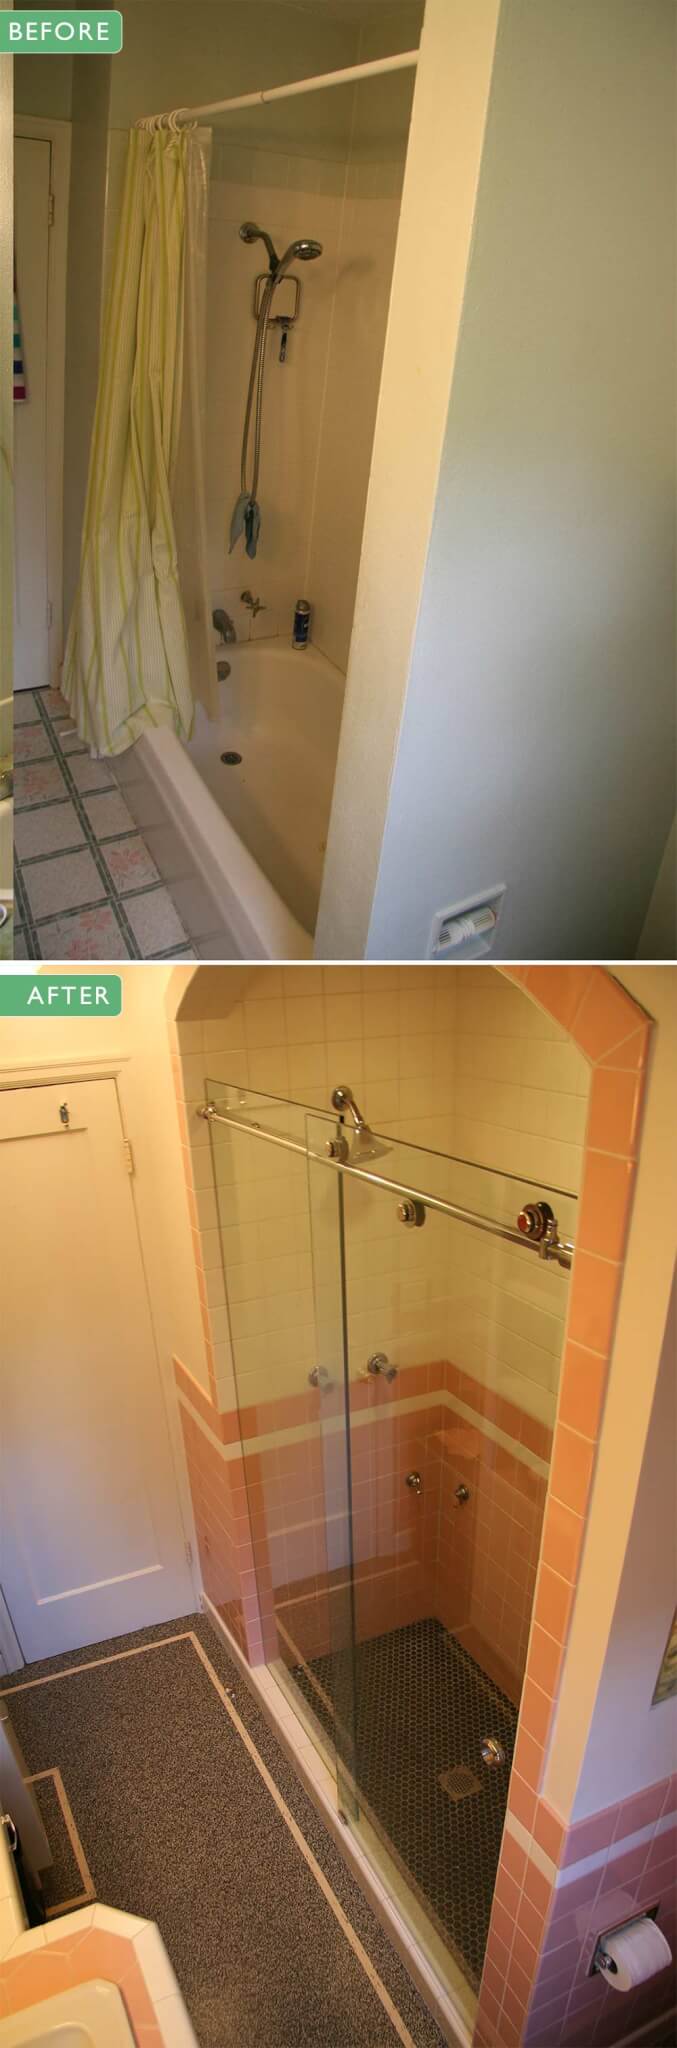
The shower started leaking down to the basement almost immediately due to poor construction. Everything that was put into the remodel was the cheapest Home Depot option possible, it just didn’t hold up. The tub would creak when you showered, we honestly feared it was just going to fall through the floor one day. As paint started to peel we could see pink showing through all over, and it just killed us.
We are fairly certain that this was a pink bathroom the seller decided to update / modernize when they put the house on the market. The previous owner was a 92-year-old man, had lived here since 1950 (house was built in 1945), his daughter was selling the home for him. We cringe that they gutted many elements of our time capsule home and “updated” them poorly, but at least they left many others we adore.
We put in the basement bathroom with the intention of gutting the upstairs bath as soon as we could afford to do so. We jumped in feeling like, we had this one after doing the last — it would be easy, right? Well, as these projects go, it was a whole new set of hurdles, and I can truly say it wasn’t easy by any means and uncovered many new issues to deal with along the way.
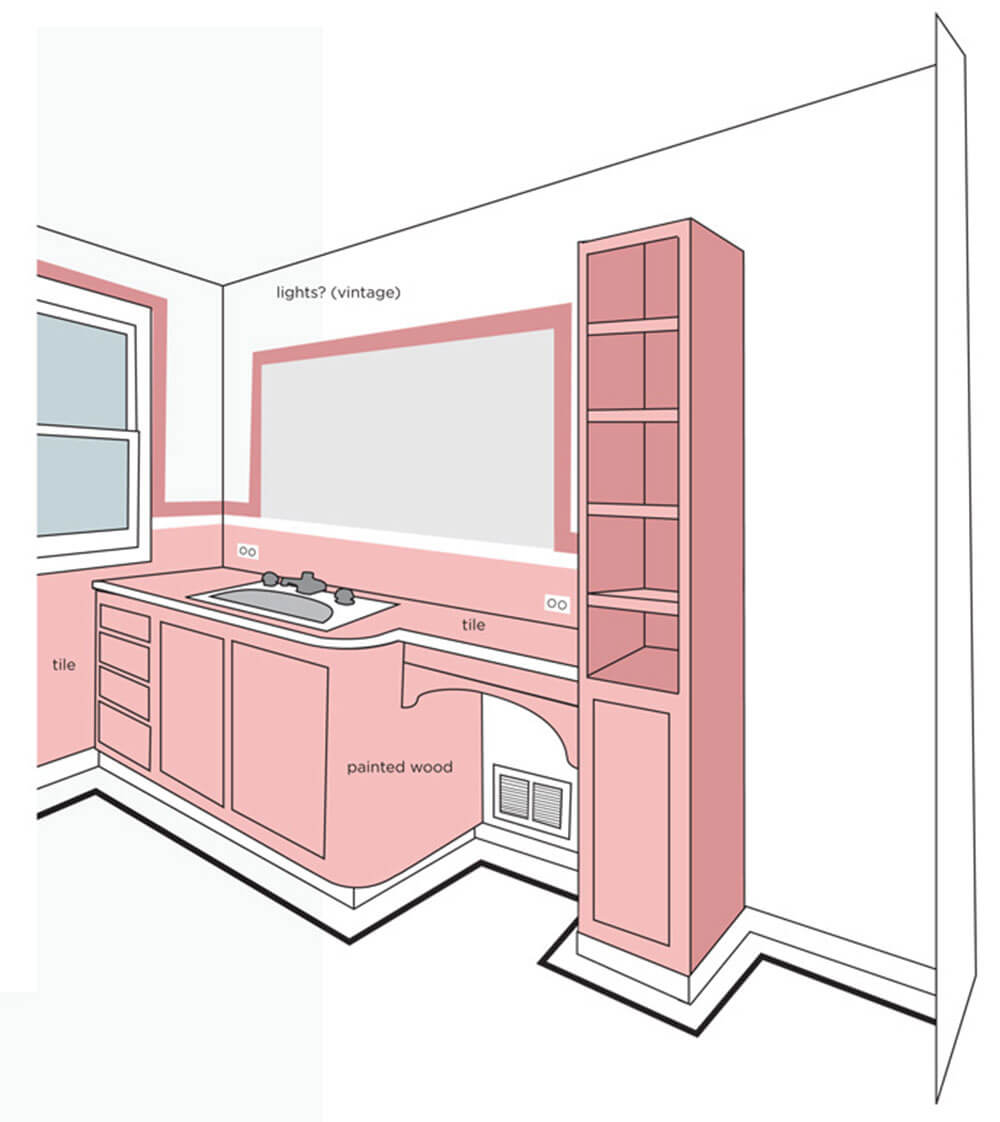
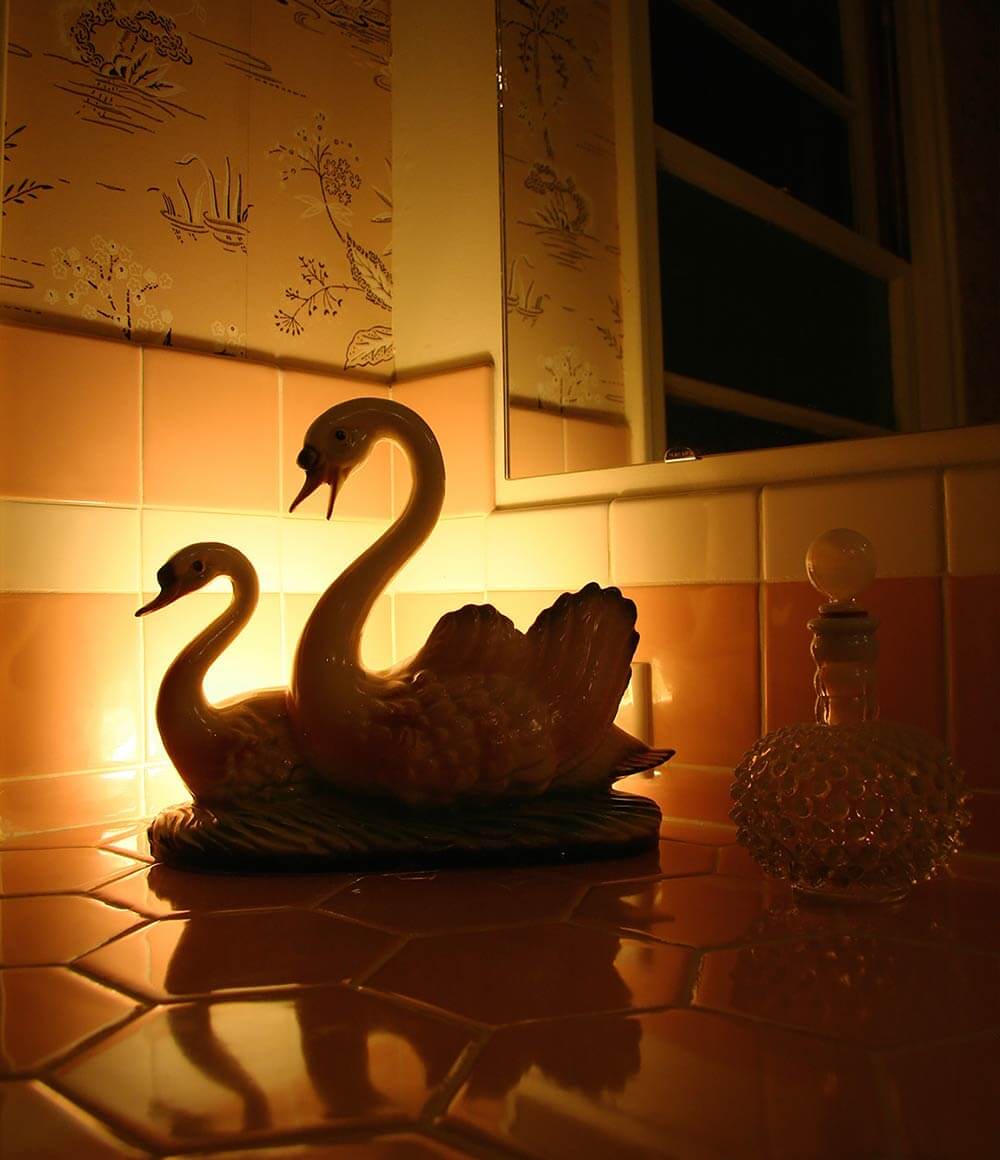
Tile:
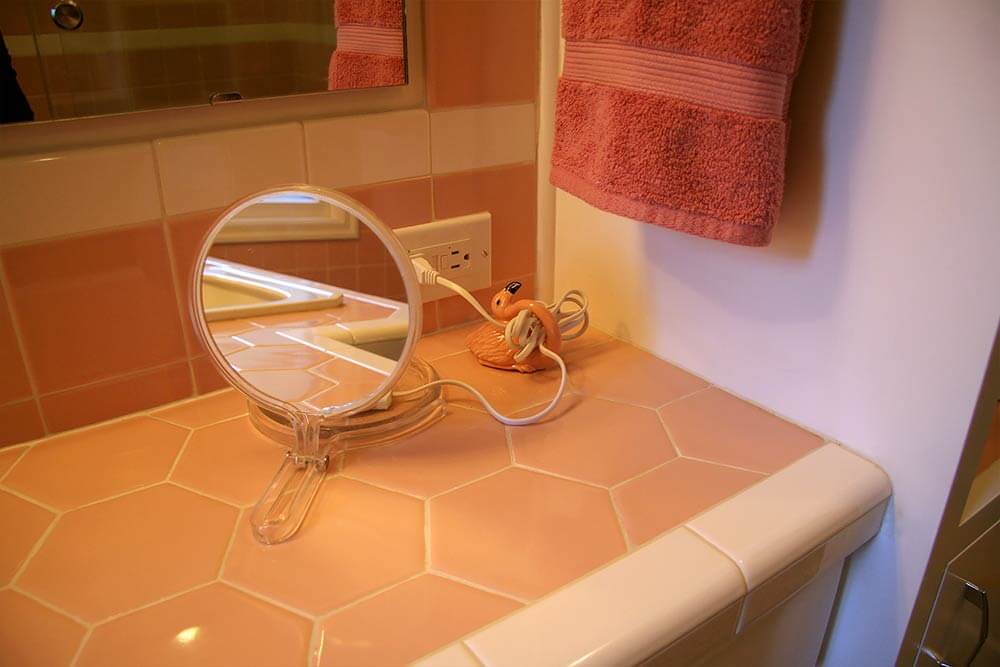
Pink is B&W (70W pink, same as Kate’s retro pink master bathroom).
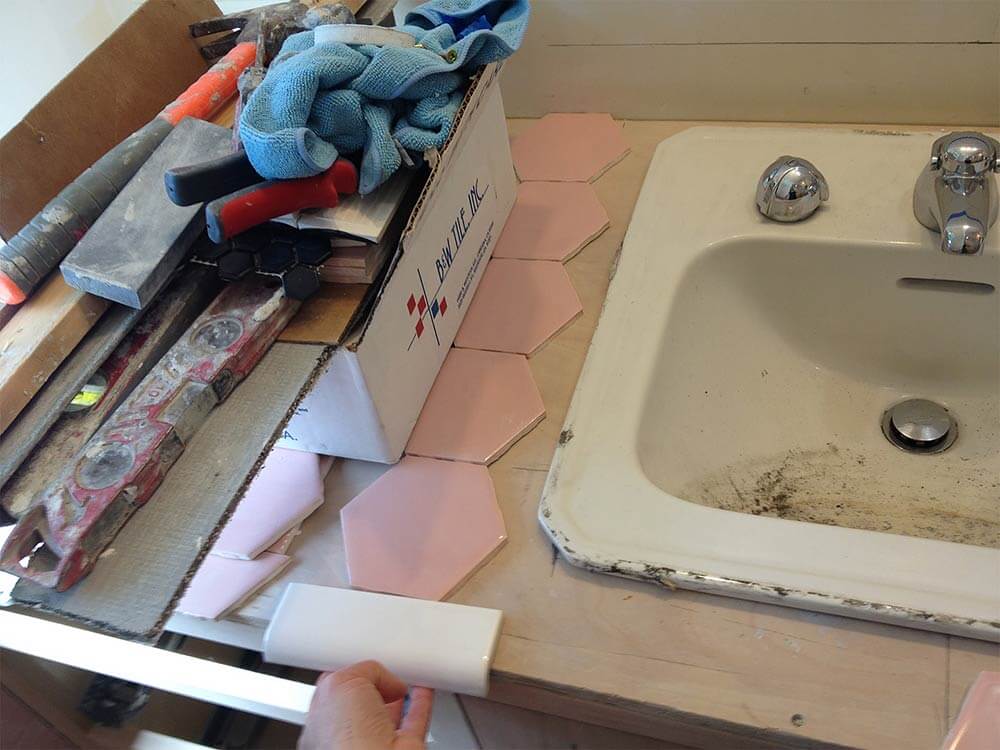
We used the large hex (4.25 x 5 9/32) on the counter top and 4×4 everywhere else. We really liked working with B&W. Their prices are very reasonable, and their customer service was exceptional. Since we live on the West Coast, the shipping was also reasonable, not to mention they fired our entire batch to ensure the color would all match.

White Tile is Daltile from Home Depot. We actually preferred the B&W white, it was a slightly softer white, but for the price we couldn’t say no to going with Daltile at Home Depot. We were able to pick it up as we needed it and return what we didn’t use. That said, we had to order some specialty pieces like the cove base direct through Daltile (through our contractor). The black shower hex is also from Daltile.

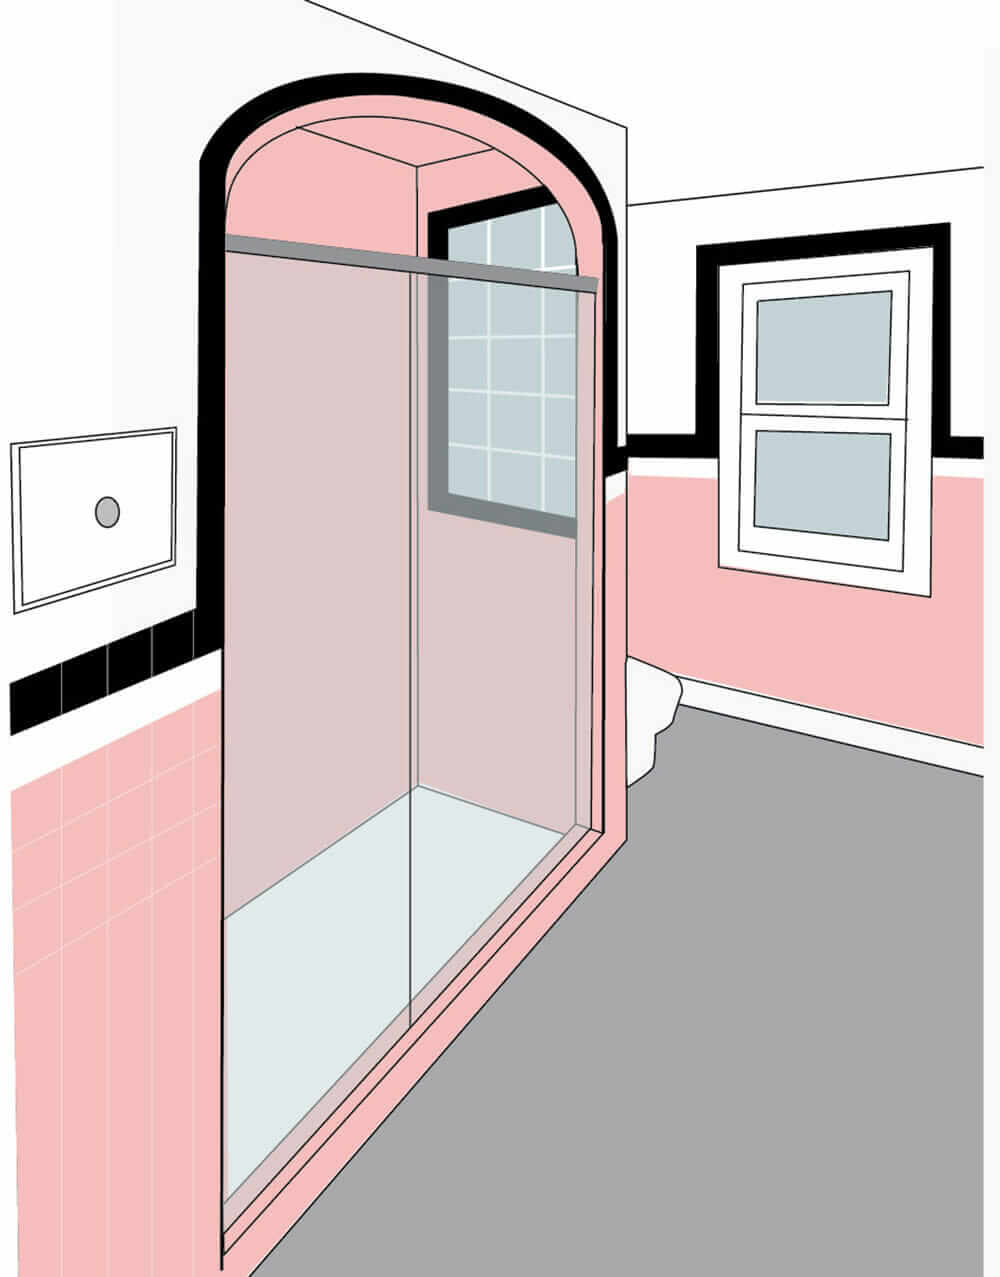
Our gorgeous tile work was installed by the same tile guy that did the blue bathroom in our basement. He really blew us away with this job, just look at that arch, it took some time to figure out how to create an even arch with materials that do not curve and cannot be cut to curve. He even tiled the inside of the arch.

The detailing of the tile work is so old world, he’s truly an artist that cares for his craft.*
*Side note, after we started this project, well down the road and had installed the curb for the shower, a contractor pointed out that we needed 30″ clearance to meet code wall to wall inside the shower; we were several inches away. Evidently this is code for showers but does not apply to tubs. There was a tub in that space before, and it was less than 30″ and evidently that meets code so… The suggestions were to knock down the wall and move the shower back into the bedroom a few inches so we had clearance. The second was to create a curb-less shower so the entire bathroom drains into the shower (no need for a door). We didn’t like either of these options. After much deliberation with our tile guy, we managed to pop out the curb a touch (which is why our bathroom door doesn’t open as far as it used to), and move the shower door installation over off center of the curb to give us just enough clearance.
Plumbing:
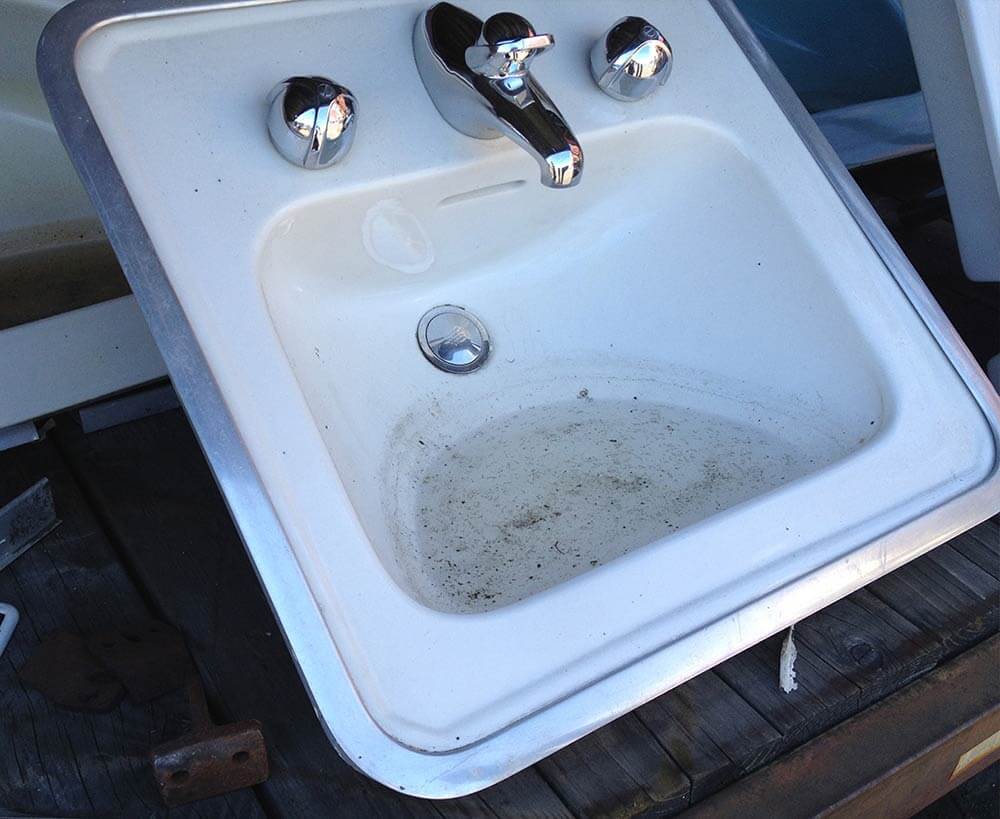
When it came to the plumbing for the pink bathroom, we had several strokes of luck! Managed to score the vintage Crane sink from Rejuvenation as they were closing out their salvage yard.
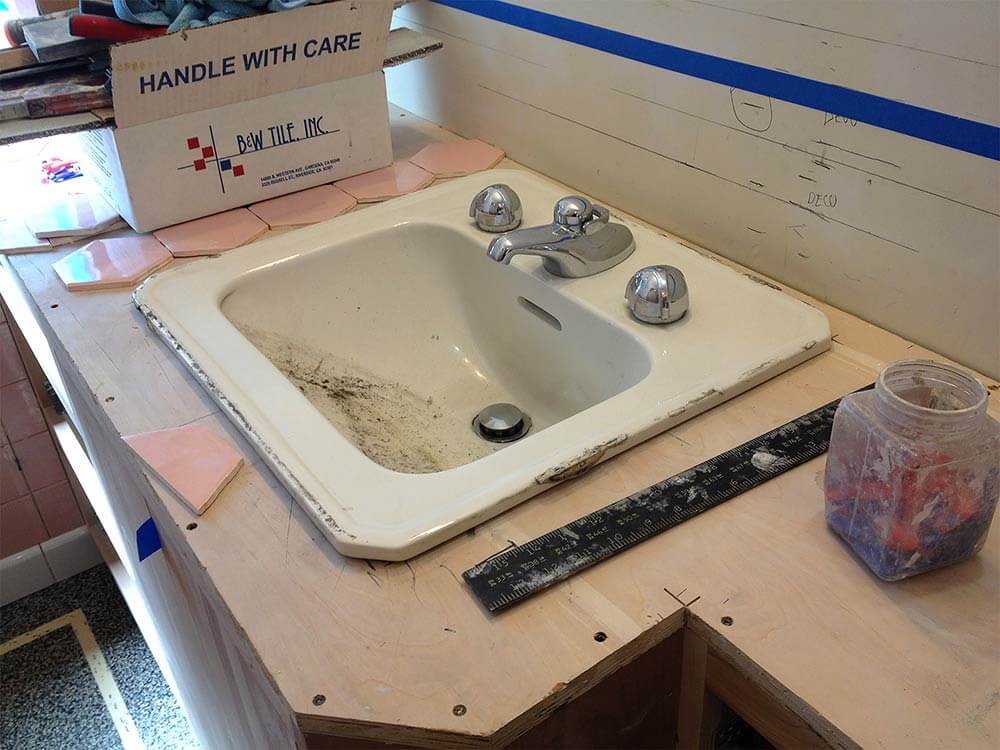
It was missing the down pipe connection, which as it turns out is hard to find and may have cost us more than the sink to replace, but we found a local plumber that had some Crane parts!
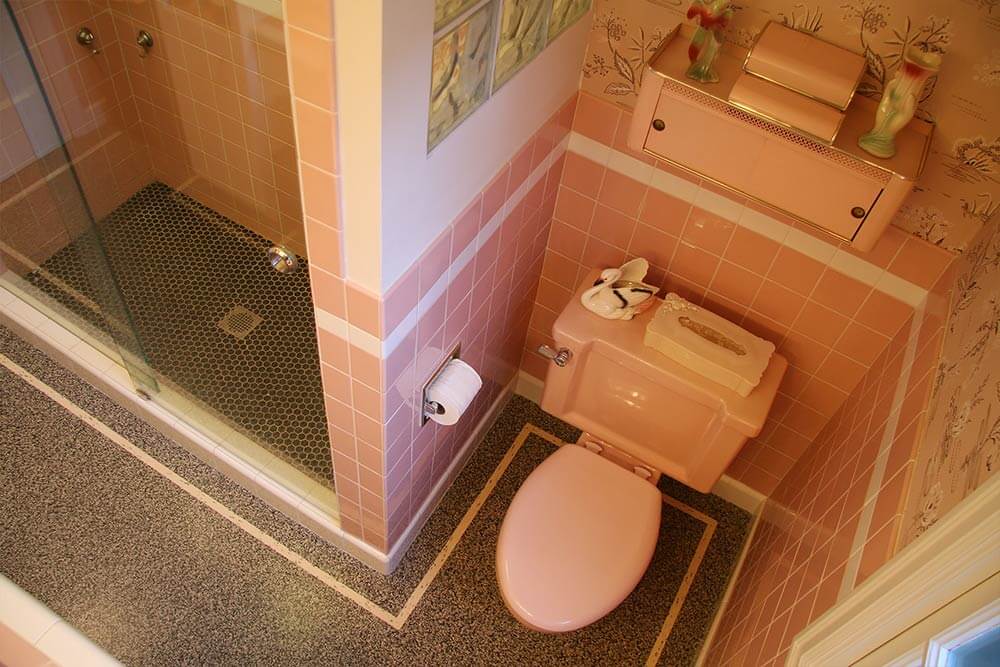
We also found a circa 1938 American Standard pink toilet in good condition, but missing its matching seat/lid and needing new seals. I discovered it’s a tad hard to find a matching toilet seat/lid combo so I decided to visit a local plumbing shop that we had gone to before — George Morlan Plumbing Supply.
I walked in and asked if they had any pink toilet seats, they laughed… then one guy said wait a minute and ran upstairs. He was gone for quite some time but returned with 2 boxes with NOS pink toilet seats in them. One of the pinks didn’t match well, but the other was a near perfect match. It had been sitting in storage for so long it was not priced and not in their computer system. They cut me a good deal and jokingly told me I couldn’t return it. It just goes to show it never hurts to ask! [Editor’s note: This is Pam’s favorite part of the story, she says. Classique!]
The plumber who installed the toilet informed us that our toilet has a special feature of the day (circa 1938). It has a cleaning feature, when you flush it, it swirls and fills all the way up to the top of the rim before flushing down. The first time you flush it, it’s pretty frightening, it appears to be backed up and about ready to overflow but nope, it’s supposed to do that. It’s such a champ though, works like a dream! [Editor’s note: No, maybe this is Pam’s favorite part of the story! She wanna.]

The faucets/handles for the shower are also NOS, I found them on some random search online. I purchased them (Sayco 2080D-2 tub and shower set) through Locke Plumbing. [Editors’s note: WOWZA, why have we not spotted this before!]
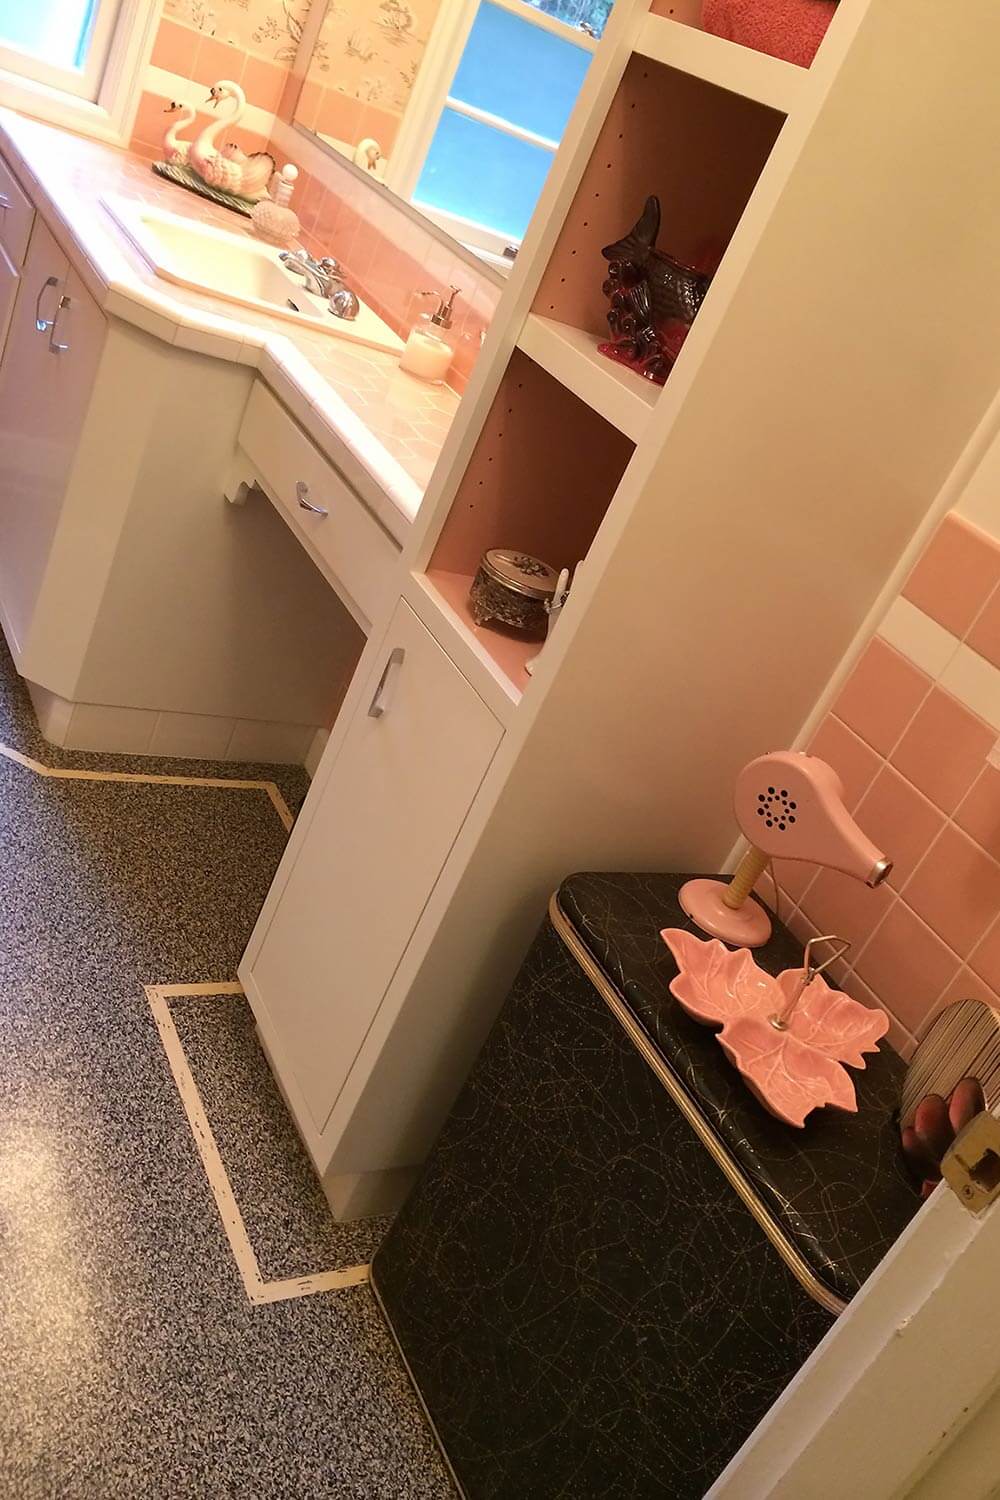
Flooring:

We have a friend who installs flooring and specializes in Marmoleum who got us excited about using Marmo. We really wanted to install Marmoleum downstairs, but we just couldn’t find a color combo that would work down there. It was also challenging to find a color combo that we thought would work upstairs, but after much deliberation I found a good combo only to find the black (Litho) had been discontinued. We managed to score some for our small space on closeout.
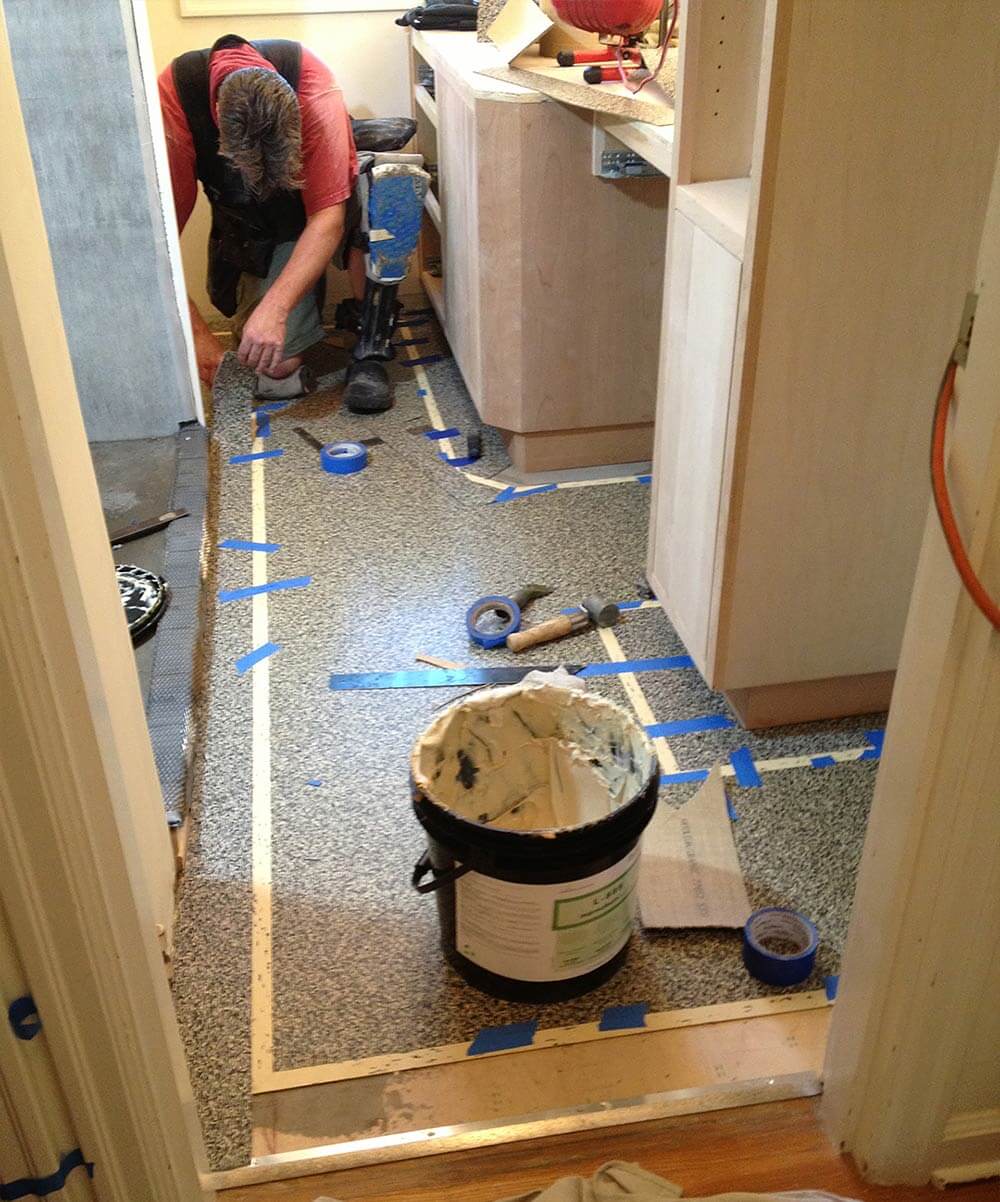
The installation process was super interesting, and I’m glad I had the opportunity to watch. They have to start with a very smooth flat surface, and from there it’s basically like making a pattern for a dress and gluing it together piece by piece. We even used a piece of the leftover flooring to do a counter top on our basement bar.
Marmoleum colors:
5303 Litho — limited to what’s on hand, discontinued, may be gone in a week or two,
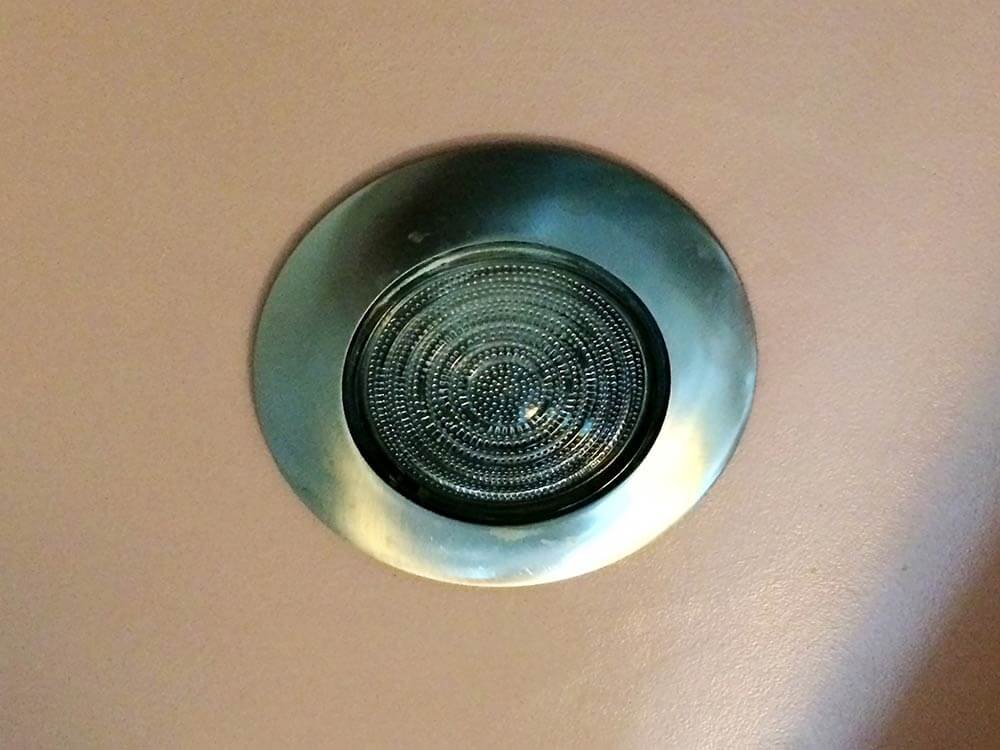
Lighting:

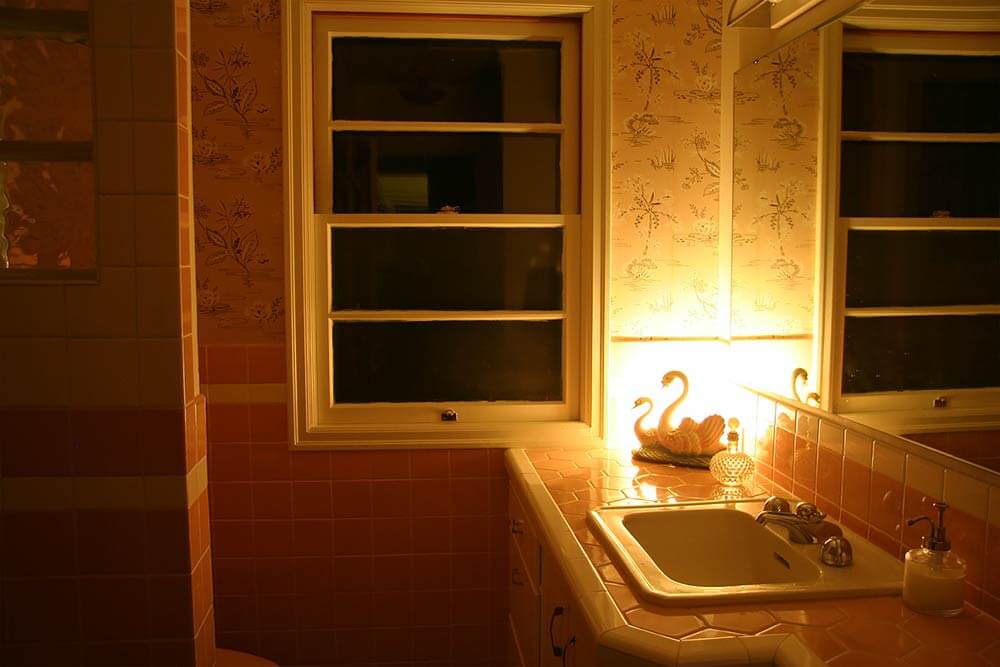
The vintage wall mounted light over the sink and the fixture on the ceiling came from Hippo Hardware, a local salvage shop. They rewired both, they even repainted the white parts of the one over the sink so it looked all shiny and new when I picked it up.
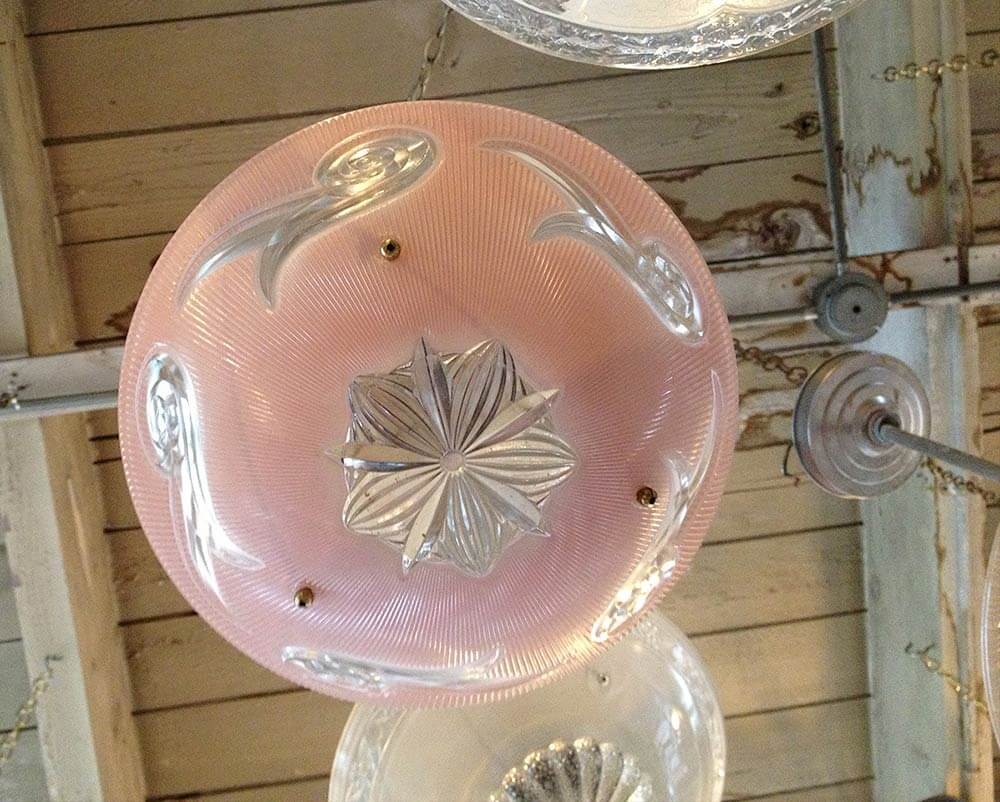
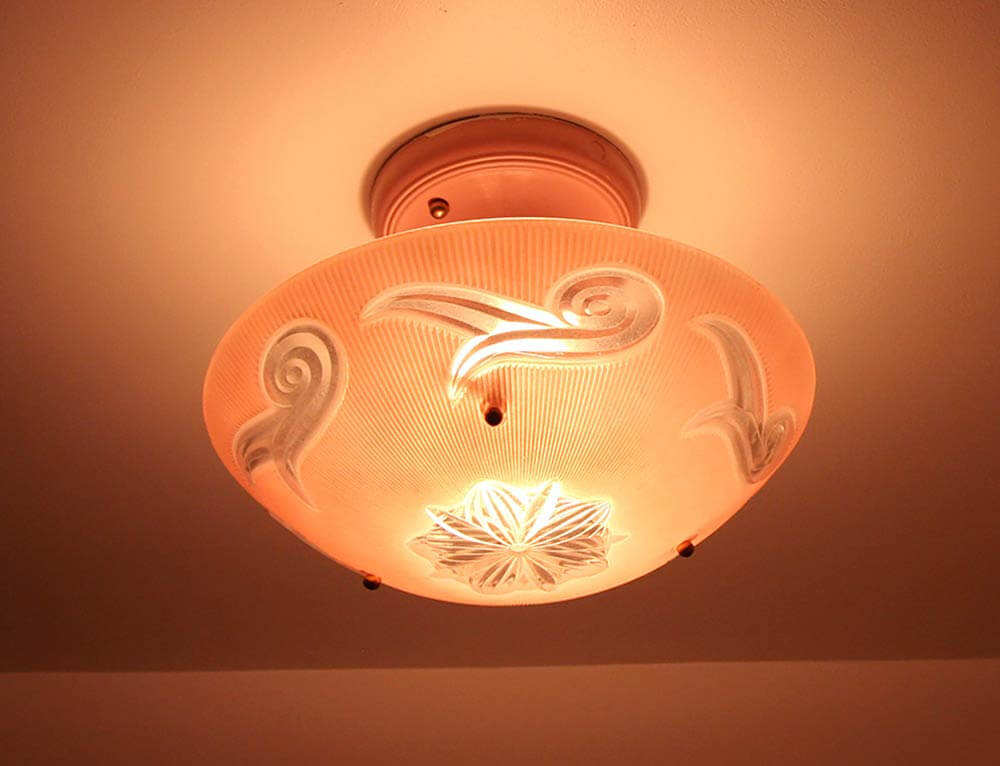
They have a large stock of lights to choose from along with other salvage items. Don’t be scared by the old wiring, it is their policy to rewire light fixtures before you to take them home, they figure why rewire them until they are sold, makes sense to me!
Cabinets, wallpaper, mirror and decor:

- Wallpaper is from Hannah’s Treasures! It’s the same print that we used in the blue bathroom but in pink. We fell in love with the idea of using the same paper in both bathrooms to pull the projects together, but along the way we almost went with something else. Many months of indecision and samples later, we finally decided to go with our original idea, and it looks great! *
*Side note: If installing wallpaper into a small space like this, I’d recommend doing so before installing a toilet or other things that will not allow you to have floor space below the paper installation. OMG it was so challenging to install this little bit of wallpaper while straddling the toilet and counter tops. It took us several days, could have been a 1/2 day project tops.
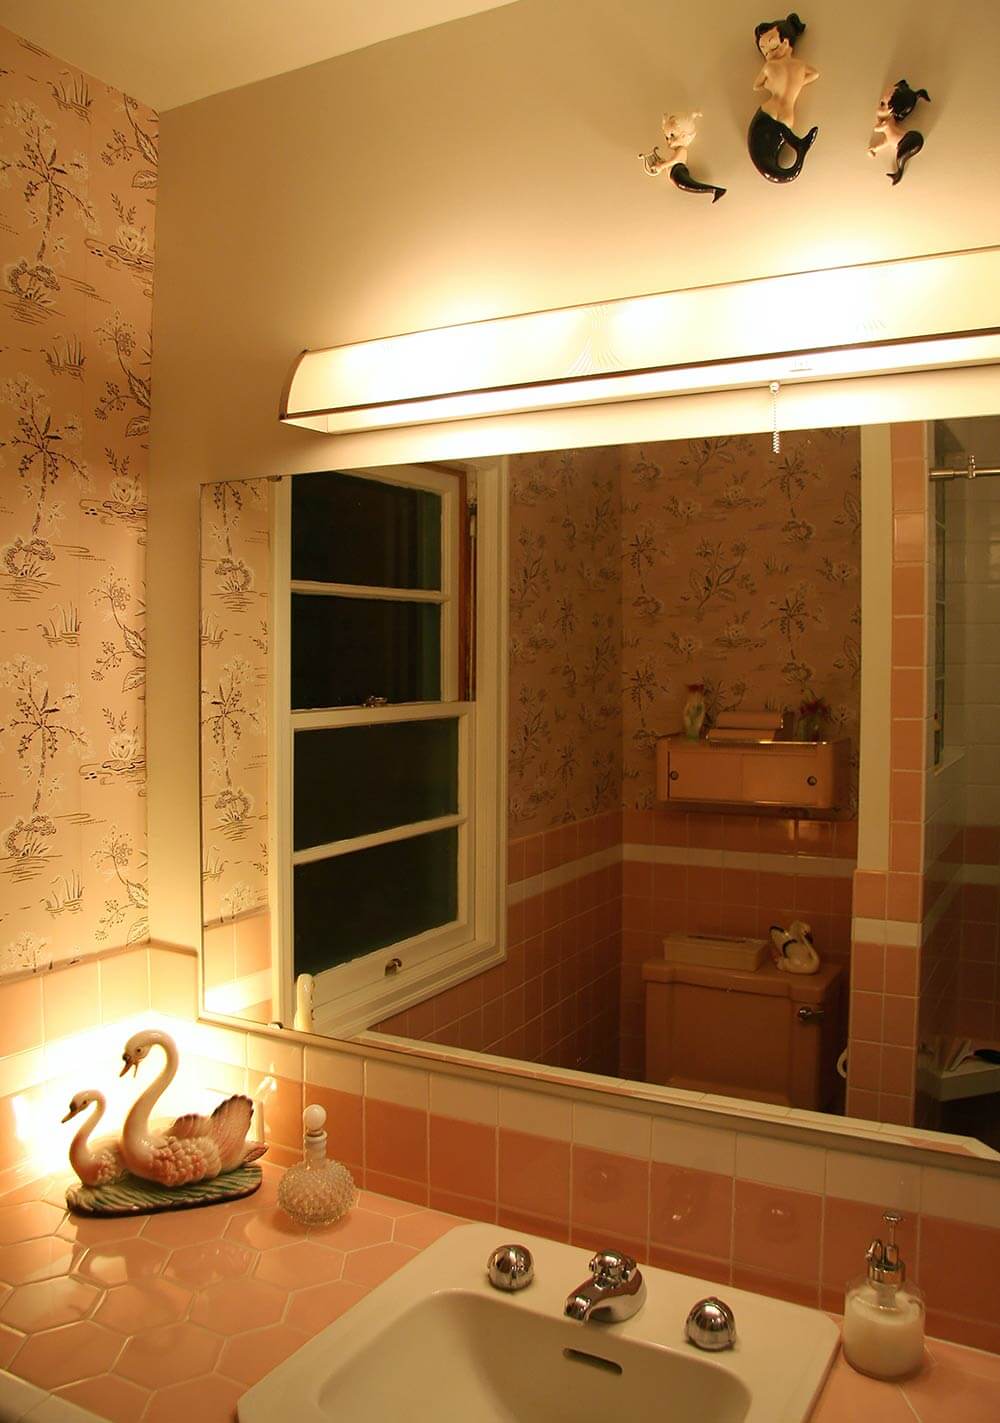
- Very large mirror: We ordered the beveled glass mirror from a local glass shop and picked it up ourselves, it was super affordable. Figuring out how to hang it was a little challenging since we didn’t have enough lip on our tile to allow it to rest on the tile as planned. Other traditional ways of hanging these mirrors tend to create moisture problems from the mirror resting in a metal tray on the bottom that fills up with water. We also discovered that our wall had a large hump so we couldn’t mount/glue it on the wall. We found some brackets that did the trick at an amazing local hardware store — W.C. Winks Hardware — that specializes in odd fasteners and the like.

- Custom built cabinetry with pulls from Rejuvenation, (we do plan to swap those out with some that match our kitchen, I just located them at Winks).

- The shower door, well that was very expensive, and it’s where we really splurged. We wanted to keep the space open yet didn’t want to go with a curtain. We were pretty excited to discover the Skyline Series shower door system from Cardinal Shower Enclosures.
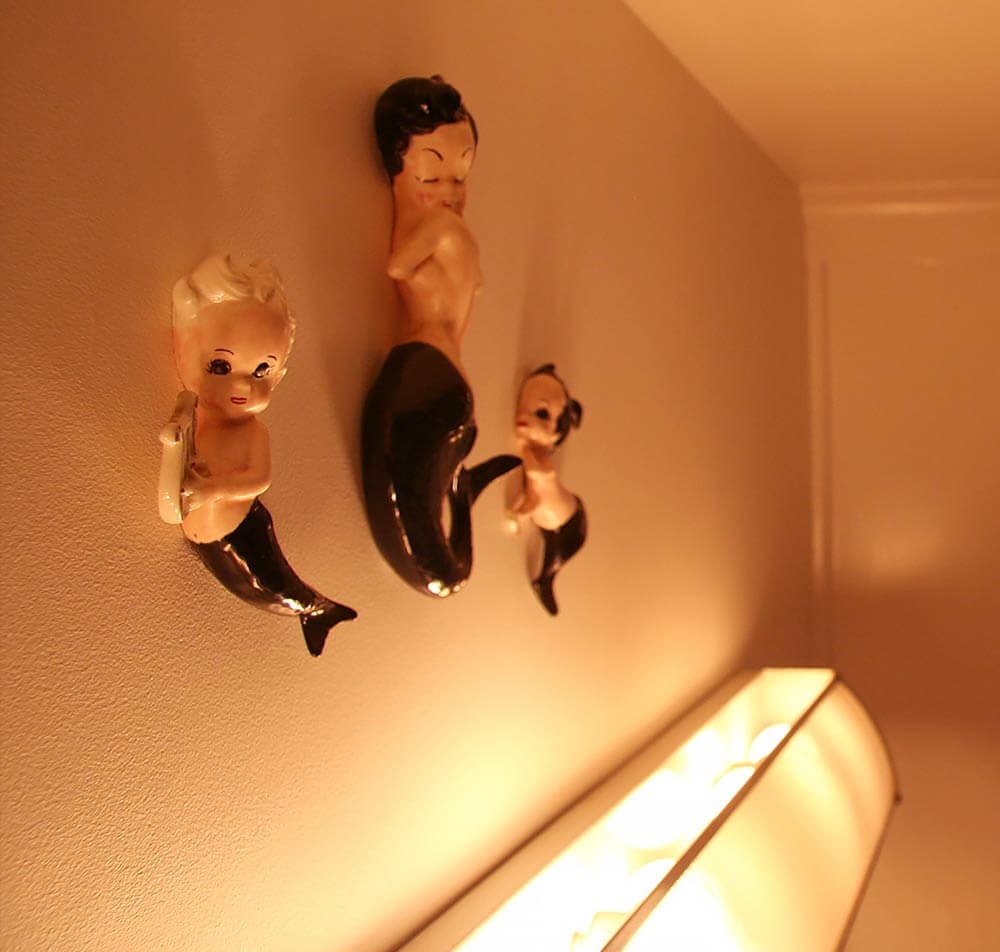
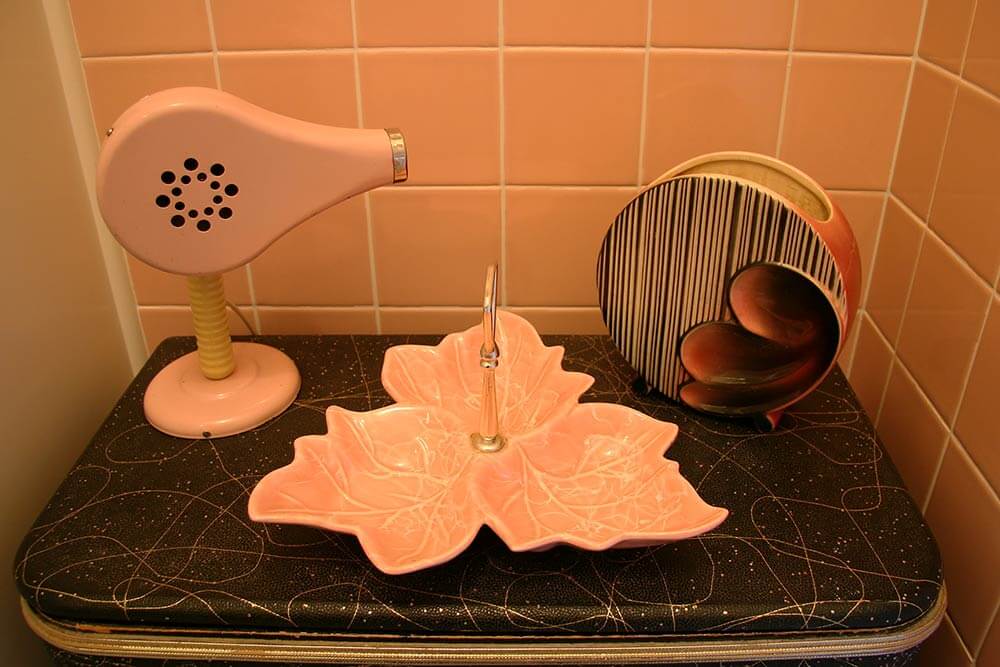
The little things here and there, it’s the joy of the hunt for the bargain for me, I have yet to find all the perfect little pieces to go into the space but that’s the fun of it, when I see something I’ll know and it will be glorious!
While this was technically a remodel, it was a lot of work. While the bathroom plumbing locations remained where they were before the remodel for the most part, the p-trap, drains and heat ducts were all hanging down in the head space exposed in our basement bar below. When we remodeled the bathroom, we also opted to finish the original knotty pine basement / bar which had sat half finished since the 1940s. I won’t say anything more about this other than it’s another exciting story of wonderful salvage! More to come!!

~Nanette & Jim
Bathroom design/photos by me, Nanette Wallace, all rights reserved.
Woah. We told you. Epic. Nanette and Jim, you are rockin’ it, big time. Thanks you so much for sharing your story, your resource list, wonderful photos and of course, the love of pink bathrooms.
- If you haven’t already, don’t forget to check out Nanette and Jim’s vintage blue bathroom remodel, too!


Debbie says
I also live in Portland and I want to be Nanette and Jim’s New Best Friend. You two are such an inspiration, both of your bathrooms are fabulous! Thank you so much for sharing all of your hard work and good advice.
Vasey says
Beautiful tilework! What a cheery bathroom to get ready for the day in. I live in an area that has little 1950s houses, and none of the bathroom renos are along these lines (except mine lol), beautiful!!
However I have to point out the concern about the old toilets using a TON of water. Are there environmental friendlier options in these colours/styles?
pam kueber says
Hi Vasey, here is our story about modern day toilets in pastel color, low flow: https://retrorenovation.com/category/bathroom-categories/toilets/
Also, I will weigh in on the toilets & water issue: Fundamentally, I’d like to see a cradle-to-cradle Life Cycle Assessment of using vintage vs. new, before agreeing that the environmental benefits of new outweigh those of vintage.
For a replacement toilet if the old one is broken, I will guess, yes, go low flow, because you will be spending money/energy/causing water usage to make the change in any case.
But for a toilet that’s already there, I don’t know. How much water is required given the energy/money to remove and send to landfill a functional existing toilet, plus then to manufacture, buy and install a new toilet. Also, if the new toilet breaks sooner (most new stuff made today does not seem to last a lifetime, like it used to), to repair it and/or replace it, repeating the cycle. The water usage required within the whole lifecycle needs to be analyzed. Perhaps someone has already…
Vasey, I don’t mean for it to sound like I’m picking on you. Numerous readers have brought up this issue before. I finally just paused to think about it a bit hence the rantish.
I tend to think that toilets got picked on because they were an easy target. How about taxing all carbon emissions? Not so easy. But, Americans use a massive amount of electricity and other fuels — all of which require massive amounts of water to create. See this, “keeping a single 60-watt lightbulb lit for 12 hours uses as much as 60 liters of water” using fossil-fuel-powered power plants translating to “an average of 95 L of water to produce 1 kilowatt-hour of electricity” here http://spectrum.ieee.org/energy/environment/how-much-water-does-it-take-to-make-electricity
See this https://retrorenovation.com/2012/11/14/an-end-to-greenwashing-the-ftc-issues-new-guides-cautioning-marketers-against-making-broad-unsubstantiated-claims/
and this https://retrorenovation.com/category/period-accents/energy-efficiency-decorating-ideas/
Mary Elizabeth says
I’d like to weigh in regarding energy and water usage. Some people also question recycling cans and bottles. For one thing, in most communities before recycling them you are supposed to wash them thoroughly. How much warm water does it take to rinse out a can of beans or tomato sauce? As Pam says, a complete cost-benefit analysis, including energy use over the life of the toilet, should be made for suggested policies before people jump on the eco-friendly bandwagon. And I haven’t seen that research on the life cycle of toilets. If someone on this site has, let us know.
That being said, we know that in some communities you cannot turn on the water in your new home until you have a low-flush toilet installed. Remember Amber’s adventures in 2013? And some building codes require a new low-flush for every bath renovation, unlike the community where Nanette and Jim live. Also, it depends on what you are paying for water tax where you live. In some communities, not only do you pay for your water, but also your sewer tax is based on your annual water use. (I guess they figure what goes into your plumbing must come out!) And those high velocity flushes do sometimes use 5 to 10 times the water of the low-flush ones. If you pay a lot for your water, you may have the frightening image of dollar bills being flushed down along with your toilet paper with every flush.
Add to that the people who will not move into a house and use a toilet used by the previous family. I think this is somewhat obsessive, but many people think this way. My DH and I know how to disassemble and thoroughly clean and sanitize a toilet and have done that many times. And we don’t mind putting on our rubber gloves and doing it right in the driveway, much to the hilarity of our former neighbors. 🙂
If for any of these reasons you are forced or prefer to get a new toilet instead of keeping the vintage one, you should check out the stories on this site about where to get colored toilets. Also, I have noticed that Kohler and other companies have retro-styled models very similar to the one in Nanette and Jim’s bath, only in white. I’ve noticed that they tend to be pricey, however.
pam kueber says
I don’t mean to sound like I am against low-flow toilets. They are great. I have three of them.
I just mean to say: They are likely just the tip of the (melting) icebergs.
I nosed around and this seems to be a good resource: http://www.gracelinks.org/210/how-the-united-states-uses-water
pam kueber says
This is pretty cool, too, I like how it takes you through all the various issues related to personal consumption: http://www.gracelinks.org/1408/water-footprint-calculator
Susan D says
Pinkalicious! My favorite detail is the tail-fin shower knobs. Thanks for sharing your story AND all the sources.
Linda says
Love,love,love your bathroom!!!!!!
Amy says
Such attention to detail! Yes, it does look as if this bathroom was original to the house! Well done – again!
Terry says
Absolutely Fabulous!!!! and Flamingos, too……what a great undertaking and result…..worthy of Mamie’s approval!!!!
Cara says
If you mentioned this, I apologize for missing it, but I’m curious about what appears to be a second set of faucets lower and to the right of the shower faucets, on either side of the corner. What exactly
are they and do they match the other cool faucets?
Thanks!
Cara
pam kueber says
I enlarged Photo #14 on screen. Those appear to be suction cup hooks…
nanette says
Exactly, suction cup hooks, for hanging things on like wash cloths.
Modspell says
THIS is what it’s all about. Drool-worthy and the product of passion, what could be better?
Scott says
I don’t even know where to start to say how amazing this is. The attention to detail is just beyond words, you far surpassed your goal of a pink bathroom that looked like it had always been there, except this is even better as you were able to get that authentic feel yet combine with having it just the way you wanted it at the same time. Thanks so much for sharing all the resources, details, and wonderful photos.
And I second that WOWZA on the Sayco Tub and Shower Set! I’m not even sure when I’ll be able to redo my shower surround but I loved these so much I ordered a set NOW. Space-Age Perfection!
cheryl says
I`m blow away. I will save this in file in case I`m lucky enough to redo a bathroom. It`s perfect !!!! Did you mention what the cost of this “remold” would be ?