


Patti writes:
Hi, Pam! Oh my, where do I begin? A few years ago you featured my pink bedroom with the silver starbursts wall and Heywood-Wakefield furniture. This was where my midcentury obsession began. Since I had moved out of my ‘big house’, a 1903 four-square and into my 1948 garage apartment out back, it was the perfect time for out with the old and in with the new modern. But that’s a whole other story. This one is all about Betty.
“Howdy hudee, bring it on,” we told Patti! “Let’s hear more. Let’s see more.” And she delivered.
Photo viewing tip for this and all stories on RR:
On a desktop computer, you can click on any photo,
and it should enlarge on screen, up to double in size.
And so our email back and forth commenced:
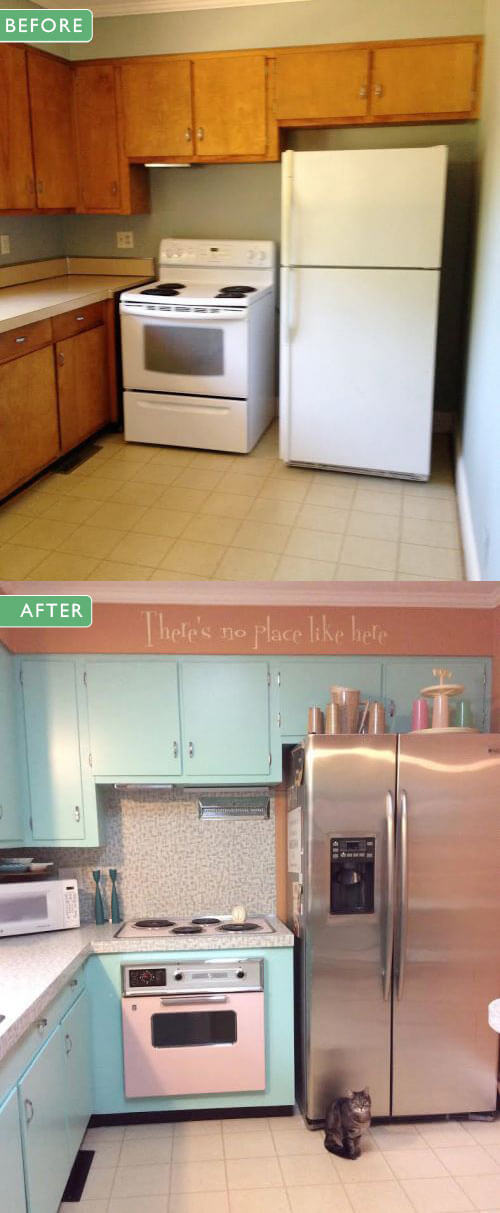
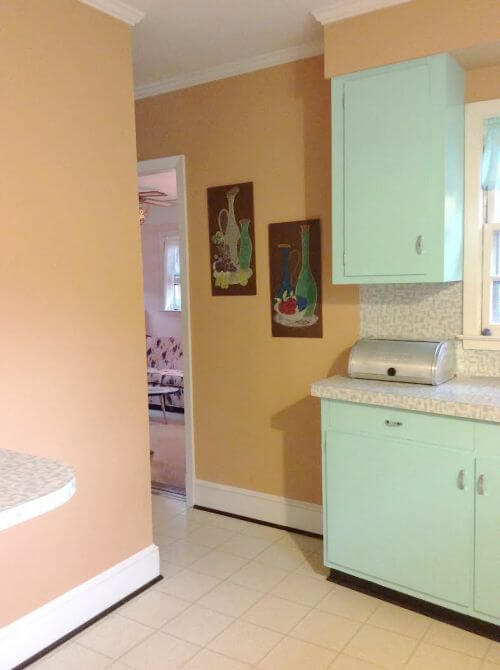
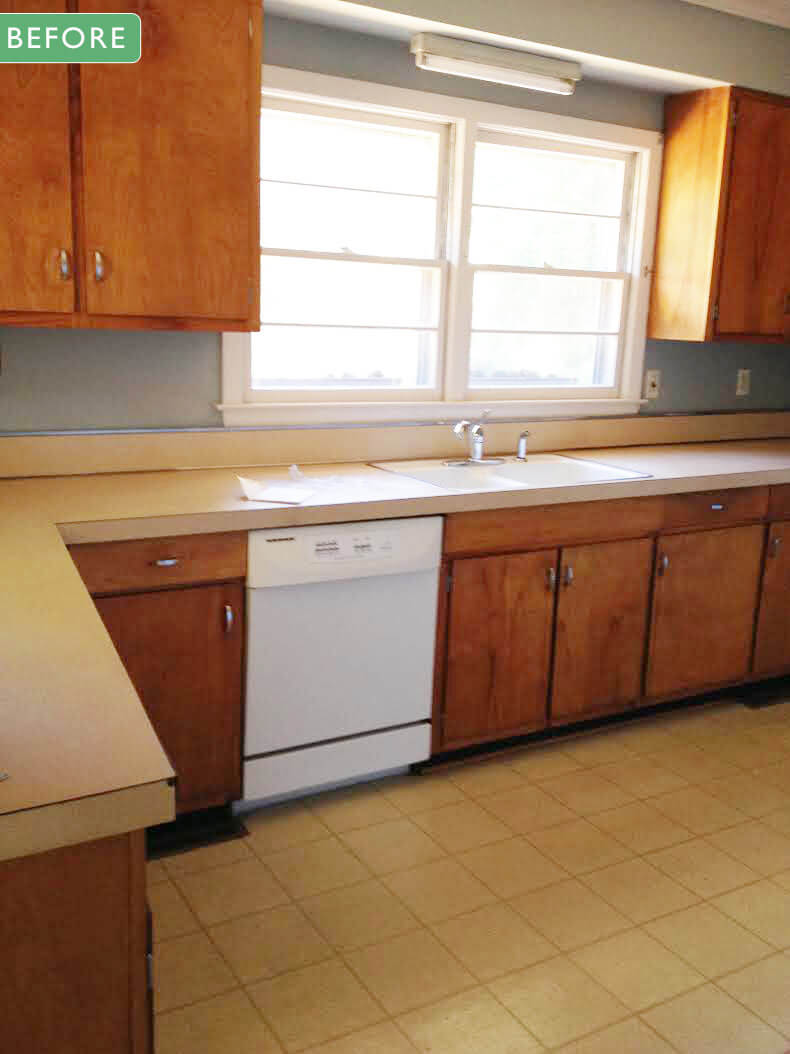
A little over a year ago, I moved from my apartment in the town I grew up in to North Carolina. I dreamed of buying an untouched ranch. And I found her, a 1957, no less. She’s as old as I am and equally as worn. The kitchen has the original cabinets, counters and sheet vinyl floor. Original appliances are long gone, and craigslist replacements were there for resale. I wanted a period stove and just couldn’t find what I wanted to fit the 36″ space. But I had to do something with those cabinets so I could unpack my dishes….my dishes! My 1957 set of Franciscan Starburst, my coveted dishes!
My original plan was to restore the cabinets to their former glory, sand them down and clear coat. But after 2 weeks of sanding I couldn’t get the wood tone even. And the inside of the cabinets were a worn out mess.
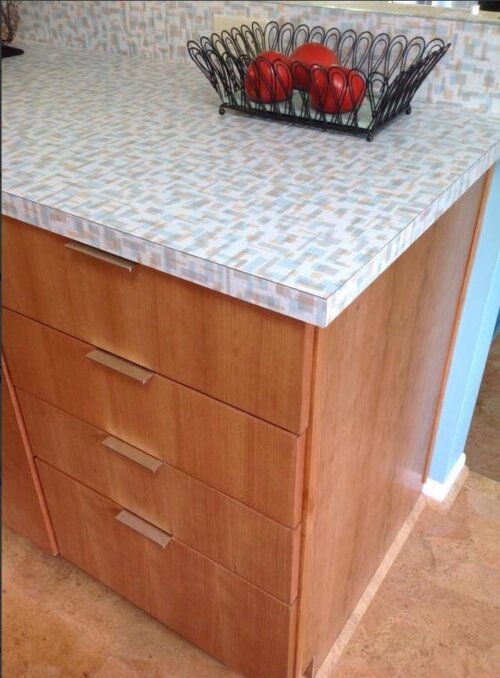
I had leftover paint from my vintage camper redo, Sherwin Williams 6758 Aqueduct, which just so happens to match my coveted dishes. So I decided to give the paint a try — and my cabinets turned out beautiful, inside and out.
And so my kitchen waited since last December, until I could find the perfect laminate for my counters.
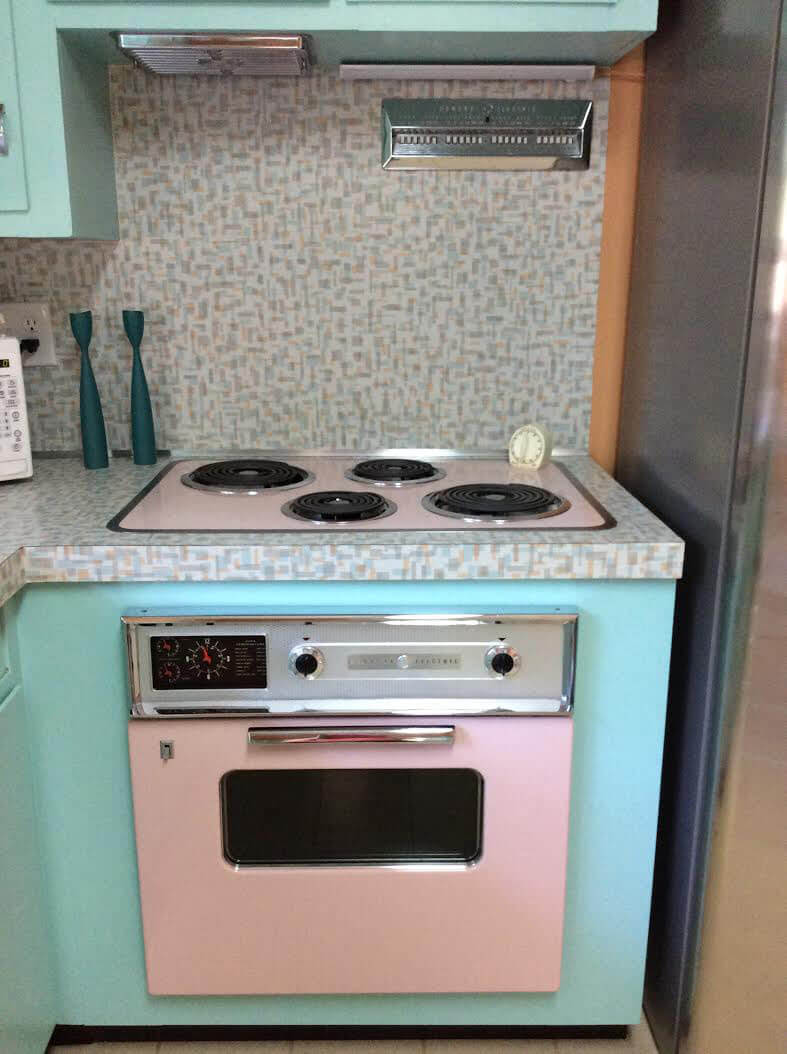
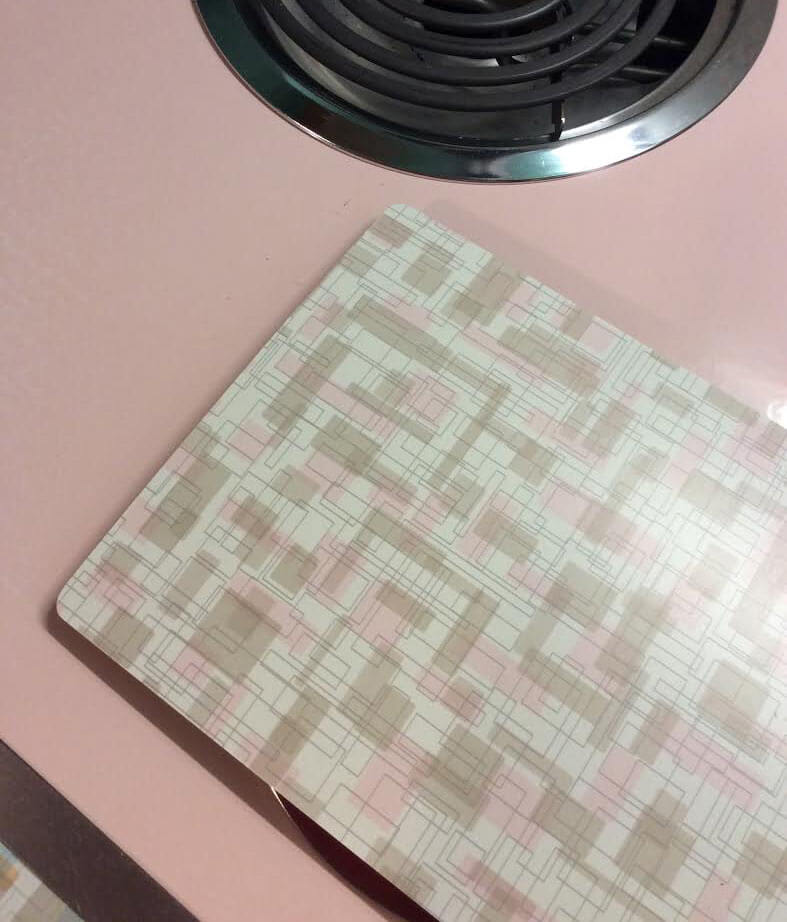
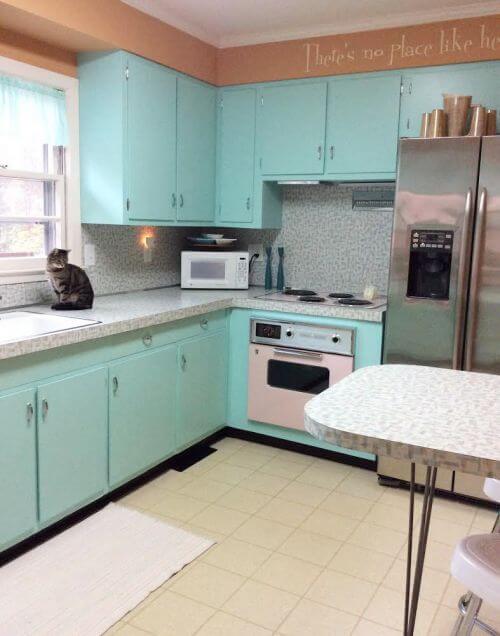
In the meantime, the search was on for a late 50’s stove. We said we wanted gas, but when I found my pink wall oven and cooktop on craigslist, I had to have it.
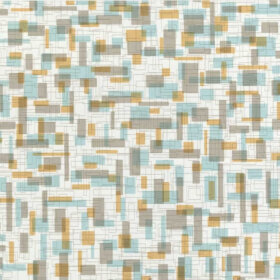
It waited patiently covered up and off to one side in my kitchen for the perfect laminate. Many, many samples were delivered to my house but none were ‘the one’. Until you, dear girl, featured Betty and Endora. Finally!
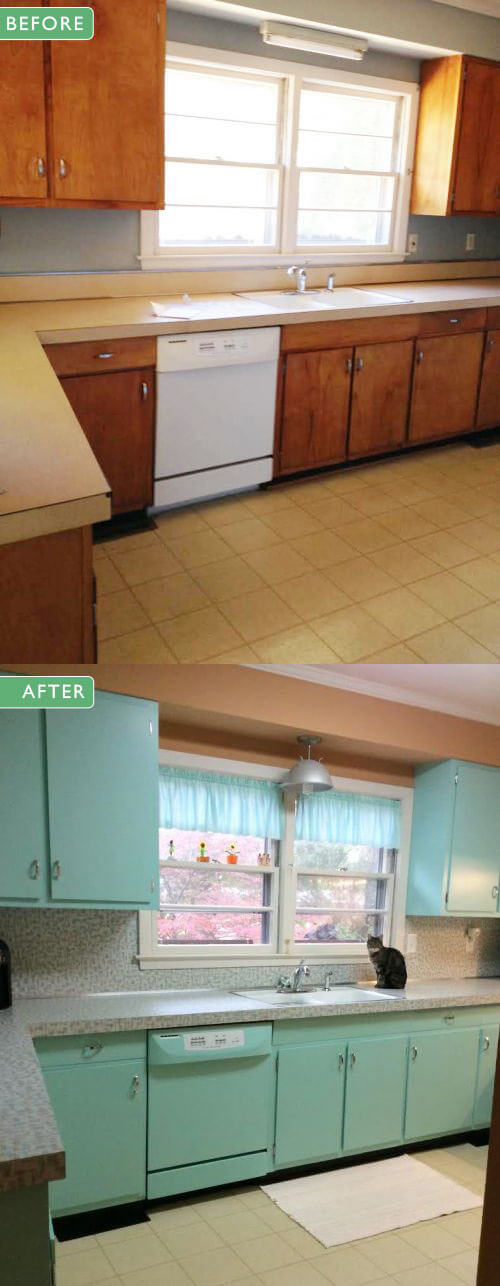
The original counters are tan linen. (It’s still in the main bath. The half bath is original gray boomerang.) The finish was completed worn off in several places, and the counter was still solid as a rock. We decided to relaminate over the old.
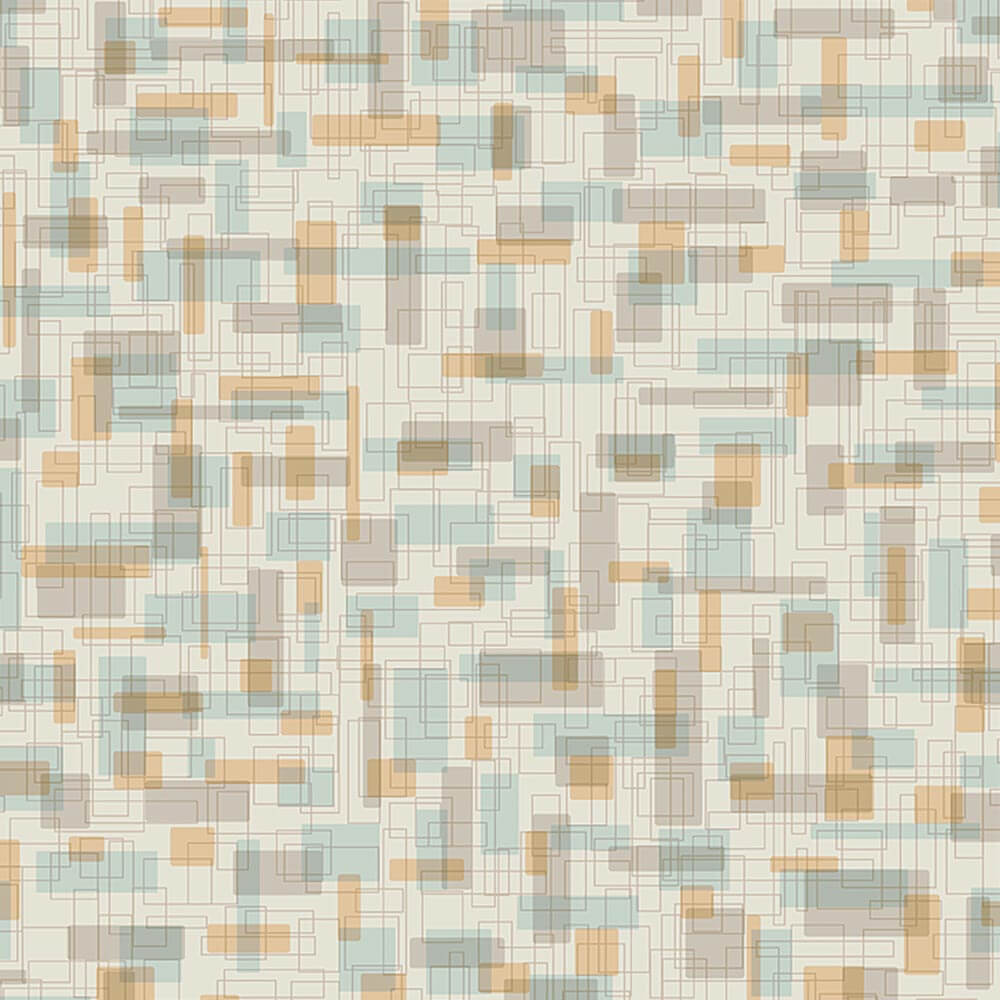
Editor’s note: Remember, readers, a special reason we love Betty and Endora is that they are stock laminates — not special order. Stock laminates are generally much, much cheaper than custom digital print laminates made-to-order. For example, this 4×8 sheet of Wilsonart Betty from Home Depot is just $59.
When I saw Endora, I was so tempted to repaint my cabinets pink but, you know — those coveted dishes! So Betty won out.
I ordered two (5 x 12) sheets as soon as she was available from Home Depot. Shipping was free to my door, and I asked them for a 10% discount, and they said yes! We’ve contemplated how to do it for months, then, finally a few weeks ago we dove in.
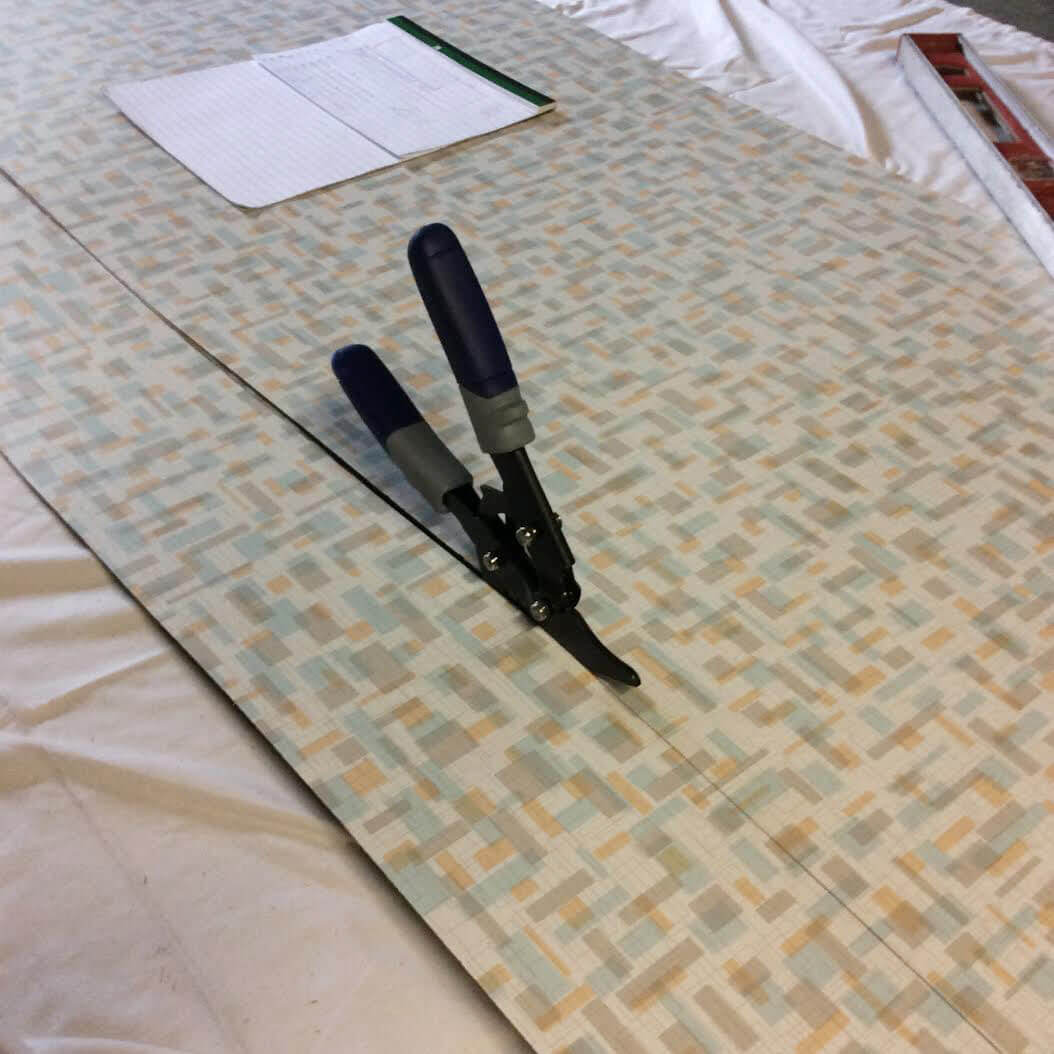
I measured and calculated and made all the cuts…
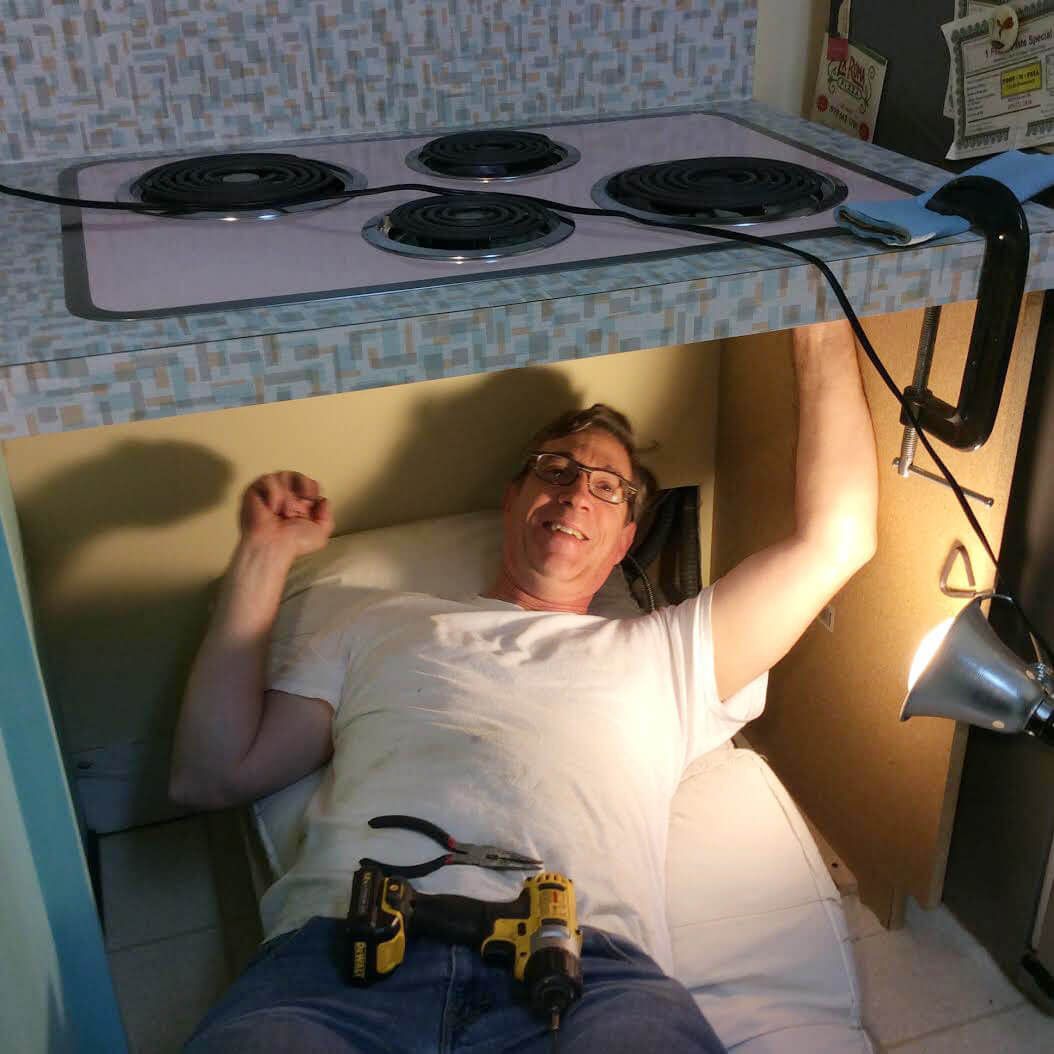
Darin wired it all up…
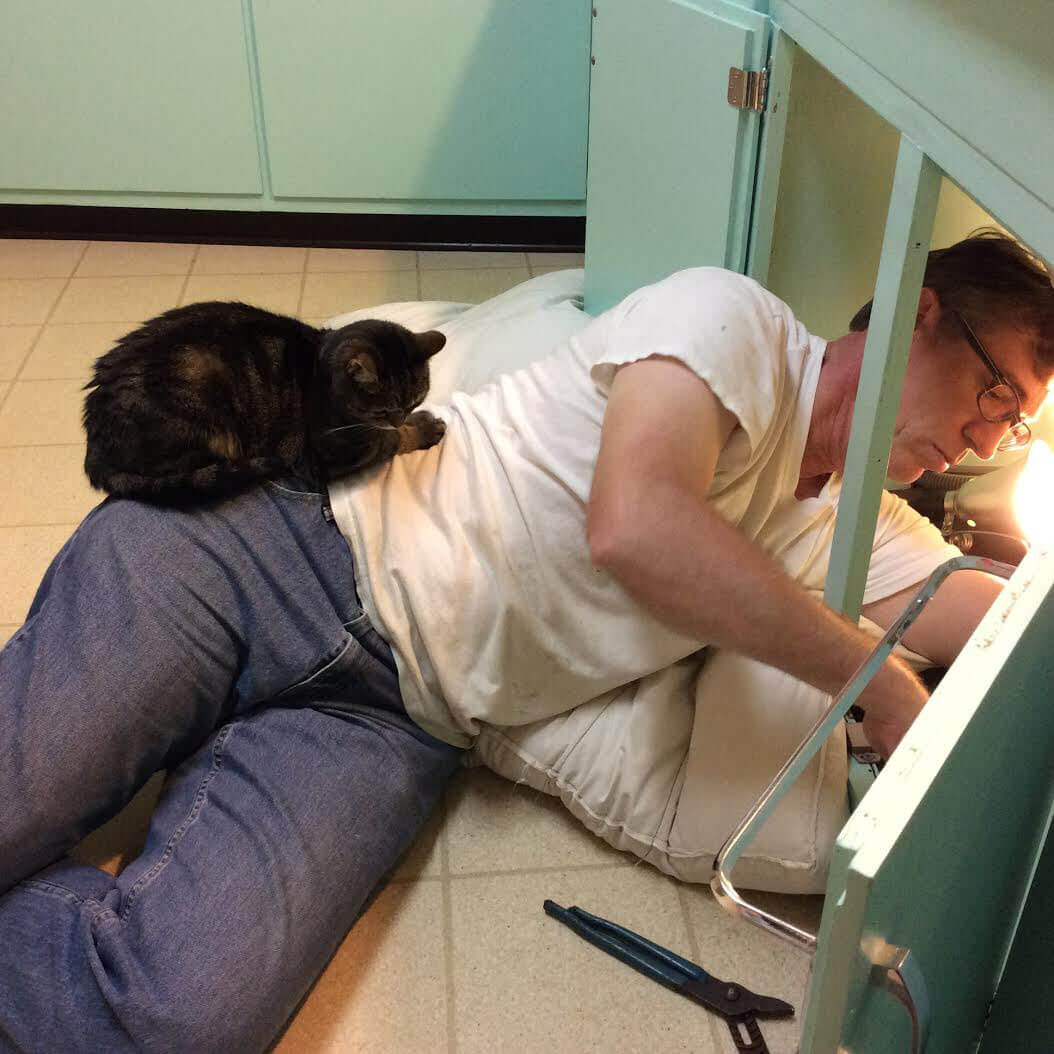
(… Weensie Scarlett was ever so helpful every step of the way proving how valuable a lovely assistant can be.)
It was a lot of work, hard work. Laminate is not forgiving, once it sticks, it’s stuck! But I just had to work slow, be patient, and think it all through.
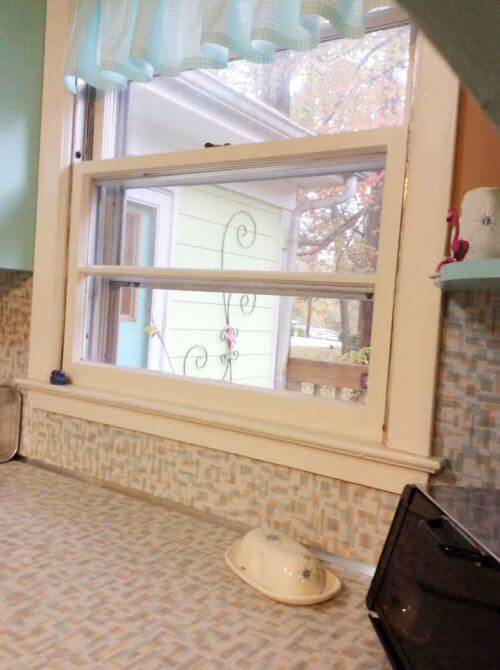

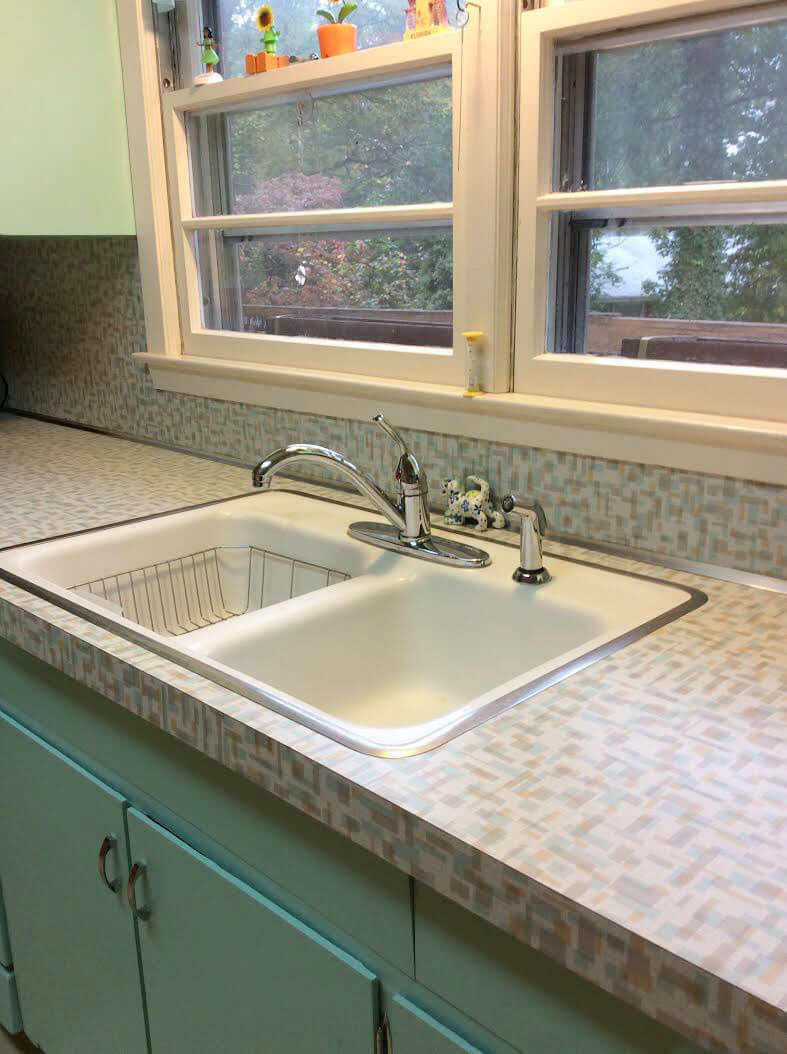

I’m so happy I ran the laminate up the wall as the backsplash. That was tricky, because nothing is level or square, but it got easier when I quit being so particular and decided caulk was my friend. The trim where the counter meets the wall is aluminum 90 degree L from Lowes. I used contact cement to adhere it.
I painted the walls SW 6360 Folksy Gold.
I still can’t get over it!
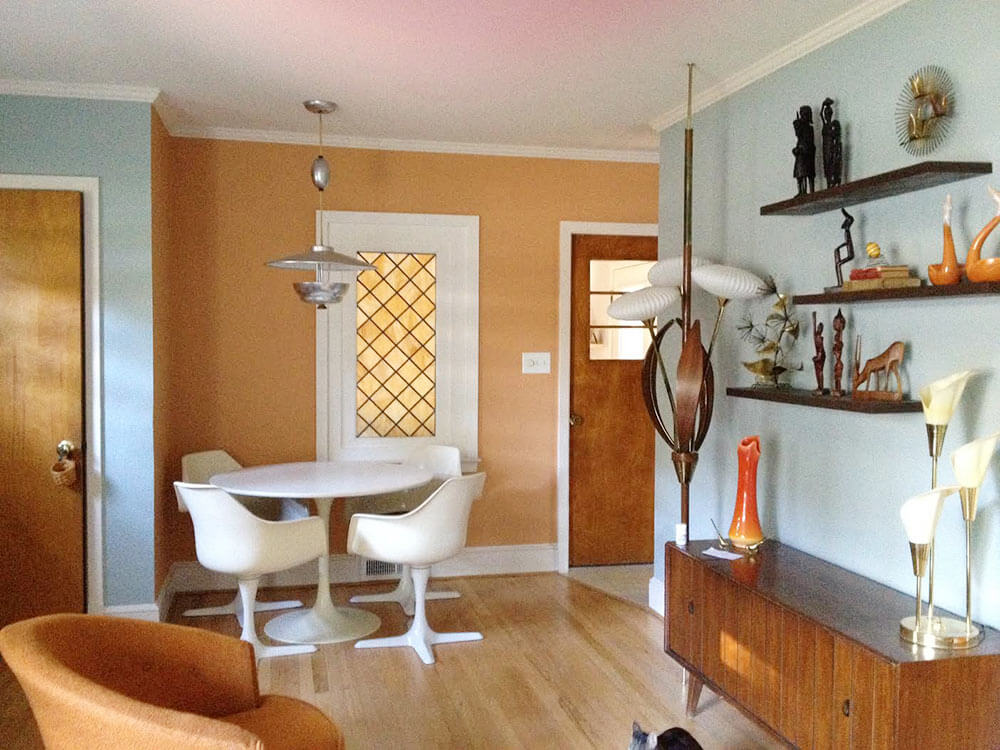
My Burke tulip table and chairs (too big for the kitchen) are now kinda in my living room, which I suppose was once the dining area, though I don’t know how in the world they ever fed a family in that space.
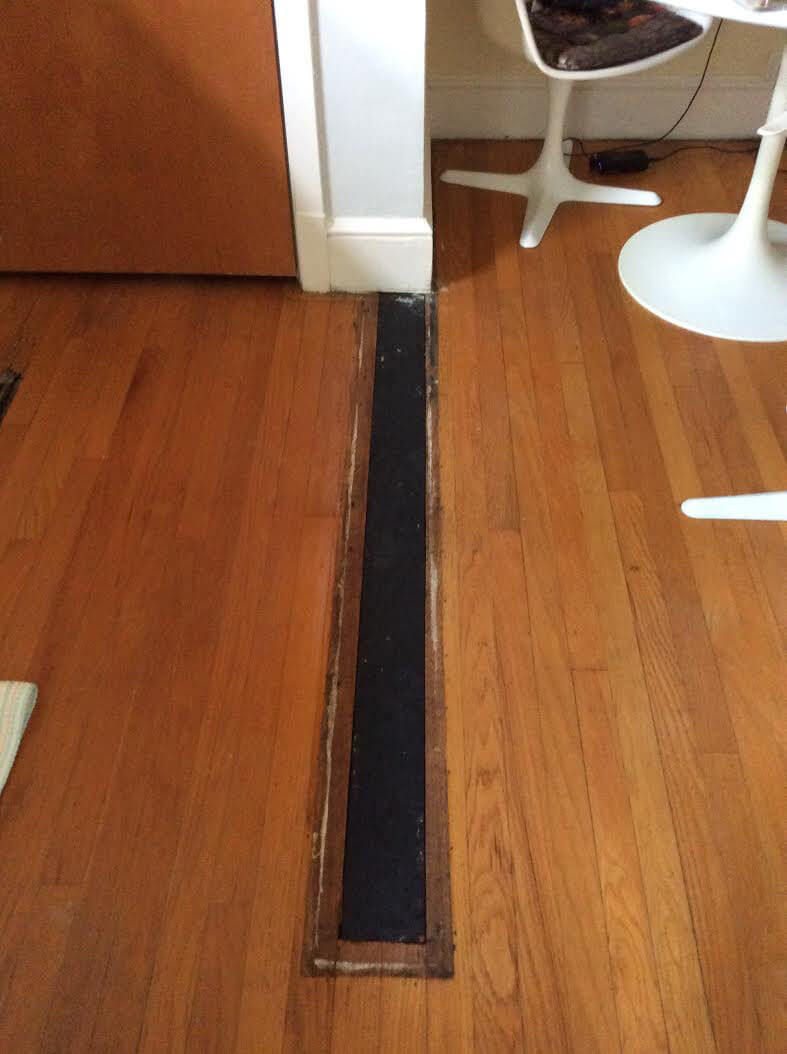
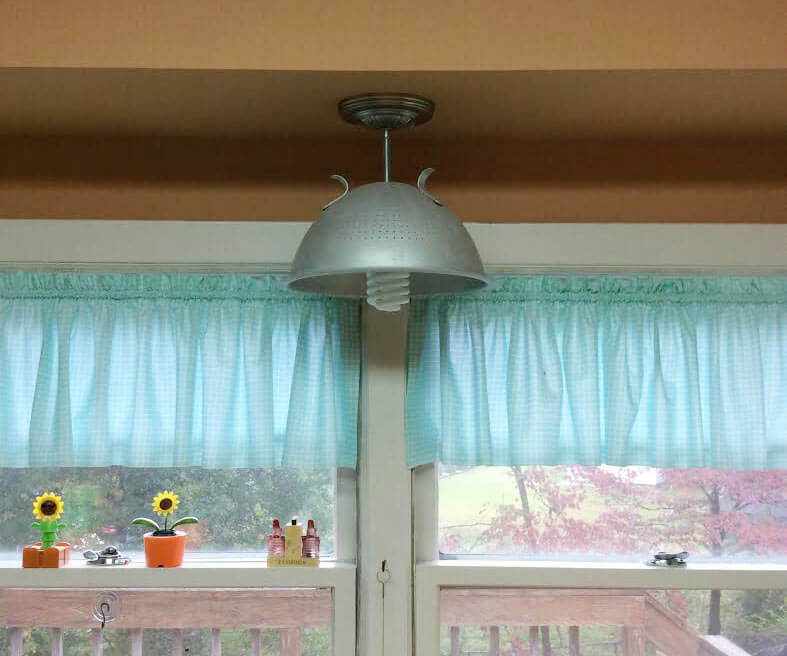
(Side note: When I took the living room carpet up a few months ago, there was a patched place in the floor between the door on the left and my table. Must have been some sort of divider to separate the dining space. I thought about putting it back, but had already moved the ceiling light and hung my flying saucer retractable light up, so I patched in flooring I stole from the entry to the attic. You never know what you’re going to find. I always say, “If it doesn’t say Sunkist, you don’t know what’s inside”!!))
Yowza, Patti and Darin, this is just Yabba Dabba DIY Awesome.
Patti sent us some other photos — some decorating tweaks to her 1957 bathroom and to the basement, where the couple has created an office and crafting area. And — sneak peek that snack table and boomerang clock. Come back tomorrow for the details on how Patti made those. Meanwhile, I lavished praise on Patti for her decorating and design inventiveness. And, I asked for a personal photo to go with the story.
It sounds like they make every moment an adventure… She replies:
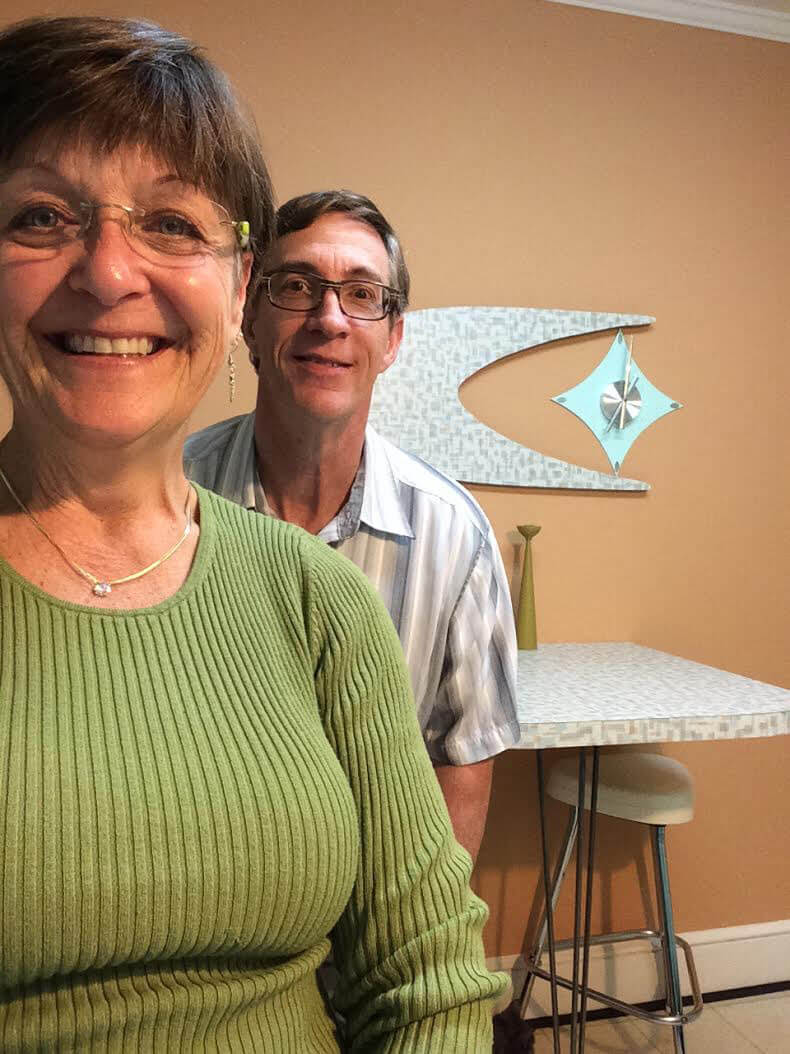
The truth is I just have way too much time on my hands! And, wow, it’s hard to take a good picture of yourself. We’ve been laughing our heads off. But here we are.
Golly, Pam and Kate, I can’t thank you enough for all the awesomeness you share and all the hours you spend finding the things that help us make a house our home. And eight years?! Good grief that sure went by fast. You have drawn together so many like-minded souls. These midcentury homes keep us grounded in a simpler time. We are all forever grateful!
Thanks a ton…
Patti
Thank YOU, Patti and Darin! xoxo
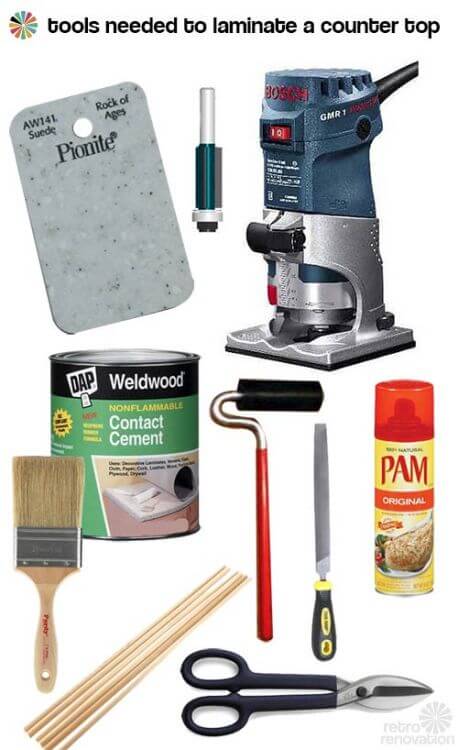
DIY laminate countertop:
More Wilsonart Betty:


Suzie says
Love the laminate up the walls–that’s the idea I needed for my remodel–thanks a million!
Patti Cannan says
????????
Kristen says
Would you mind sharing what color paint you used on the beautiful neutral orange that serves as the backdrop to your Burke table?
pam kueber says
Kristen – that’s in the story! It’s SW 6360 Folksy Gold.
Kristen says
So creative! Thank you so much for sharing… It is absolutely amazing! Drooling over your pink oven and stove top!
Rebecca says
Wonderful, wonderful. The pink stove and top are AWESOME. Great photos of your work! I love it ALL.
Erika says
Looks fabulous!! And I LOVE the sweet kitty cat!!!
Blondie7 says
Beautiful!!!!!!! Thanks a million for sharing!
Blondie7
Carolyn says
Well, of course you couldn’t get a good pic of yourselves, between grinning from ear-to-ear and doing the Happy Dance! Kitty photo-bombin’ – FUN-E!
I like the laminate going up the wall too – makes it easier to wipe clean.
Glad to see the C clamp with protection – good to know for future reference as well as your statement to have patience and think it through.
Questions: Did you have to do the edges of the counters or does the laminate come edged on a wood base? Besides making sure you do it the right way the first time (‘laminate is not forgiving’), any other pitfalls we should be aware of, like cutting so the edge isn’t ragged?
You all give me hope that I can do this stuff too when the time comes!
Kate says
You have to cut the strips and attach them to the countertop edges and top. Laminate comes in thin sheets (unless you have someone else make your countertops for you). There’s a special router bit that is used for trimming the edges.
You can read about how I made my laminate countertop here: https://retrorenovation.com/2014/01/29/how-to-build-laminate-countertop-diy/
Patti Cannan says
Yes, what Kate said! And by using the hand cutters pictured, I was able to cut very slow and straight. Do not overwork yourself until your are tired. That’s when mistakes happen. Cutting the 10′ laminate edge in front of my sink took several try’s because I was getting tired and it cracked a couple of times. Better to get some sleep and start fresh the next day than push yourself!
Bette Jean says
Wow! Love every bit of it. Great ideas and photos. Love the assistant and you both look fabulous! And Pam, at your birthday party I asked for more reader before and afters and time capsules and have gotten both. Now I’d like world peace and a pony 😉
Jamie Janosz says
This is soooo fabulous. And I love that you did it yourself. We are trying to figure out what to do with our worn laminate countertops. It gives me hope that you were able to put it on. Did you go straight over the old laminate?
Patti Cannan says
Yes I did. I did rough it up a bit with my orbital sander but you couldn’t even tell it. I made all my cuts with the hand held cutters pictured because I was afraid power tools would be to hard to handle (for me anyway) so slow and steady won the race. Edge banding went on first, backsplash next and countertop last. You can do it!
Mary Elizabeth says
Jamie, my husband and I did the same thing–glued the new laminate over the old by roughing it up a little and wiping it down to be sure we had a clean, even surface. It is relatively easy!
Melinda says
There are not enough loves to describe my feelings for this kitchen! Looking forward to the rest of the story.