

 When reader Pat and her husband Bill initially moved into their 1951 ranch home, they weren’t fans of the original St. Charles steel kitchen cabinets, which were in rough shape after years of use. Pat priced out how much a complete gut remodel would cost and realized it wasn’t in her budget. After pondering her situation for a few years and discovering Retro Renovation’s stories about readers who had successfully refinished their steel kitchen cabinets, Pat knew that she could do it too. Now Pat says, “I’m so glad I lived with the “old” kitchen long enough to appreciate the quality of these vintage cabinets, they have as many pull-outs as the fancy new cabinets!”
 Pat writes:
Hi Pam,
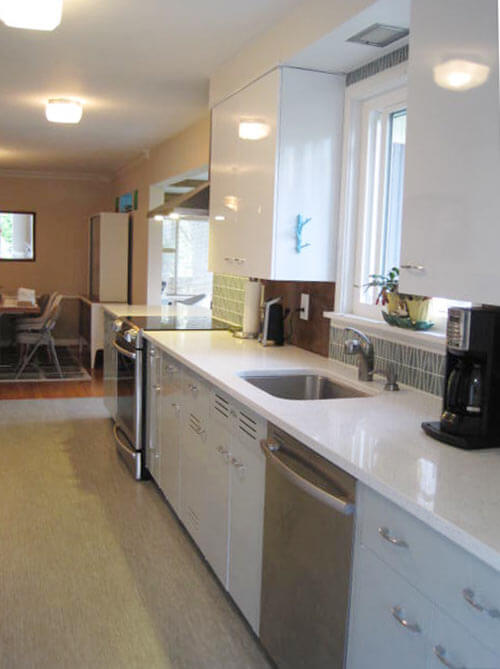
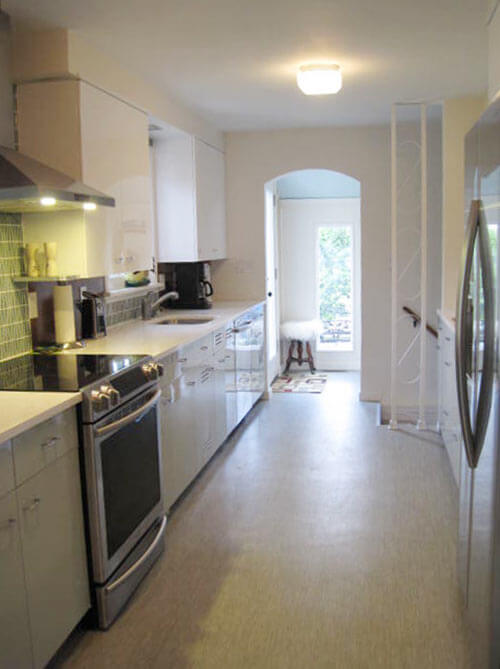
I wanted to share some pictures of our (finally!) completed kitchen remodel. We kept the basic floor plan, opened up a wall which allowed us to add in some additional St. Charles cabinets. It’s been a process, but I’m so glad I lived with the “old” kitchen long enough to appreciate the quality of these vintage cabinets, they have as many pull-outs as the fancy new cabinets!
We bought this 1951 ranch about 4 years ago, from the owner that had lived here since 1956. The house had “good bones,”and is in a great location close to downtown. It has been an ongoing project, we have pretty much restored/remodeled most of the house. The great part of waiting on the kitchen remodel, is it allowed me to see the possibilities of reusing the original St. Charles cabinets. Yes, that process definitely took 2+ years! To be honest, when we first bought the house, I had lived in new construction homes, and I couldn’t wait to rip out the old kitchen. The bid to gut it and put in new was out of our budget, so I lived with it long enough to appreciate the quality & uniqueness of a steel kitchen. I have also grown to love the paneled wall in the living room I originally wanted to paint over or rip out. I’m not slave-ish to restoring to 50’s materials, but like to respect the original aesthetic of the home and make it work for our needs.

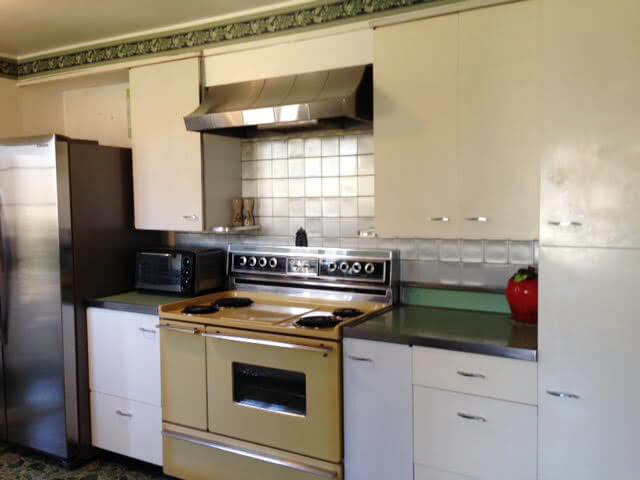
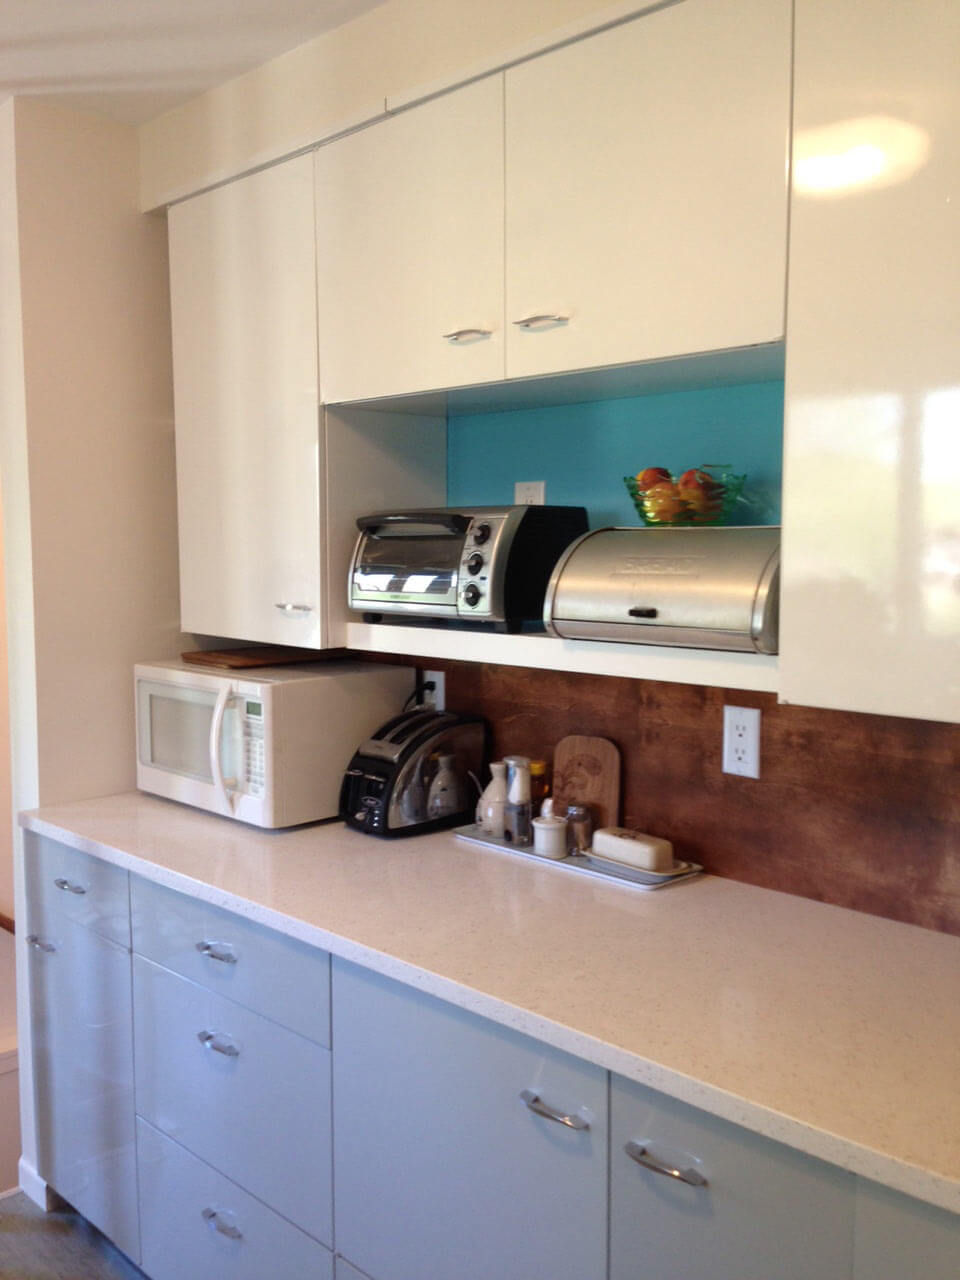
These cabinets are full of slide-outs, dividers, etc, I even have a vegetable cabinet, it has wire mesh baskets and slits in the door so your produce gets air circulation. (It’s the one closest to the sink.) The cabinets were still white, but had been brush painted over the years, and had some rust. If not for your website showcasing metal cabinets, I would not have had the vision to redo the kitchen with them.
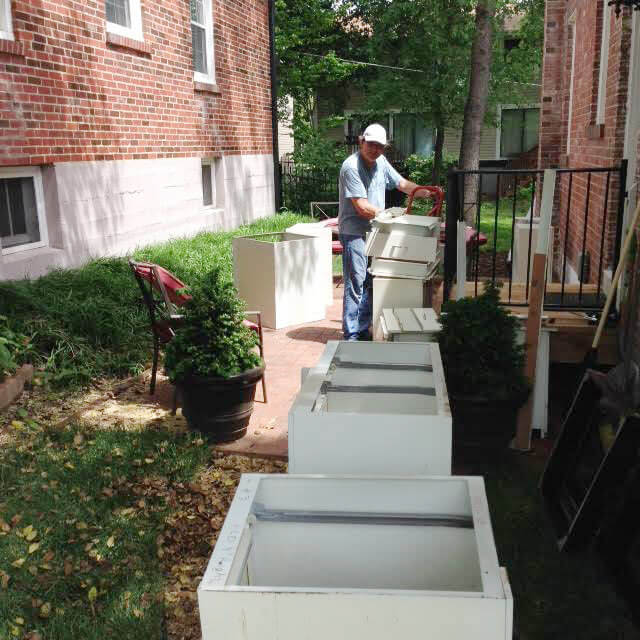
I had them powder-coated at Liquid & Powdercoat Finishes in KC, MO. (Thanks to a previous Retro Renovation post on a KC kitchen remodel, I found out about this great local resource.) I kept the same galley layout, but was able to incorporate an additional 4 cabinets by removing a corner wall & relocating the stove. It took awhile to find St. Charles cabinets, we ended up driving to St. Louis to buy some off Craig’s List. We did all the work ourselves, except for the drywall.
Luckily my hubby is super handy and willing to go along with my creative visions. I loved the little bits of history we uncovered – there was a 70’s & 80’s color palette hiding under all the layers.

I am attaching my vision board, it was my little go-to guide, although it didn’t turn out exactly like the vision board.

Inspiration for the color pallet was the starburst clock. I must admit it isn’t a George Nelson – just an old brass one I spray-painted in like colors.
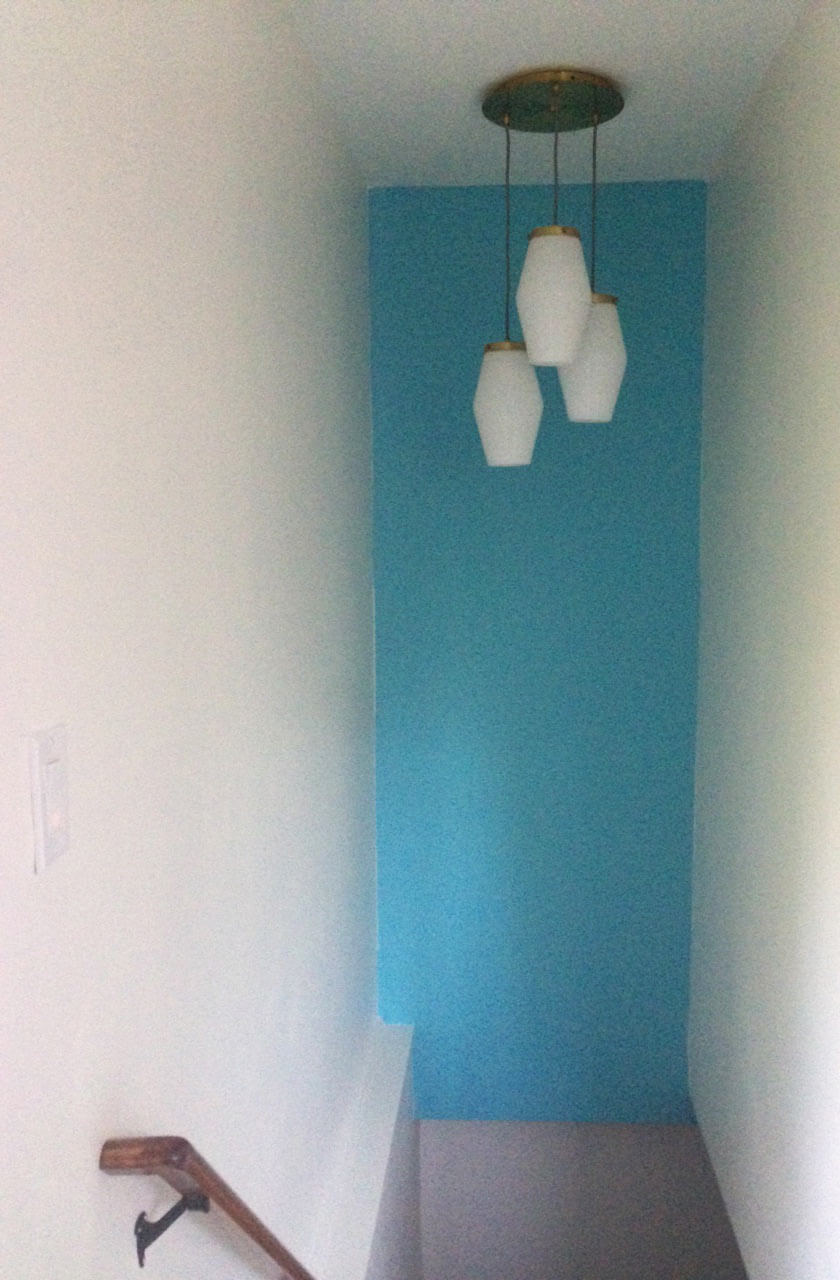
Another funny discovery – I did have to give up my swinging kitchen door, and when he removed it we noticed the original carpenter had noted it’s designation on the framing in pencil: “Baby-Slapper.” Removing the door from the basement stairs made a huge difference in visually opening up the space. Things I like best about the new kitchen: having 1 type of flooring throughout (did have 3 different floors) and the open stairs to the basement.
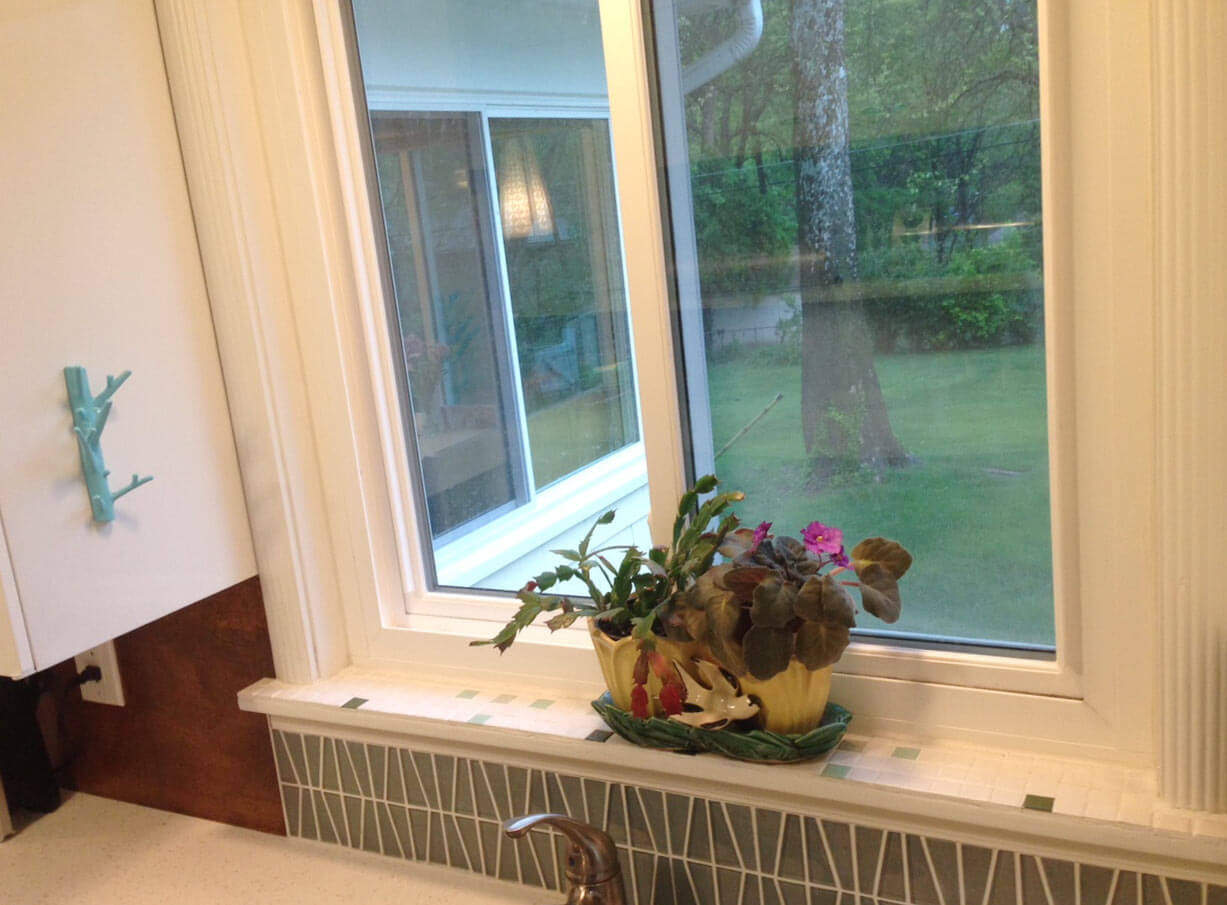
A few touches I kept are: the shelf by the stove with the salt & pepper is an original to the kitchen (with Green Linen Formica), and the original “confetti” tile on the windowsill over the sink. I really loved the color of the green linen, but the newer “linens” were just the wrong hue. And – I gotta be honest – I was tired of cleaning the stainless rim around the counter-top – I just wanted to be able to sweep everything into the sink, which is why I went with the quartz counter-top. It was fun to color match the “suede” color swatch from the 1950’s St. Charles color samples on your site.
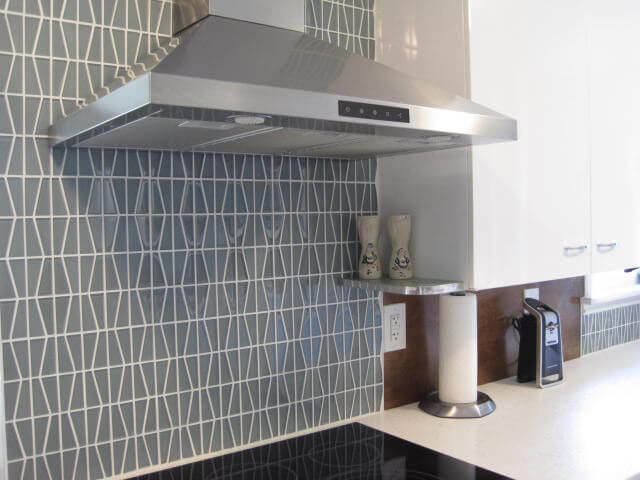
I used a combination of tile (in the wet/cooking areas) and wood in the kitchen because the tile was so darn expensive, but ended up liking the warmth the wood brought to the kitchen.
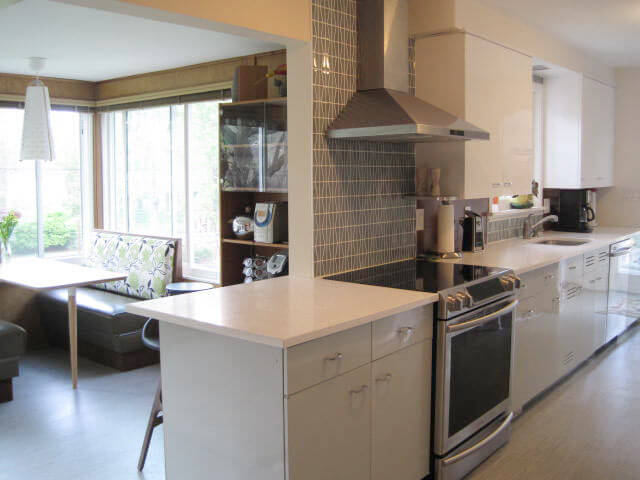
I included a few shots of the rooms adjoining the kitchen (darn project creep!) since we ended up working on them also.
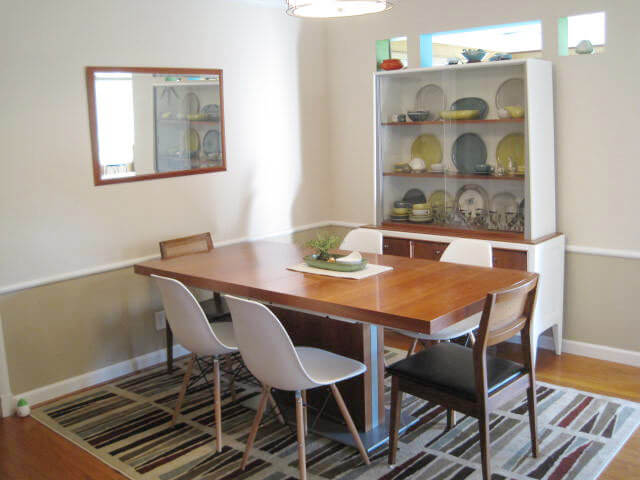

I added the little cut-outs in the dining room to add more natural light to the room.


The office/booth room got a major scrub – we replaced the dropped ceiling tiles with sheetrock, replaced the jalousie windows and the birch paneling that was stained from water/condensation dripping from the jalousie windows… you know how it goes… where do you stop! We were lucky the original owner was a woodworker, and the built-in office furniture works great for us. I stained the birch paneling in the kitchen blacksplash the same dark color I used when I refinished the office furniture to tie it together.
Resources:

- Flooring: Mannington Paradigm -Par209 (Commercial flooring)
- Stove: Samsung Electric
- Range Hood: KBC Collection (Amazon)
- Tile: Tile Shop: Glass Water Napier
- Cabinet over fridge: Ikea (did you spot that?), white wall shelf, and stainless cabinet toe kick
- Light Fixture over stairs: West Elm Mid Century Glass Pendant
- Sink: Blanco
- Countertops: MSI Quartz in Iced White
- Cabinet finish: KC Liquid & Powdercoat Finishes
- Faucet: Moen
- Booth & ceiling fixture: Habitat for Humanity ReStore
- Light fixture over sofa: eBay
- Light fixture over booth: Ikea
Way to “Love the Kitchen You’re In!” Pat! Thanks so much for sharing your story, all the resources — and of course, your gorgeous kitchen — with us.


pabrocb says
Your kitchen is perfect and absolutely beautiful!
Dan says
The #1 lesson here – live in your new/old house at least a year before doing any major but functionally unnecessary remodel. You may find, as these clever folks did, that there is a lot more to like about your place then first realized.
Painting the clock and putting in those wall cutouts were such smart ideas. And I am with you on metal edged counters. I always picture them with that minute but irritating line of stubborn grime.
Mary Elizabeth says
Dan, I agree, and I’ve heard Pam say something similar quite often. My husband and I waited a year before adding an addition and refurbishing our new home’s bathroom because we had to–I was ill and undergoing treatment when we moved in, and we didn’t have the money or the energy to get started on the projects (like gutting the pink and gray bathroom) we were sure we wanted to do. After one year, we understood our house so much better and knew what it needed–including keeping the Mamie Pink tub and the knotty pine kitchen cabinets.
Sara says
Gorgeous!!!! Wait, can I say it again? GORGEOUS! The cabinets are absolutely amazing. Great job!!!
Carolyn says
Dear Pat, you are soooo lucky I wasn’t drinking anything when I read “Baby Slapper”!
I’m sure the unidentified assistant by the couch warned you of project creep and to sometimes just sit in the sunshine, gazing out the windows to let the house fully develop.
While many of us would love to step into a time capsule house, fully furnished and pristine, the fact is sometimes adjustments need to be made. It would have just broke my heart to remove jalousies but you can’t fix or replace so…Love your adapted clock!
One of the reasons this era appeals to me is that I want to be able to “work” in my house – just having vents in K sink cabinet or that tilt-out for sponges! Today’s designs are meant to impress company with so much poorly designed or laid out.
joan massey says
Love everything about your renovation of your kitchen and your spill over areas. There is just something special about those older houses that new ones lack. Glad you saved tons of vintage and yet were able to bring in some new that looked like it had always been there. I am going to steal your idea of painting the clock. Thanks for sharing your wonderful house.
Nancy says
Congrats on a job well done!
John says
What a creative (and sensitive to the original) project. My lesson learned is – make decisions over time. I wish I had done more of that with my kitchen. The reason, manufactured products like Formica and flooring can’t be found in many cases so once you cut a hole for another electrical outlet or cut into that floor – be sure. When she said the color hue was not quite right, patience was the key. She got it right. What a perfect combination of the best of old and new!
Mary Elizabeth says
I really like it–it is open, airy and really functional for the couple’s purposes. One of my favorite things is the fabric for the breakfast nook booth. Where did you find that?
Pat Jones says
Wal-Mart fabric
Mary Elizabeth says
Thank you! That’s an amazing surprise. My local WalMart no longer carries fabric.
Karin says
Congratulations, another two sets of steel cabinets saved! Pat and Debbie- you are an inspiration. This is a an extremely well thought out and sensitive remodel. Here is proof that these kitchens can look as great and function as well (if not better) as new cabinets. Your hard work paid off. I have serous kitchen envy now. Thank you for sharing your pictures. Great post.
Melinda says
What a great job! My favorite feature is that they were able to get an oulet worked in to the open shelf so that it’s functional for the toaster and breadbox. Looks nice and keeps counter space open for working. Love it.