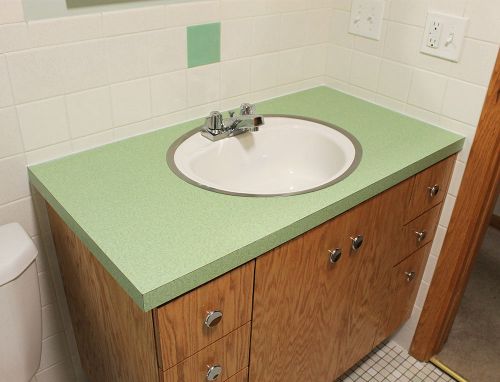
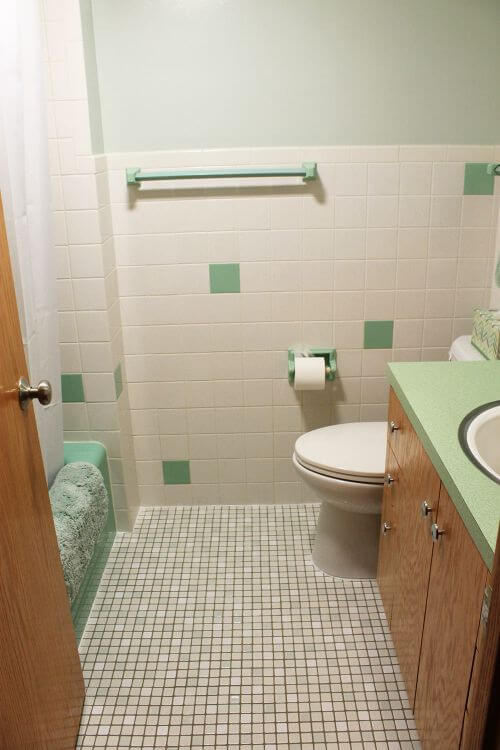
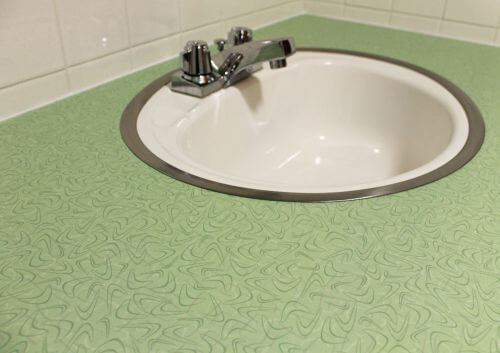
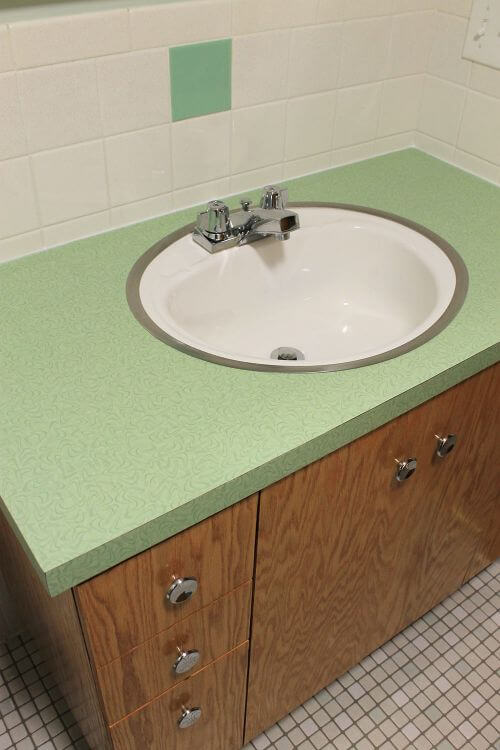
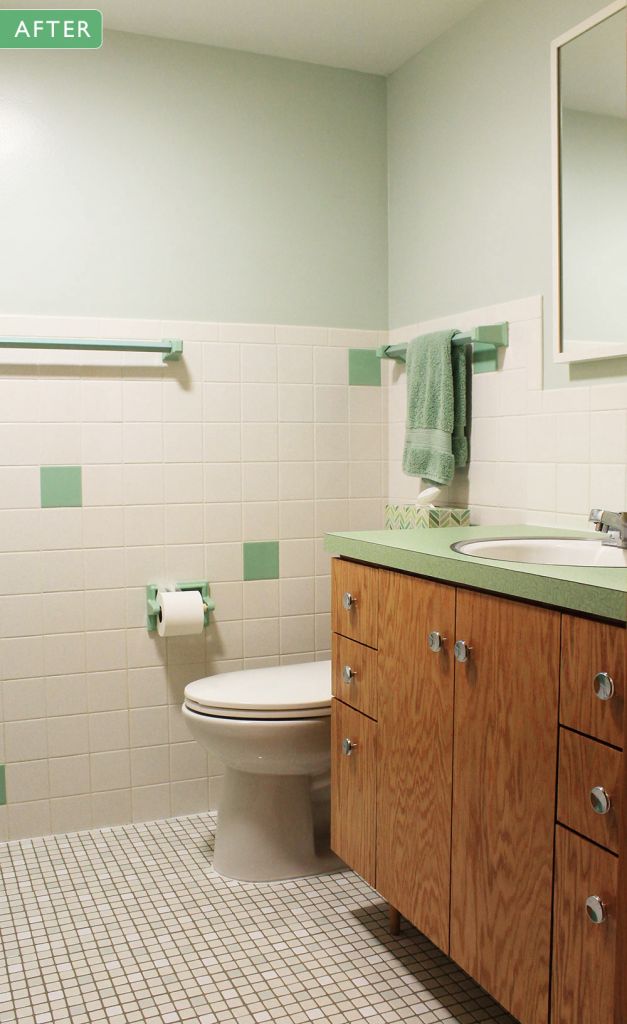
 We gave a sneak-peek of my 1960s bathroom remodel — really, just a “refresh” — when we showed the countertop — our new Retro Renovation® Delightful Jade from our new collection with Wilsonart. Today: A look at all the changes I made: New tile floor, new vanity, new sink, new countertop, all topped off with a new coat of paint on the wall.
Unlike my master bathroom, which was suffering both in condition and layout, necessitating a gut remodel that ended in a pink potty paradise, my mint green (or is it ming green?) hall bathroom was still going strong — it had just a few “problems.” Instead of tackling all of the issues in one swoop, I’ve been working on this 1960s bathroom remodel over the last few years bit by bit. This slow transformation is good for my budget — allowing for me to pay for things as I go — and also good for giving me the proper amount of time to weigh my options and pick just the right materials.
Key updates in my 1960s bathroom remodel
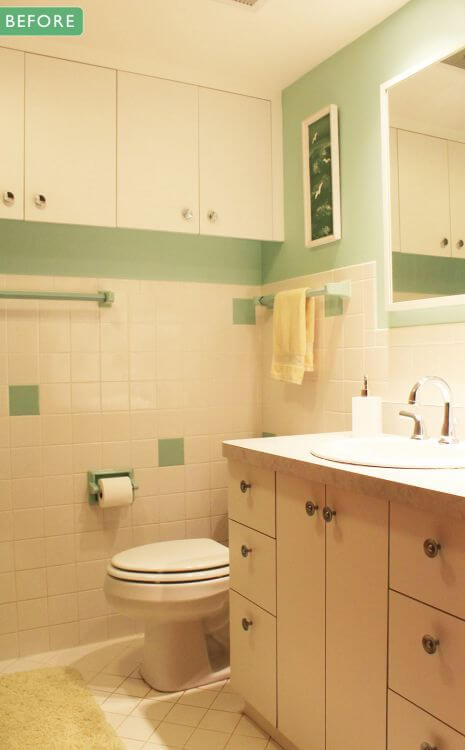
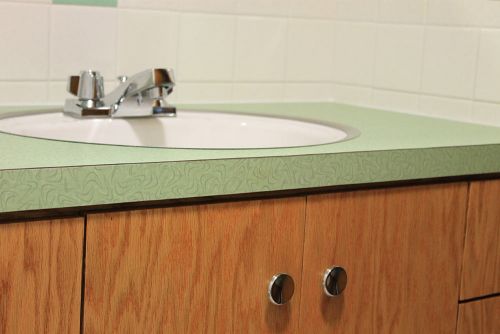
I had already decided that I wanted to build another retro style vanity out of oak plywood with tapered, midcentury style legs like I did for my retro pink 1960s bathroom remodel. I originally wanted to put in a vintage green sink, but after years of searching, the retro decorating gods still had not sent one my way, so I decided to use a much more easily found white sink. That left two crucial decisions to make: What floor tile and countertop should I use for this affordable bathroom renovation?
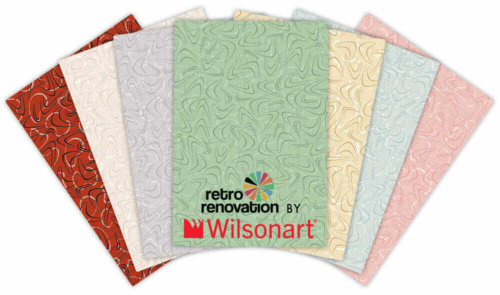
Retro Renovation® by Wilsonart ‘Delightful Jade’ boomerang countertops
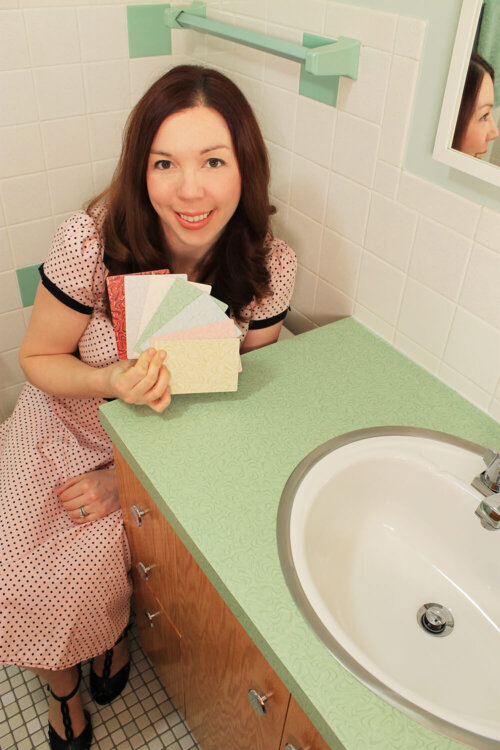
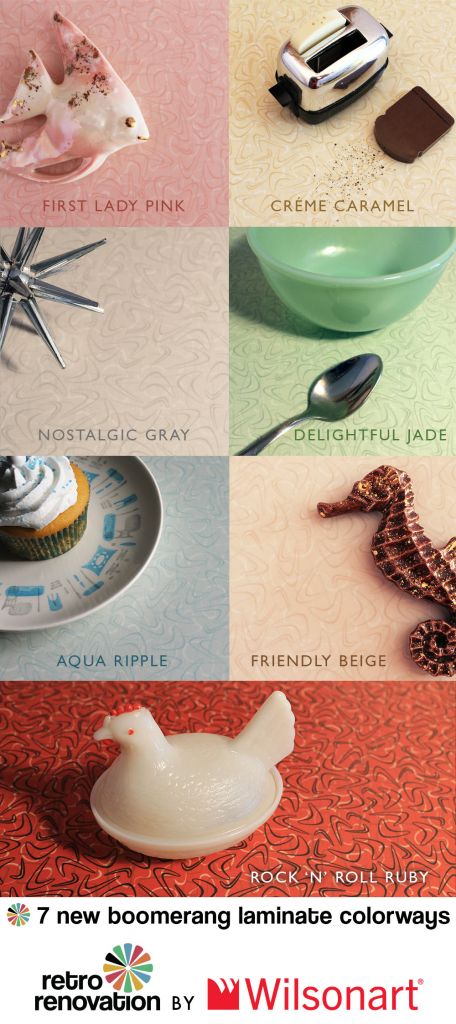
- Samples of our new collection are now available, and the laminate is available for purchase. See our launch stories here!
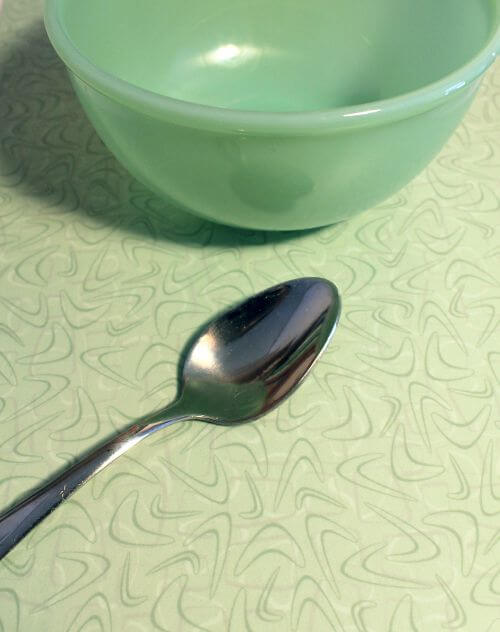
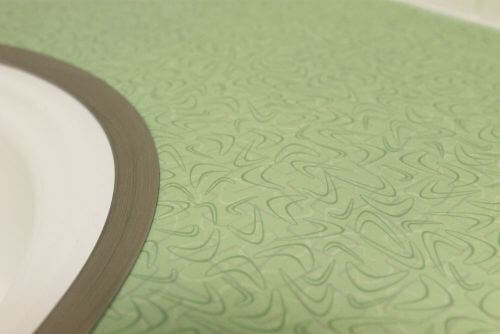
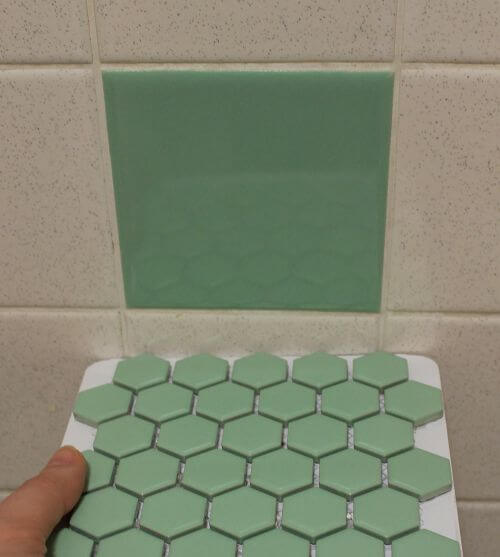
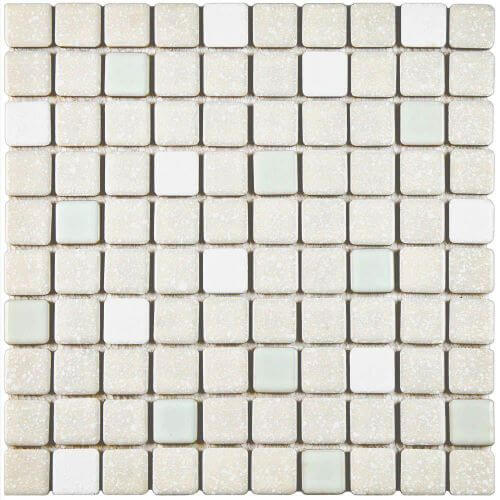
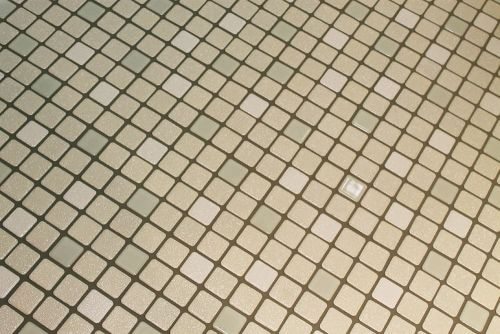
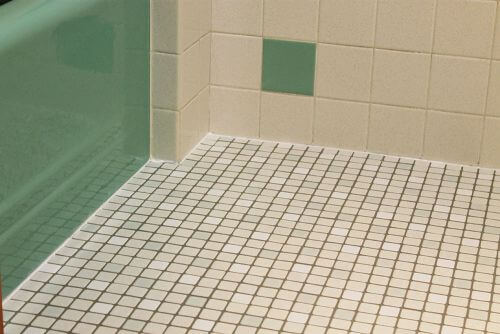
Merola’s Chrystalline mosaic floor tile in pistachio – perfect for my retro bathroom update
Building a bathroom vanity to suit my 1960s bathroom
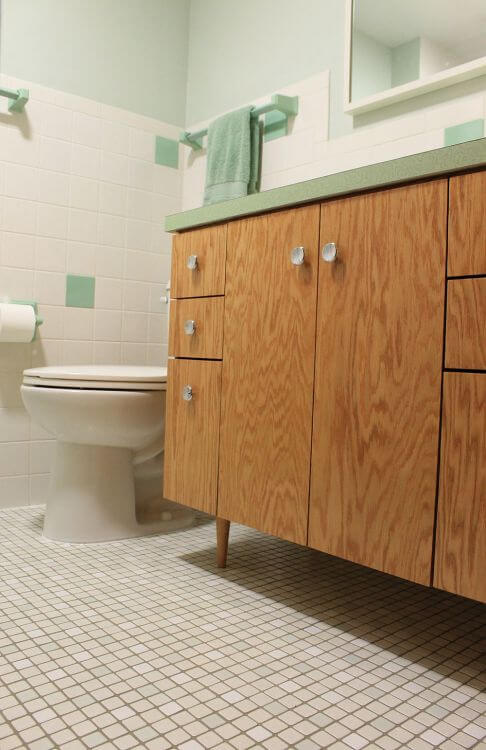
I used the same easily available, inexpensive, retro style cabinet knobs that I used in my kitchen — sans backplate this time — on the vanity.
Sink and faucet appropriate for a 1960s bathroom

Remembering our stories about where you can buy sinks with hudee rings today, I decided to order a new, steel Bootz Daffodil oval lavatory sink with 4-inch centers from HD Supply with the coordinating Vance Industries-made Hudee Ring. The sink and hudee ring were affordable, and Pam wondered about the quality and feel of the sink.
Here’s my two cents: The sink is an inexpensive, mass-produced product and that is evident, especially when you look at the underside of the sink, which had clear caulking rather sloppily applied where the plastic overflow drain was attached to the steel sink body. This was not a deal breaker for me, though, because this portion of the sink is hidden inside the vanity cabinet, and I have had no issues with any leaking. The sink is much, much lighter than a similarly-sized cast iron sink, which is not necessarily a bad thing. The lighter sink was much easier to install into the countertop, because it was simply less weight to hold up while simultaneously trying to tighten the hudee ring clips. When the water in the sink is running, or if you tap on the sink with your fingers, it makes a different sound than you would expect from a heavier duty cast iron sink. This also was not a deal breaker for me. All in all, if I wanted a new retro-style hudee ring sink and was on a budget, I would buy a Bootz steel lavatory sink again. I have faith that this sink will hold up for many years to come.
- TIP: If you want to order one of these Bootz sinks, read our original story for all our tips for putting together the entire package including hudee ring.
List of 1960s pink bathroom remodel resources:
- Countertop: Retro Renovation® Delightful Jade boomerang laminate, part of our new Retro Renovation® by Wilsonart® collection
- Sink & hudee ring: Bootz sink with Vance Industries hudee ring ordered through HD Supply
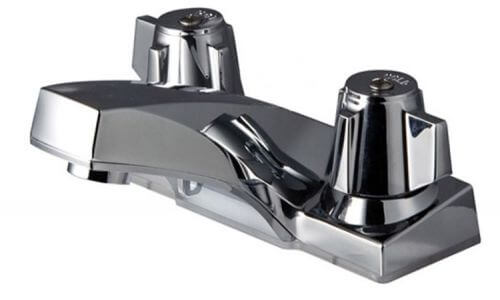
- Faucet: Pfister Pfirst Series Centerset Bath Faucet in Chrome, Home Depot
- Floor tile: Merola Tile Crystalline Square in Pistachio, Home Depot
- Grout: SpectraLOCK Epoxy Grout in Natural Grey, available online through FloorLife.com
- Wall color: Sherwin Williams SW 6190 Filmy Green, a nearly perfect match to the mint green tiles on the floor
- Vanity legs: 6″ oak McCobb wooden legs from Tablelegs.com
- Cabinet knobs: Liberty 1.5″ polished chrome cabinet knobs, Home Depot
- Toilet: Gerber Viper Ergoheight Elongated Toilet in white, DecorIsland.com (I love my pink toilet so much that I bought the same one in white for my other bathroom!)
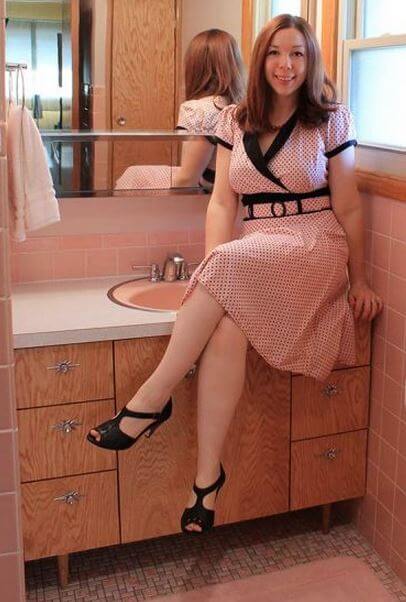
Kate’s pink bathroom:
- Want to see more of Kate’s handiwork? Read all her stories about her remodel that created this pink 1960s bathroom remodel.





Jess says
I used the same floor tile in my mint/ming green bathroom but my tile guy also added a strip of the merola green 1″ square mosaic tiles through it. Wish I could share a picture! I’m looking forward to getting my sample of the jade laminate to see if it works with the room.
Thanks so much for creating the new Wilsonart line!
pam kueber says
Yay!
Kate says
Very cool Jess! If you have a picture, you can email it to me at retrorenovationkate@gmail.com. I’d love to see!
Kristen says
Beautifully done and love the floor tile. I agree it goes nicely with the year your house was built, and it also reminds me of the Merola University tile you did in pink which I, too, love!
Caryn says
Oh my goodness, your bathroom looks AMAZING! And I am SO thankful for the product info… I have been looking for replacement faucets for our three bathroom sinks. The original 1970 faucets are super groovy but beyond shot in many ways 🙁 Everything I’ve found so far that fits the look I want has been way out of my budget, but I think these are going to be perfect!!! Off to order some new faucets now, thank you so so much!
Kate says
Glad to help Caryn!
Tom says
Looks great! What kind of light do you have above the mirror?
Is the bathroom mirror vintage? It looks very contemporary in the photo but you don’t see the whole mirror. Will you hang something where the cabinets were?
Kate says
The lights above the mirror are two small recessed lights. They were installed by the home’s second owner. I don’t love them (they cast a harsh, unflattering light) but I don’t feel like they are bad enough to change them out at this time. The good thing is that the fan light is on a separate switch so I don’t have to turn them on unless I want to.
The bathroom mirror is from Ikea. I took down the original mirror which was just a plain piece of mirror with no frame or anything because it was in bad shape (lots of moisture damage). I had the Ikea mirror that I had used in another room of my last home, and it fit in the space, so I put it up.
I’m looking for art or some objects to hang where the cabinets were, haven’t found just the right thing(s) yet!
Tom says
I’m very impressed by your work! Can’t wait to see what you put where the cabinets were. I would switch that mirror out when you find a cool vintage one, Ikea has no place in that bathroom 😉
Could you put the fixtures that produce harsh light on dimmers?
Mary Elizabeth says
Beautiful job, again! I did notice that bare wall and wondered what you planned to do there. Here is a possible piece of artwork for your bath.
http://www.ebay.com/itm/AIDA-WHEDON-LISTED-NEW-YORK-MODERNIST-TWO-TILE-FRENCH-CAFE-SCENE-WITH-POODLE-/172071140739?hash=item28103d3d83:g:BmMAAOSwCypWoQOD
I collect these mid-century tiles by Aida Whedon myself, but my house is small and I can’t figure out where to put another. I think this would look nice in your bath, and because it’s tile it will stand up to moisture. It brings in a whole rainbow of mid-century colors and I think there is some green in there close to the one in your bathroom.
And thanks for finally letting us see the green tub. What a beauty!
pam kueber says
I love that tile!
Jay says
Ahh! Your hall bath looks refreshingly minty clean! Your choice of a more subdued floor really lets that stunning vanity with its beautiful laminate stand out. Thanks so much for sharing, it has given me inspiration for my windowless hall bath.
Nicole Oliveira says
I am Ming Green with envy!! OUTSTANDING job once again, Kate! Do you have a blue print for your vanity?? Would love to have that in my bathroom!
Kate says
Thanks Nicole!
I always draw up plans for whatever I build based on the measurements needed for the space. If you break this design down, it really is only a lot of boxes and some tapered legs. I’m sure you could figure it out (or hire a carpenter to build one for you!)
Ken Borne says
You did it again, beautiful bathroom. Love it!!!
Robin, NV says
Kate knocks it out of the park again! The countertops looks awesome and the new floor tiles make a huge difference in the overall look of the room.
I’ve been struggling for years to find the right decor for my yellow and Ming green bathroom and this weekend I finally solved the problem. I was looking for a new shower curtain and wanted something colorful, so I picked up this curtain at Wal-Mart: http://www.walmart.com/ip/Mainstays-Flower-Field-PEVA-Shower-Curtain/41116541
It’s simple and cheap but it looks amazing in my bathroom. Following the rules I learned during the “99 Ways to Decorate a Pink Bathroom,” I’m going to accessorize based on the colors in the shower curtain. Thanks guys!
Steve H says
Looks beautiful! I also had a very positive experience with Tablelegs.com. I love your original wall tile. It’s great example of how folks can add some extra design punch on a tight budget by simply using a random scattering of more expensive colored tile in a field of budget friendly 4×4 white. I think you could go into business making MCM vanity cabinetry (in your spare time).
Kate says
Thanks Steve…
What spare time? 😉
Carolyn says
I like that we’re able to vicariously live through each other’s projects to maybe avoid a few pitfalls and missteps or view things through a different lens.
I think you made a good choice with the floor tiles – coordinates with everything instead of just a few. Good to know about the grout color – okay, it was funny to read it’ll look dirty when you put it down and won’t get any dirtier!
Personally, I wouldn’t put legs on the vanity for the same reason I don’t like pedestal sinks – more surface too far down to remember to clean. With kids, hubby, and pets as well as a full-time job, I looked to streamline. Now that I’m older, I’ve found it’s really easy to get down on the floor, not so much getting back up!
Keep us informed on how well the sink and faucet hold up – we can’t always make assumptions that paying more or less indicates the quality.
Eh-eh-eh! the tissue box!
All in all, this bath with the new laminate looks like it belongs to the house instead of a mishmash industrial mayonnaise on white bread. Were either Creme Caramel or Friendly Beige considered? Why or why not?
Kate says
Thanks Carolyn,
I actually prefer having my vanity on legs — it is easy for me to fit the vacuum and the mop under the vanity without bending down and it is a nifty space to store the bathroom scale too. My dog never goes in our bathrooms unless it is bath time, he is scared of the bathrooms because he does not like taking baths!
I did consider other colors in our boomerang laminate collection for my bathroom, but the green was just too perfect! 🙂